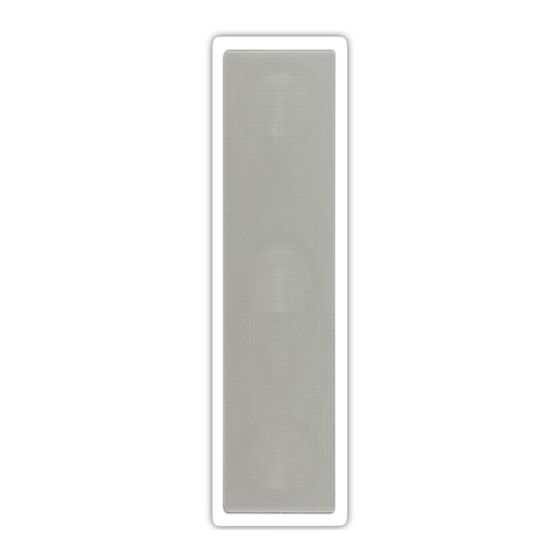
RBH Sound MC-553 Owner's Manual
Lcr in-wall speaker
Hide thumbs
Also See for MC-553:
- Installation and instruction manual (17 pages) ,
- Installation and instruction manual (17 pages) ,
- Installation and instruction manual (17 pages)
Table of Contents
Advertisement
Quick Links
Advertisement
Table of Contents

Summary of Contents for RBH Sound MC-553
- Page 1 MC-553 LCR IN-WALL SPEAKER O w n e r ’ s M a n u a l...
-
Page 3: Speaker Placement
Introduction Congratulations on your purchase of a RBH Sound LCR In-wall speaker! Your speaker is the result of many years of research and development dedicated to producing high quality products for home audio and audio/video systems. This manual contains features, setup recommendations and specifications for RBH Sound LCR in-wall speakers. - Page 4 Speaker Placement (continued) Pre-wiring the Speaker Pre-wiring with an install bracket (optional) 1. Determine placement of speakers in the room. 2. Install the speaker bracket by nailing or stapling the wings of the speaker bracket to the studs of the wall or ceiling. The bracket has a ½-inch lip that should face into the room. This lip will provide a guide for the sheetrock installers to cut the hole for the speaker.
-
Page 5: Installing The Speaker
Pre-wiring the Speaker (continued) 3. Secure the speaker wire to a framing member with a staple. If you are using a staple, be careful not to nick or pierce the wire. Make sure the wire is back far enough that the sheet rocker’s blade or router will not cut it. -
Page 6: Wiring Diagram
Wiring Diagram... - Page 7 Wiring Diagram (continued)
-
Page 8: Speaker Adjustment
Speaker Adjustment The MC-553 has two pivoting tweeters and a +3/0/-3 dB gain switch. To select a setting on the gain switch simply slide the switch up, down or position it to the middle to obtain the desired sound. Depending upon your listening area, you may find the sound more pleasing to point the tweeters in a particular direction. -
Page 9: Troubleshooting
Warranty Your RBH Sound MC-553 LCR In-wall speaker is covered by a limited warranty against defects in materials and workmanship for a period of 25 (twenty-five) years from the original date of purchase. This warranty is provided by the authorized RBH Sound dealer where the speaker was purchased. - Page 12 382 Marshall Way, Layton, Utah • USA • 84041 Toll Free: (800) 543-2205 • Fax: (801) 543-3300 www.rbhsound.com It is RBH Sound policy to continuously incorporate improvements into products; all specifications are subject to change without notice. Copyright © 2008-2009 RBH Sound. All Rights Reserved.


Need help?
Do you have a question about the MC-553 and is the answer not in the manual?
Questions and answers