Advertisement
Advertisement
Table of Contents

Subscribe to Our Youtube Channel
Related Manuals for Goldair GPH110


Summary of Contents for Goldair GPH110
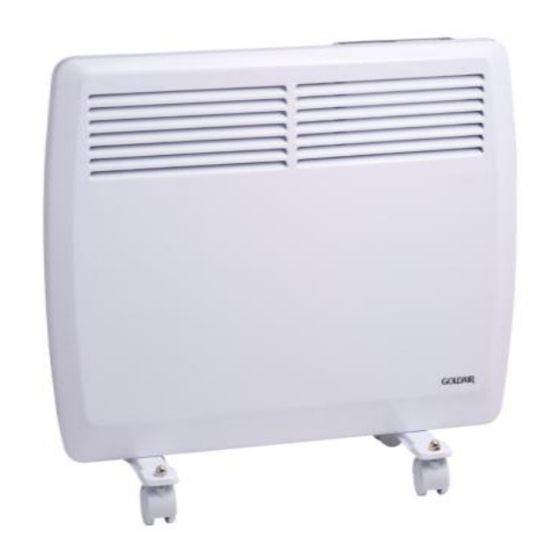
- Page 1 PANEL HEATERS OPERATING INSTRUCTIONS GPH110 GPH210/220 GPH310/320 GPH410/420...
-
Page 2: Warnings And Safeguards
If parts are missing or the the appliance and vacuum cleaning the air appliance has been damaged, contact the Goldair vents and grills. Customer Services Team. (refer to details on back 9. Do not use abrasive cleaning products on this page) appliance. -
Page 3: Free Standing
FREE STANDING Ensure the heater is unplugged and power switches are off. Set heater upside down. Locate the four holes at each end of the base of the heater. Secure the foot plates to the base using the provided one-way screws through these holes. Please note once these one-way screws are in they cannot be removed. - Page 4 OVERVIEW OF YOUR GOLDAIR PANEL HEATER (Manual Thermostat model) OPERATING YOUR HEATER (Manual thermostat model) Always choose a safe location for the heater, keeping in mind the safety precautions outlined. Ensure all packaging has been removed form the unit before use. Check that the heater is switched off before plugging into the mains supply.
- Page 5 OVERVIEW OF YOUR GOLDAIR PANEL HEATER (Electronic display model) OPERATING YOUR HEATER (Electronic display model) Always choose a safe location for the heater, keeping in mind the safety precautions outlined. Ensure all packaging has been removed form the unit before use. Check that the heater is switched off before plugging into the mains supply.
-
Page 6: Operating
OPERATING YOUR HEATER (Electronic display model) 1. Setting the Time •Press the time button (11). The day will flash •Use the up and down buttons (6 & 7) to set the correct day Hour •Press the time button (11) again. The hour number will flash •Use the up and down buttons (6 &... - Page 7 OPERATING YOUR HEATER (Electronic display model) 4. Description of programs (as per diagram below) P1 - Heat during the afternoon and evening P2 – Heat during the morning, afternoon and evening P3 – Heat during the morning, afternoon and evening P4 –...
- Page 8 OPERATING YOUR HEATER (Electronic display model) 5. Selecting a pre-set program See the description of al programs, explaining their content and how they are used. The program contents cannot be altered. •Press the program selection button (5). The display will now show the day, the program type (which will flash), the temperature and the program sequence •Use the up and down buttons to select the program •Press the program selector button (5) again to end the setting.
- Page 9 OPERATING YOUR HEATER (Electronic display model) 6.5 Copying a 24-hour program •If the same 24 hour program works for several days in the week, just copy the program into corresponding days •Enter or find the 24-hour program you would like to copy •Press the Copy button (10).
- Page 10 OPERATING YOUR HEATER (Electronic display model) 9. Timer 1 When the machine is on, press the timer button (14) for timing shutdown, then press the up button (6) or down button (7) to set timer. When this selected time has elapsed, the heater will turn off. 2 When the machines is off, press the timer button (14) for timing start up, then press the up button (6) or down button (7) to set timer.
-
Page 11: Proof Of Purchase
OVERVIEW OF YOUR GOLDAIR PANEL HEATER CARE AND CLEANING The heater requires regular cleaning to ensure trouble free operation: Unplug the heater from the mains supply before cleaning. Use a damp cloth to wipe the exterior of the heater to remove dust and dirt Use a vacuum cleaner to remove dust and fluff from the inlet and outlet grills. - Page 12 Your Goldair product has been inspected and tested and is guaranteed subject to the following for a period to two years from the date of purchase against defects in workmanship and materials. During this period, such defects will be rectified by repair or replacement of the product purchased.
Need help?
Do you have a question about the GPH110 and is the answer not in the manual?
Questions and answers