
Subscribe to Our Youtube Channel
Related Manuals for Goldair GPH110


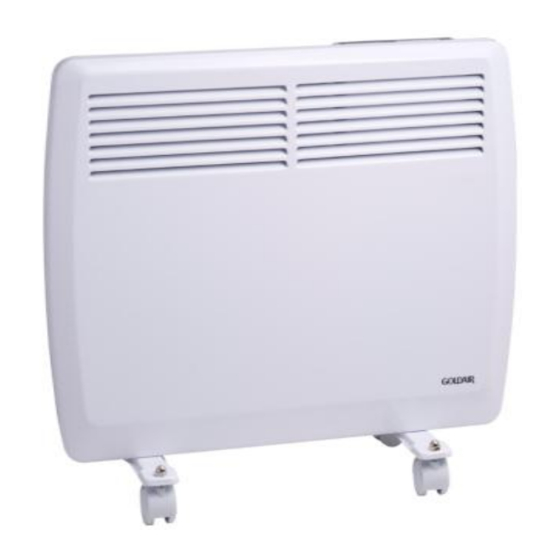
Summary of Contents for Goldair GPH110
- Page 1 Operating Instructions Panel Heaters GPH110 GPH210/220 GPH310/320 GPH410/420 Models: GPH110, GPH210/220, GPH310/320, GPH410/420...
-
Page 2: Technical Specification
General Care and Safety Guide Thank you for choosing a Goldair Panel Heater. This Goldair Heater has been designed and manufactured to high standards of engineering and with proper use and care, as described in this leaflet, will give you years of useful service. -
Page 3: Free Standing
Operating Your Panel Heater FREE STANDING Ensure the heater is unplugged and power switches are off. Set heater upside down. Locate the four holes at each end of the base of the heater. Using the provided one-way screws, secure the foot plates to the base through these holes. Please note once these one-way screws are in they cannot be removed. -
Page 4: Operating Your Heater
Operating Your Manual Panel Heater OVERVIEW OF YOUR GOLDAIR PANEL HEATER *Manual Thermostat model 1) Temperature Control Knob 2) Working Indicator 3) Switch (On: - Off: O) OPERATING YOUR HEATER Always choose a safe location for the heater, keeping in mind the safety precautions outlined. - Page 5 Operating Your Electronic Panel Heater OVERVIEW OF YOUR GOLDAIR PANEL HEATER *Electronic Thermostat model OPERATING YOUR HEATER Always choose a safe location for the heater, keeping in mind the safety precautions outlined. Ensure all packaging has been removed form the unit before use. Check that the heater is switched off before plugging into the mains supply.
-
Page 6: Setting The Time
Operating Your Electronic Panel Heater SETTING THE TIME Press the Time button (11). The day will flash Use the up and down buttons (6 & 7) to set the correct day Hour Press the Time button (11) again. The hour number will flash Use the up and down buttons (6 &... -
Page 7: Description Of Programs
Operating Your Electronic Panel Heater DESCRIPTION OF PROGRAMS * As per diagram below P1 - Heat during the afternoon and evening P2 – Heat during the morning, afternoon and evening P3 – Heat during the morning, afternoon and evening P4 – Staying at home P5 –... - Page 8 Operating Your Electronic Panel Heater SELECTING A PRE-SET PROGRAM See the description of all programs (on previous page), explaining their content and how they are used. The program contents cannot be altered. Press the program selection button (5). The display will now show the day, the program type (which will flash), the temperature and the program sequence.
- Page 9 Operating Your Electronic Panel Heater COPYING A 24-HOUR PROGRAM If the same 24 hour program is suitable for several days in the week, you can copy the program into corresponding days Enter or find the 24-hour program you would like to copy Press the Copy button (10).
-
Page 10: Locking The Control Panel
Operating Your Electronic Panel Heater TIMER When the machine is on, press the Timer button (14) for timing shutdown, then press the up button (6) or down button (7) to set timer. When this selected time has elapsed, the heater will turn off. When the heater is off, press the Timer button (14) for timing start up, then press the up button (6) or down button (7) to set timer. -
Page 11: Cleaning Your Heater
PROOF OF PURCHASE To receive warranty retain receipt as proof of purchase. SUPPORT AND TECHNICAL ADVICE Goldair – New Zealand Goldair – Australia Monday – Friday 8am-5pm Monday – Friday 8am-5pm Phone +64 (0)9 917 4000... - Page 12 In non-domestic use Goldair limits the voluntary warranty to three months. Goldair undertake to repair or replace this product at no charge if found to be defective due to a manufacturing fault during the warranty period.
Need help?
Do you have a question about the GPH110 and is the answer not in the manual?
Questions and answers