Table of Contents
Advertisement
Advertisement
Table of Contents

Subscribe to Our Youtube Channel
Related Manuals for Goldair PLATINUM GPCW100


Summary of Contents for Goldair PLATINUM GPCW100
- Page 2 General Care and Safety Guide YOUR SAFETY IS IMPORTANT TO US. PLEASE ENSURE YOU TAKE NOTE OF THE INSTRUCTIONS AND WARNINGS OUTLINED IN THIS MANUAL. CAUTION: In order to avoid a hazard due to inadvertent resetting of the thermal cut-out, this appliance must not be supplied through an external switching device, such as a timer, or connected to a circuit that is regularly switched on and off by the utility.
- Page 3 General Care and Safety Guide • Never use the appliance to dry clothes. • Do not connect the appliance to mains supply until completely assembled and adjusted. • Ensure hands are dry before handling the plug or main unit. • Ensure heater is on a flat, stable, heat-resistant surface.
- Page 4 General Care and Safety Guide The remote control supplied with this heater uses a CR2025 coin type battery (Included). DANGER IF SWALLOWED Keep batteries out of reach of children. Swallowing may lead to serious injury or death in as little as 2 hours due to internal burns. If swallowed, go straight to a hospital emergency room.
-
Page 5: Installing Your Appliance
NOTE: Your Goldair Ceramic Wall Heater should be installed with at least 1.8m clearance from the floor at least 300mm clearance form the ceiling and 200mm clearance from any other surrounding parts including other appliances, side walls, shelves and soft furnishings. -
Page 6: Installation
Installing your Appliance TOOLS REQUIRED ✓ Drill ✓ Hammer ✓ Phillips head screwdriver ✓ Spirit Level LOCATION The appliance should be placed with a minimum distance of 1 metre between the unit and flammable objects such as curtains, paintings or other materials that may pose fire risk. -
Page 7: Operating Your Heater
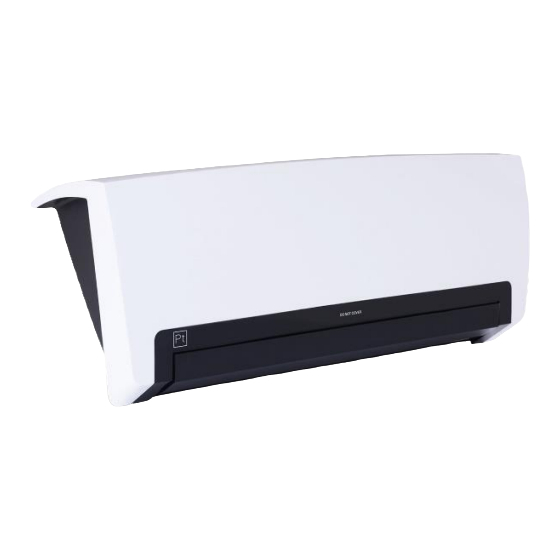
Operating Your Heater Always choose a safe location for the appliance, keeping in mind the safety precautions outlined. Ensure all packaging has been removed from the unit before use. WARNING: In order to avoid overheating or fire, do not cover the heater. WARNING: Keep all objects at least 1 metre from the front, sides and rear of the appliance. - Page 8 Operating Your Heater Always choose a safe location for the appliance, keeping in mind the safety precautions outlined. Ensure all packaging has been removed from the unit before use. REMOTE CONTROL 1. Power Button (ON/OFF) 2. Timer Button 3. Mode Selection Button 4.
- Page 9 Operating Your Heater TOUCH CONTROL PANEL 1. Timer Indicator 3. Temperature/Time Indicator 2. High/Low Heat Mode 4. Fan Only Mode REMOTE CONTROL 1. Power Button (ON/OFF) 2. Timer Button 3. Mode Selection Button 4. Increase Time/Temperature 5. Decrease Time/Temperature TIMER Press the TIMER button to use timer function.
- Page 10 Model No: GPCW100 Supply: 220-240VAC 50Hz Wattage: 2000W SUPPORT AND TECHNICAL ADVICE Goldair – New Zealand Goldair – Australia Monday – Friday 8am-5pm Monday – Friday 8am-5pm Phone +64 (0)9 917 4000 Phone +61 (0)3 9365 5100 Phone 0800 232 633 Phone 1300 465 324 info@cdb.co.nz...
-
Page 11: Three Year Warranty
In non-domestic use Goldair limits the voluntary warranty to three months. Goldair undertake to repair or replace this product at no charge if found to be defective due to a manufacturing fault during the warranty period.
Need help?
Do you have a question about the PLATINUM GPCW100 and is the answer not in the manual?
Questions and answers
Can we operate our Goldair GPCW100 without a remote control
Yes, the Goldair GPCW100 can be operated without a remote control. The manual includes separate sections for operating the heater and using the remote control, indicating that the heater has built-in controls for manual operation.
This answer is automatically generated