Advertisement
Quick Links
Exabyte Field Instruction
March 2002
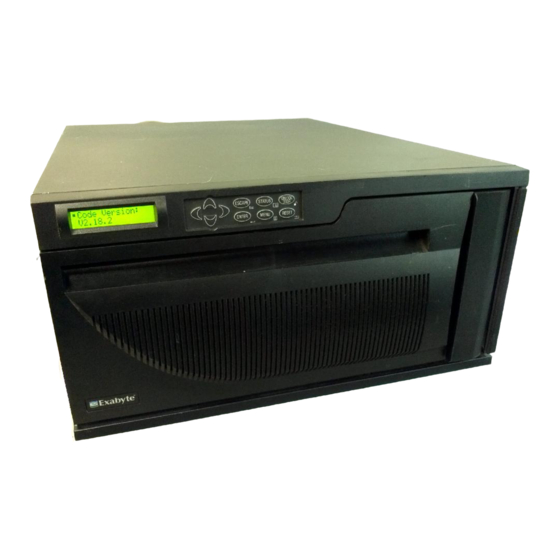
Installing or Replacing a Tape Drive
in an Exabyte 430 or 215 Library
1
2
3
4
5
6
7
1005911-003
#1005911-003#
Contents
Preparing for installation . . . . . . . . . . . . . . . . . 2
Removing the tape drive. . . . . . . . . . . . . . . . . . 4
Installing the tape drive . . . . . . . . . . . . . . . . . . 6
Connecting the cables (SCSI library) . . . . . . . . 7
Advertisement

Related Manuals for Exabyte 430


Summary of Contents for Exabyte 430
-
Page 1: Table Of Contents
Exabyte Field Instruction March 2002 Installing or Replacing a Tape Drive in an Exabyte 430 or 215 Library Contents Preparing for installation ....2 Removing the tape drive. -
Page 2: Preparing For Installation
Copyright 2002 by Exabyte Corporation. All rights reserved. This item and the information contained herein are the property of Exabyte Corporation. No part of this document may be reproduced, transmitted, transcribed, stored in a retrieval system, or translated into any language or computer... - Page 3 1 Preparing for installation Installing or replacing a tape drive in the 430 or 215 library involves the following steps: ! Removing an existing tape drive or drive service access cover ! Installing the new tape drive ! Testing the library and resuming operation Note: The illustrations in these instructions show the 430 SCSI library.
-
Page 4: Removing The Tape Drive
2 Removing the tape drive Removing the tape drive If you are replacing an existing tape drive, follow the steps below to remove the drive. If you are installing an additional tape drive, skip to Section 3, “Removing the drive’s service access cover,” page 1. -
Page 5: Removing The Drive's Service Access Cover
3 Removing the drive’s service access cover 3. Remove the drive carrier by grasping the handle and pulling it straight out of the library. The drive carrier weighs about 5 pounds; make sure you support the bottom of the carrier as you remove it. Removing the drive’s service access cover Follow these steps if you are installing a tape drive in an empty slot. -
Page 6: Installing The Tape Drive
4 Installing the tape drive Installing the tape drive CAUTION Do not install a mixture of Fibre Channel and SCSI tape drives in the library. Mixing drive interfaces could cause data loss. 1. Insert the tape drive so that the handle is at the top and the fan is at the bottom, as shown in the following figure. -
Page 7: Connecting The Cables (Scsi Library)
3. If you installed a new tape drive, set the SCSI ID for the drive as described in Exabyte 430M and 430A Libraries Installation and Operation or Exabyte 215M and 215A Libraries Installation and Operation. If you replaced a drive, the new drive automatically assumes the SCSI ID of the old tape drive. -
Page 8: Connecting The Cables (Fibre Channel Library)
6 Connecting the cables (Fibre Channel library) Connecting the cables (Fibre Channel library) For the Fibre Channel 430M-FC, connect the optical fiber cable as follows: 1. Remove the protective plug from the optical fiber connector on the new tape drive, if present. 2. -
Page 9: Testing The Library And Resuming Operation
7 Testing the library and resuming operation Testing the library and resuming operation Before resuming operation, use the Demo Menu from the operator panel to ensure that the robot and the newly installed tape drive are communicating correctly. The Demo Menu causes the robot to randomly move cartridges from slot to slot, including the fixed cartridge slots. - Page 10 Then press [ENTER]. Note: The default number of moves is 10. Exabyte recommends that you perform at least 20 moves. 8. The library begins the demo and displays status messages. If you want to abort a demo in progress, press [ESCAPE].
- Page 11 Is the library operating in the correct control mode? (For most applications, the control mode should be set to SCSI.) If you cannot solve the problem yourself, contact your service provider or Exabyte Technical Support (1-800-445-7736 or 1-303-417-7792). March 2002 Page 11 of 12...
- Page 12 7 Testing the library and resuming operation Notes Page 12 of 12 1005911...
Need help?
Do you have a question about the 430 and is the answer not in the manual?
Questions and answers