Table of Contents
Advertisement
Quick Links
Thank you for purchasing the Dakota Digital MCL-36K-TCH gauge for your Harley Davidson Touring bike. This gauge
is designed to be a direct, plug in replacement for all touring models from 2004 – 2011. This is part of a six gauge
package for touring models so you can add additional gauges as you choose.
INSTALLATION
First read and familiarize yourself with all of the components and this manual. The first step is to remove the
seat and disconnect the negative side of the battery, as with any electronic install. Once the battery is disconnected you
are ready to start.
Remove the outer fairing; this will vary from model to model, so please follow the service manual to expose the
wiring and gauges. Don't be alarmed by the amount of wires behind the fairing, this is a direct plug in gauge and these
detailed instructions will guide you through it.
Street Glide with outer fairing removed
REMOVAL OF FACTORY GAUGE
ULTRA FLHT & FLHX (STREET GLIDE batwing fairings)
Unplug the tachometer. Remove the screws securing the clamp that holds the gauge in place and pull it out through the
front of the fairing. Save the screws, gasket, and clamp to be reused when you install the new Dakota Digital gauge.
Unplug the factory tachometer
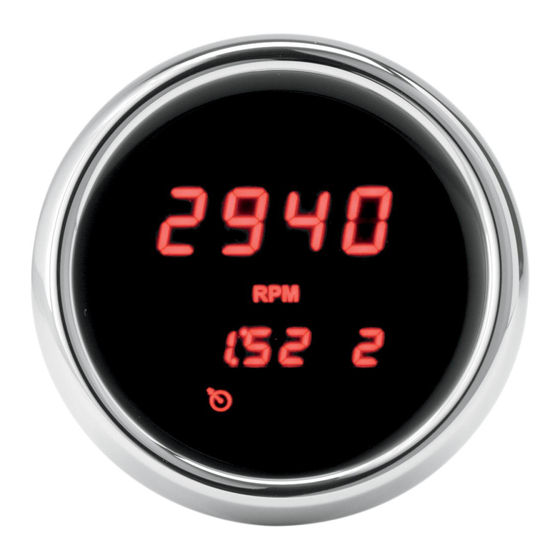
MCL-36K-TCH
Unscrew the clamp and remove gauge
1
Road Glide with outer fairing removed
MAN#650335
Advertisement
Table of Contents

Subscribe to Our Youtube Channel
Related Manuals for Dakota Digital MCL-36K-TCH


Summary of Contents for Dakota Digital MCL-36K-TCH
- Page 1 Unplug the tachometer. Remove the screws securing the clamp that holds the gauge in place and pull it out through the front of the fairing. Save the screws, gasket, and clamp to be reused when you install the new Dakota Digital gauge.
- Page 2 Plug the original tachometer connector directly into the new gauge. The BLUE wire on the small, two-wire plug can provide a dimming signal for other Dakota Digital MCL-3K or MCL-36K gauges. The tachometer has a sensor that activates the dimming feature when ambient light is low and provides +12V out on the BLUE wire. The gauge will dim to 50% intensity.
- Page 3 The function switch, discussed above, is used to enter setup mode for all of the gauges. If you are only installing one or a couple Dakota Digital MCL-3K gauges, then setup may seem a little strange since they are designed to work as a set.
- Page 4 TACHOMETER SETUP Main Menu Sub Menu Description set clock time nIgHt set night dimming level vPdAtE set RPM update rate for digital readout WXArn set RPM shift warning point gEAr transmission gear programming Press and hold the switch while turning the key on. Release the switch. Press and release the switch until “tCH” is displayed, then press and hold switch until “...
- Page 5 (Tachometer Setup Continued) W W W W X X X X Arn Arn RPM warning setup Press and release the switch until “WXArn” is displayed, then press and hold the switch until “ - “ is displayed. Release the switch. The current warning point will be displayed. Press and release the switch until the desired setting is displayed.
- Page 6 Any action for breach of any warranty hereunder, including any implied warranty of merchantability, must be brought within a period of 24 months from date of original purchase. No person or representative is authorized to assume, for Dakota Digital, any liability other than expressed herein in connection with the sale of this product.
Need help?
Do you have a question about the MCL-36K-TCH and is the answer not in the manual?
Questions and answers