Advertisement
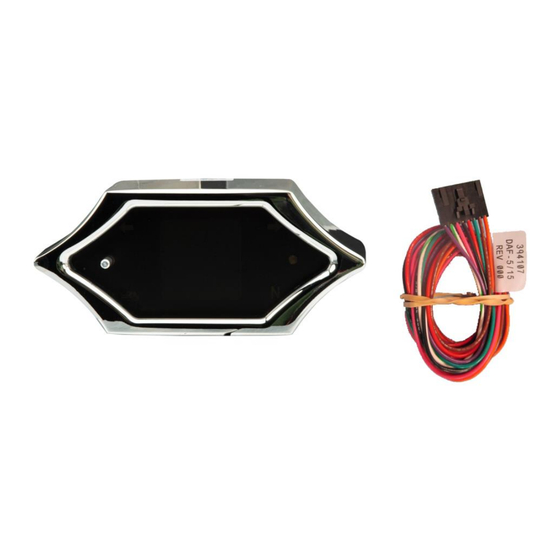
MODEL MLX-5X00 series
Bar mount digital speedometer with indicators.
.
Please read this before beginning installation or wiring
*To avoid damage to motorcycle, please see Speedometer and Indicators sections for details on locating VSS and
indicator wires for most motorcycle applications
**The Check Engine indicator will not function using this gauge on 2004+ HD models due to the signal being fed through
the 'data bus', however the HD diagnostic tool can still check and clear codes through the diagnostic connector.
Operation
FUNCTION SWITCH
The switch built into the face of the gauge allows adjustments to the gauge. During normal operation, the function switch
allows access to information including mileage, trip meters, and performance data within the message area. Tap the
switch during normal operation to scroll through the information available within the message area.
To clear or reset information such as Trip A, Trip B or performance readings, press and hold the function switch until you
see the status bar filling. Continue to hold the switch as the bar empties and then displays "HOLD TO CLEAR". Hold until
you see "RELEASE" displayed above the status bar. The information will now be reset.
MOUNTING:
1
MAN# 650799
Advertisement
Table of Contents

Subscribe to Our Youtube Channel
Related Manuals for Dakota Digital MLX-5 00 Series


Summary of Contents for Dakota Digital MLX-5 00 Series
- Page 1 MODEL MLX-5X00 series Bar mount digital speedometer with indicators. Please read this before beginning installation or wiring *To avoid damage to motorcycle, please see Speedometer and Indicators sections for details on locating VSS and indicator wires for most motorcycle applications **The Check Engine indicator will not function using this gauge on 2004+ HD models due to the signal being fed through the ‘data bus’, however the HD diagnostic tool can still check and clear codes through the diagnostic connector.
- Page 2 A mounting bracket must be purchased for your application. Any BKT-50xx series bracket may be used. The bar mount brackets can be used for above-the-bar mounting or below-the-bar mounting. The 35° triple-tree mounts are only available for above-the-bar mounting. The triple-tree mounting bracket replaces the original handle bar top clamp. The gauge attaches to the back side of the bracket with the supplied screws.
- Page 3 Please consult service manual for correct wire colors. 1996-2003 Harley Davidson wiring 2004-2010 Harley Davidson wiring All signal wires should be found behind the speedometer The power and ground can be found behind the along with power and ground. Indicators should be at speedometer.
-
Page 4: Setup Menu
Programming SETUP MENU The function switch is used to enter setup mode. To get into setup, press and hold either switch while turning the key on. Press and release the switch to advance through the menus below, press and hold to enter each menu. Main Menu Sub Menu Description... - Page 5 LIGHTING Lighting menu for color changes • When “>LIGHTING” is displayed hold until “RELEASE” is displayed, and release the switch. • The color menu options are: “COLOR THEMES”, “SET ALL COLOR”, ”DISPLAY COLOR”, ”LABEL COLOR”, “MESSAGE COLOR”, “DIMMING” , “SUNLIGHT”, “RESET” or “BACK”. •...
-
Page 6: Factory Reset
NOTE: The installer must consult the service manual, verify wire locations, and check voltages prior to making any connections. Dakota Digital makes no representation or warranty with respect to the above information including its accuracy, completeness, or its freedom from third parties proprietary rights. Dakota Digital disclaims all liability or responsibility for errors or omissions therein or any decision made by the recipient in reliance there on. -
Page 7: Troubleshooting Guide
Troubleshooting guide. Problem Possible cause Solution Gauge will not light up Red wire does not have Connect to a location that has power. power. Black wire is not getting Connect ground to a different location. a good ground. Gauge is damaged. Return gauge for repair. -
Page 8: Service And Repair
SERVICE AND REPAIR DAKOTA DIGITAL offers complete service and repair of its product line. In addition, technical support is available to help you work through any questions or problems you may be having installing one of our products. Please read through the Troubleshooting Guide. There, you will find the solution to most problems.
Need help?
Do you have a question about the MLX-5 00 Series and is the answer not in the manual?
Questions and answers