Advertisement
Advertisement

Related Manuals for Baumatic AS9.1AL VALV-B72TCBL- B77TCBL-B40-B78


Summary of Contents for Baumatic AS9.1AL VALV-B72TCBL- B77TCBL-B40-B78
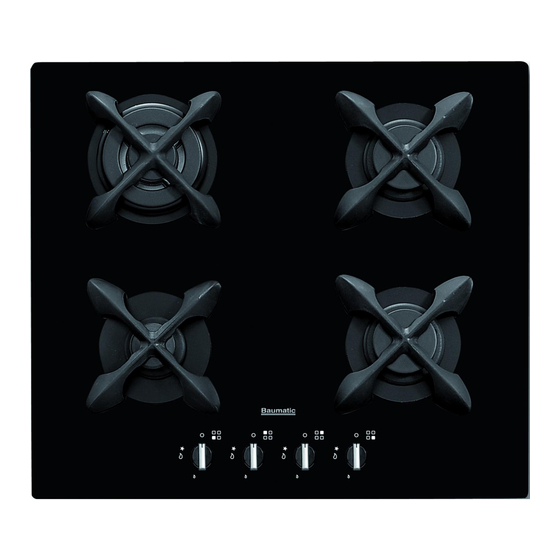
- Page 1 GAS HOBS AS9.1AL VALV-B72TCBL- B77TCBL-B40-B78 USER AND INSTALLATION INSTRUCTIONS...
-
Page 2: Table Of Contents
For future reference please record the following information which can be found on the Rating Plate and the date of purchase which can be found in the invoice: Model Number ……………………. Serial Number ……………………. Date of Purchase ……………………. CONTENTS General Information page 3 Warning and Safety Instructions page 4... -
Page 3: General Information
The aforegoing does not affect your statutory rights. The Warrantee applies to Great Britain and Northern Ireland only. In the event that you require any After Sales Service or advice, please contact the Baumatic Service Department on telephone number – 0118 933 6911. -
Page 4: Instructions For Use
Corgi registered (all Baumatic Engineers are Corgi registered) and for electrical installations, NICEIC registration is recommended. Baumatic Ltd declines any responsibility for injury or damage to persons or property as a result of improper use or installation of this appliance. - Page 5 USING THE HOB The symbols on the Control Panel fascias show which burner the Control Knob operates. Dependent on the model there are two methods for igniting the burners. 1. Auto Ignition After pressing in and turning the appropriate knob anti-clockwise to the large flame symbol, the ignition spark will operate as long as the knob is pressed down..
-
Page 6: Instructions For Installation
Irish Standard for Domestic Gas Installations NOTE: UK law stipulates that gas appliances must be installed and repaired by a CORGI Registered Installer (all Baumatic Engineers are CORGI Registered). Gas safety Regulations (Installation & Use) Building Regulations (issued by the Department of Environment) - Page 7 INSTALLATION NOTES 1. Cut the aperture to the dimensions shown below or use the template if printed on the packaging. 2. Invert the Hob and apply the sealing agent provided to match the outer perimeter edge. 3. If the sealing agent is a strip type, the protective covering must be removed from both sides. Do not leave a gap in the sealing agent or overlap the thickness.
- Page 8 VENTILATION OF ROOMS The room in which this appliance is installed must be well ventilated by natural or mechanical means, or a combination of both to ensure correct combustion and the removal of spent air. The minimum quantity of air for combustion will depend on the room volume, number of appliances and their total power rating.
- Page 9 MAINTENANCE During the guarantee period, in case of need all service intervention should be referred back to the Baumatic Ltd Service department. Please note that intervention or repair by any unauthorised personnel will invalidate such guarantee, Before carrying out any maintenance, disconnect the appliance from the gas and electricity supplies.
-
Page 10: Technical Data
• Disconnect the gas pipe from the gas tap, disassemble from the gas rail by removing the fixing screws. • When fitting a new tap, ensure that a new gasket is used. • Re-connect the gas tap, check for gas soundness and reassemble the hob. TECHNICAL DATA ELECTRICAL DETAILS Rated Voltage... -
Page 11: Conditions Of Guarantee
In addition, your appliance is covered by a 5 year parts warranty. Baumatic Ltd will provide free of charge the parts required to repair the appliance, only if they are fitted by a Baumatic engineer, for any defect that arises due to faulty materials or workmanship within a period of 5 years from the original purchase date.
Need help?
Do you have a question about the AS9.1AL VALV-B72TCBL- B77TCBL-B40-B78 and is the answer not in the manual?
Questions and answers