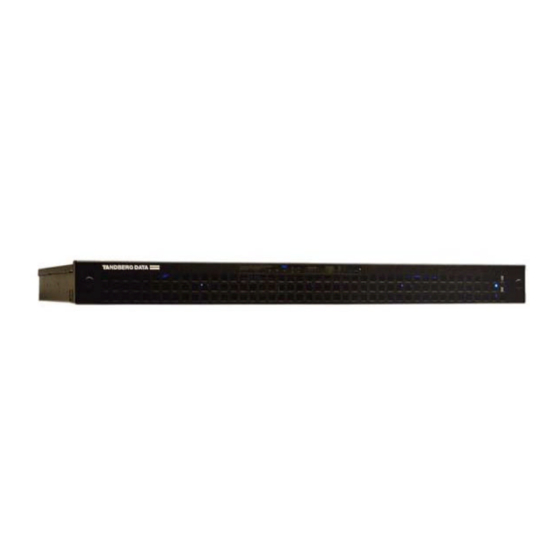
Summary of Contents for Tandberg Data STORAGE CAB4000
-
Page 1: Windows Storage Server
Quick Install Guide StorageCab 4000 with Windows Storage Server 2003 Quick Install Guide for StorageCab4000 with Windows Storage Server 2003... -
Page 2: End User License Agreement
END USER LICENSE AGREEMENT You have acquired a computer system (“Server”) that includes software licensed by Tandberg Data from an affiliate of Microsoft Corporation (“MS”). All software products installed on the Server (whether or not of MS origin), as well as associated media, printed materials, and “online”... - Page 3 LIMITATION ON FUNCTIONALITY SUPPORTED BY THE SOFTWARE. You are licensed to use the Server Software to support only the base functionality as provided and installed on the Server by Tandberg Data, provided, however, in any event you are not licensed to use the Server Software to run or support (i) directory services (such as Microsoft Active Directory), (ii)
-
Page 4: Security Updates
INCIDENTAL DAMAGES ARISING FROM OR IN CONNECTION WITH THE USE OR PERFORMANCE OF THE SOFTWARE. THIS LIMITATION SHALL APPLY EVEN IF ANY REMEDY FAILS OF ITS ESSENTIAL PURPOSE. IN NO EVENT SHALL MS OR TANDBERG DATA BE LIABLE FOR ANY AMOUNT IN EXCESS OF U.S. TWO HUNDRED FIFTY DOLLARS (U.S.$250.00). - Page 5 EULA. No modification or alteration of this EULA or waiver of any right under this EULA will be binding on Tandberg Data unless signed by a duly authorized representative of Tandberg Data.
- Page 6 Setup Overview Checklist ¨ 1. Location – Excessive heat is the #1 cause of disk failure. Place the NAS in a cool, secure location with plenty of breathing space and nothing blocking the vents. See pg. 7. Plug in the network cable, power cords, a keyboard, mouse, and monitor. ¨...
- Page 7 Choose a Good Setup Location and Connect the Cables Save the shipping box and packing materials to protect the NAS during moves or shipments. For service and maintenance purposes, place the NAS in an accessible location. If you use a desktop, be sure it can support at least 150 pounds.
-
Page 8: Initial Setup
Initial Setup Software Setup Press the power switch on the front panel to boot the NAS. The startup wizard appears upon startup to guide you through the setup process. You will need to approve the Software License Agreement and enter your activation key code, as in other Windows software installations. -
Page 9: Browser Requirements
Learning an IP Address Set by DHCP Still using the NAS with a monitor and keyboard, follow these steps to learn a DHCP-assigned IP address for the NAS after the restart. 1. From the Start menu, select Run. 2. Enter CMD and press the Enter key to open the MS DOS box. 3. -
Page 10: Login Procedure
preceding the IP address. For example: https://192.168.0.6:8098. Use this address for initial access. Start up of the NAS typically takes less than a minute. When it completes the startup cycle, you can access the NAS interface screens. Windows may display a standard security alert message similar to the security alerts you sometimes see when you log into the Internet. -
Page 11: Create Share(S)
Create Share(s) To share a volume or folder (create a share): 1. From the Shares menu, select either Folders to open the Folders dialog, or select Shares to open the Shared Folders dialog. 2. Select the volume in the Volume Name column. Note that the Type column lists the protocols enabled for the share. - Page 12 7. Select the check boxes to enable the protocols used on your network. These will be listed as “Share Type” on the Folders dialog. 8. The DFS (namespace) option makes several shares/folders appear as subdirectories under one high-level share. This logical grouping of shares allows users to access the share content without knowing the actual location of the shares, even if the actual location is changed.
-
Page 13: Set Up An Email Account
It is wise to remove “Everyone” from Users and Groups box, click on “Everyone” and click remove Select user(s) that you want to have access to the share and click “Add” Set “Allow” property correctly. In the figure above “Administrator” has “Full Control”, that means that he/she has read/write permissions to the share.


Need help?
Do you have a question about the STORAGE CAB4000 and is the answer not in the manual?
Questions and answers