Table of Contents
Advertisement
SAVE AND READ THESE INSTRUCTIONS
TESTED IN ACCORDANCE WITH THE LATEST EDITION OF UL858 STANDARD FOR HOUSEHOLD ELECTRIC
COOKING APPLIANCES.
CONVENTIONS USED IN THESE INSTRUCTIONS
WARNINGS:
Must be followed carefully to avoid personal injury or damage.
NOTES:
Contain helpful hints and tips to facilitate the installation.
IMPORTANT
1.
Before beginning installation, please thoroughly read and become familiar with these instructions.
2.
Installation and service must be completed by a qualified installer or service agency.
3.
Installer: Please leave these Installation Instructions with the owner.
4.
Owner: Please keep these instructions for local electrical inspector's use and for future reference.
5.
Read the accompanying Use & Care Manual prior to operating this appliance.
TABLE OF CONTENTS
STEP 2
STEP 4
STEP 5
STEP 6
STEP 7
STEP 8
Part No. 65030 Rev. C
Installation Instructions
Wall Ovens
Page 2
Pages 2-3
Page 3
Pages 3-4
Page 4
Page 4
Pages 4-5
Pages 5-6
Page 6
Page 6
Page 6
Advertisement
Table of Contents

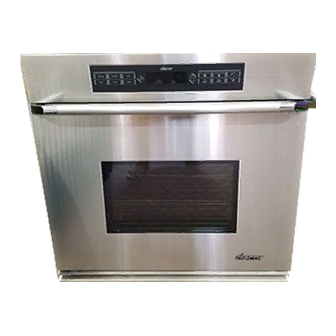
Summary of Contents for Dacor ECS127SBK
-
Page 1: Table Of Contents
Installation Instructions Wall Ovens SAVE AND READ THESE INSTRUCTIONS TESTED IN ACCORDANCE WITH THE LATEST EDITION OF UL858 STANDARD FOR HOUSEHOLD ELECTRIC COOKING APPLIANCES. CONVENTIONS USED IN THESE INSTRUCTIONS WARNINGS: Must be followed carefully to avoid personal injury or damage. NOTES: Contain helpful hints and tips to facilitate the installation. -
Page 2: Important Safety Instructions
This appliance should be serviced only by qualified service personnel. Contact the nearest DACOR Authorized Servicer at (800) 772-7778. or at www.dacor.com for examination, repair or adjustment. Do not cover or block any openings on the appliance. Do not store or use this appliance outdoors. -
Page 3: Step 1 Package Contents Verification
Verifying the Package Contents Minimum Cabinet Minimum Cabinet Verify that all required components have been Dacor Cutout Width Cutout Height Overall Depth Width provided. If any item is missing or damaged, Model Number “A” “B” “C” “D” please contact your dealer immediately. Do not ECS127 25 1/2”... -
Page 4: Step 3 Installing The Support Platform In The Cabinet
Installing the Support Platform in Dacor Overall Overall Chassis Recess Recess Recess the Cabinet Model Width Height Depth Width Height Depth Number “E” “F” “G” “H” “J” “K” Provide a platform within the cabinet upon which the oven will be supported. The platform must ECS127 27”... -
Page 5: Step
Turning Off the Power Supply Dacor Max. 208V Max. 240V Power Before attempting to connect the appliance to Model Number Connected Load Connected Load Supply power, turn off the electrical power supply. Also, ECS127 always turn off electrical power to the appliance prior to servicing it. -
Page 6: Step
A. Connecting to a Four-Wire Connect the red appliance wire to the red Cable from (L2) power supply wire in the junction box power supply Electrical System Junction Separate the green and white appliance Connect the green appliance wire to a wires. -
Page 7: Step
DACOR service Open and close the door completely to ensure the Exhaust Grill mounting holes. company at (800) 772-7778. -
Page 8: Step
Web Site: www.dacor.com For a Dealer/Service: (800) 772-7778 Corporate Phone: (800) 793-0093...


Need help?
Do you have a question about the ECS127SBK and is the answer not in the manual?
Questions and answers