
Related Manuals for Dacor ECS136SCH


Summary of Contents for Dacor ECS136SCH
- Page 1 INSTALLATION INSTRUCTIONS CLASSIC WALL OVENS FOR MODELS: ECD227, ECD230, ECS127, ECS130, ECS136, ECS227, ECS230, MCD227, MCD230, MCS127, MCS130 MCS227, MCS230, PCD230, PCS130, PCS230 Part No. 65030 Rev. G...
-
Page 2: Safety Symbols
Common sense, caution and care must be exercised when installing, maintaining or operating appliance. Always contact Dacor ® about problems or conditions you do not understand. The importance of the installation of the Dacor appliance cannot Any questions or problems with the installation should be directed be overemphasized. - Page 3 This appliance should be serviced only by qualified service personnel. Contact the nearest Dacor Authorized Servicer at (800) 793-0093. or at www.Dacor.com for examination, repair or adjustment. Do not cover or block any openings on the appliance.
-
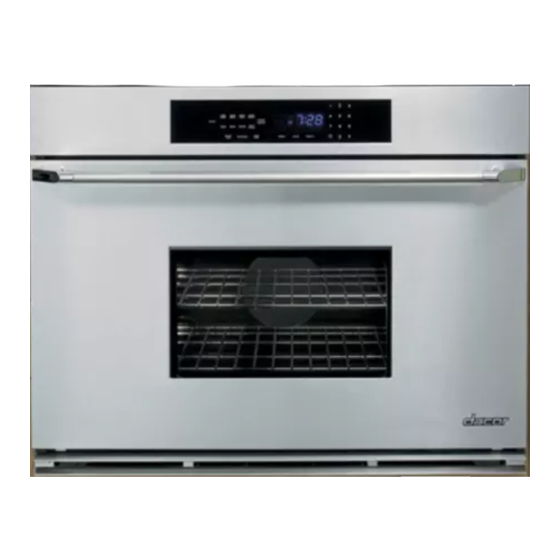
Page 4: Product Dimensions
NOTE: PRODUCT DIMENSIONS Electrical junction box may be located: NOTE: Above the oven cutout, to the right. All dimensional tolerances are + Below the oven platform, to the right. 1/16", - 0" unless otherwise stated. Electrical_ 1 1/2"(38ram) access )icat countertop 36"... - Page 5 PRODUCT DIMENSIONS Dacor® Overall Overall Chassis Recess Recess Recess Model Width Width Height Depth Height Depth Number "E" "F" "H" "K" _i G - ECS127 27" 5" (686mm) (127mm) MCS127 28 3/8" ECS130 (721 mm) 6 1/4" 30" PCS130 (762mm)
-
Page 6: Installation Planning
ELECTRICAL POWER SUPPLY VERIFYING THE PACKAGE CONTENTS Verify that all required components have been provided. If REQUIREMENTS any item is missing or damaged, please contact your dealer It is the owner's responsibility to ensure that a qualified electrician immediately. Do not install a damaged or incomplete appliance. performs the electrical connection of this appliance. - Page 7 Dacor Max. 208V Max. 240V Power Model Number Connected Load Connected Load Supply ECS127 MCS127 208/240V 25 Amps 22 Amps ECS130 4-wire (5.2kW) (5.2kW) NOTE: 60Hz, 30A PCS130 The four (4) leads supplied with MCS130 this appliance are UL recognized...
-
Page 8: Turning Off The Power
TURNING THE POWER SUPPLY Cable from power supply Before attempting to connect the appliance to power, turn off the Junction electrical power supply. Also, always turn off electrical power to the appliance prior to servicing it. ELECTRICAL CONNECTION Wire nut (4 places) Conduit f rom appliance... -
Page 9: Mounting The Oven
Connecting the Green Appliance Wire to a Grounded Junction Box Wire or Grounded Cold Water Pipe - Where Local Codes Permit Separate the green and white appliance wires. Connect the black appliance wire to the black (L1) power supply wire in the junction box. -
Page 10: Verifying Oven Operation
DOORS INSTALLING THE EXHAUST GRILL REINSTALLING OVEN With the oven now secured to the cabinet, install the Exhaust Grill by mounting it to the oven with the two screws provided. NOTE: You may need to loosen the side mounting screws a little to align the Exhaust Grill mounting holes. - Page 11 If you need service, be sure to have the model and serial numbers avalable when you call. Contact a Dacor authorized servicer, a Dacor dealer or the Dacor Customer Service Team at (800) 793-0093. 10 _a=ar...
- Page 12 dacar...
- Page 13 _::_acar...
- Page 14 dacar...
- Page 15 Web Site: www.Dacor.com Phone: (800) 793-0093 © 2006 Dacor, all rights reserved.
Need help?
Do you have a question about the ECS136SCH and is the answer not in the manual?
Questions and answers