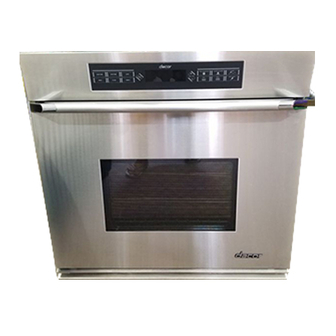
Dacor ECD227 Installation Instructions Manual
Classic wall ovens
Hide thumbs
Also See for ECD227:
- Installation instructions manual (15 pages) ,
- Use and care manual (25 pages) ,
- Use & care manual (22 pages)
Summary of Contents for Dacor ECD227
- Page 1 I o n s l as s I c v e n s FOR MODELS: ECD227, ECD230, ECS127, ECS130, ECS136, ECS227, ECS230, MCD227, MCD230, MCS127, MCS130 MCS227, MCS230, PCD230, PCS130, PCS230 Part No. 65030 Rev. G...
-
Page 3: Table Of Contents
Any questions or problems with the installation should be directed to your Dacor dealer or the Dacor Customer Service Team at (800) 793-0093. You can also visit our web site at www.Dacor. com. -
Page 4: Important Safety Instructions
This appliance should be serviced only by qualified service personnel. Contact the nearest Dacor Authorized Servicer at (800) 793-0093. or at www.Dacor.com for examination, repair or adjustment. Do not cover or block any openings on the appliance. -
Page 5: Design Specifications
(may be altered)** 4" Double Wall Oven Cutout Dimensions esign peCifiCaTions NOTE: Electrical junction box may be located: Above the oven cutout, to the right. Below the oven platform, to the right. Electrical 1 1/2" (38mm) access Typical counter top "C" "A"... - Page 6 RoduCT imensions Dacor ® Model Number ECS127 MCS127 ECS130 PCS130 MCS130 ECS136 ECS227 MCS227 ECD227 MCD227 ECS230 PCS230 MCS230 ECD230 PCD230 MCD230 "G" 1" (25mm) 1" (25mm) "F" 1 7/8" (48mm) Flexible conduit "E" Single Wall Oven Overall Dimensions (Epicure Shown) EPICURE™...
-
Page 7: Installation Specifications
The platform must be installed level and straight. The top edge of the platform must be flush with the cutout at the front of the cabinet. There are no provisions to level the oven after it has been installed. 3/4” (19mm) thick plywood is recommended. -
Page 8: Installation Instructions
Open the door to its fully opened position. Rotate the catch over the retaining arm on each hinge. Lift the oven door to about a 30˚ angle from the horizontal. Pull the door away from the oven while continuing to lift. -
Page 9: Turning Off The Power Supply
Be certain to locate the junction box such that the electrical supply may be easily disconnected in the event that service becomes necessary. Also, provide extra slack in the cable to allow the oven to slide forward for servicing. This appliance must be electrically grounded. -
Page 10: Mounting The Oven
Blocking the intake may cause cabinet damage and poor baking performance. Lift the wall oven up to the cabinet cutout, using the upper edge of the cavity opening and the bottom of the oven case side as gripping points. -
Page 11: Installing The Exhaust Grill
Dacor service company. If you are unable to locate a Dacor Servicer, please contact Dacor at (800) 793-0093, or visit us on the web at www.Dacor. com. Do not attempt to repair the appliance yourself. Dacor is not responsible for service required to correct a faulty installation. -
Page 12: Service Information
If you need service, be sure to have the model and serial numbers avalable when you call. Contact a Dacor authorized servicer, a Dacor dealer or the Dacor Customer Service Team at (800) 793-0093. - Page 13 oTes...
- Page 14 oTes...
- Page 15 oTes...
- Page 16 Web Site: www.Dacor.com Phone: (800) 793-0093 © 2006 Dacor, all rights reserved.


Need help?
Do you have a question about the ECD227 and is the answer not in the manual?
Questions and answers