Table of Contents
Advertisement
Quick Links
USER MANUAL
ENGLISH
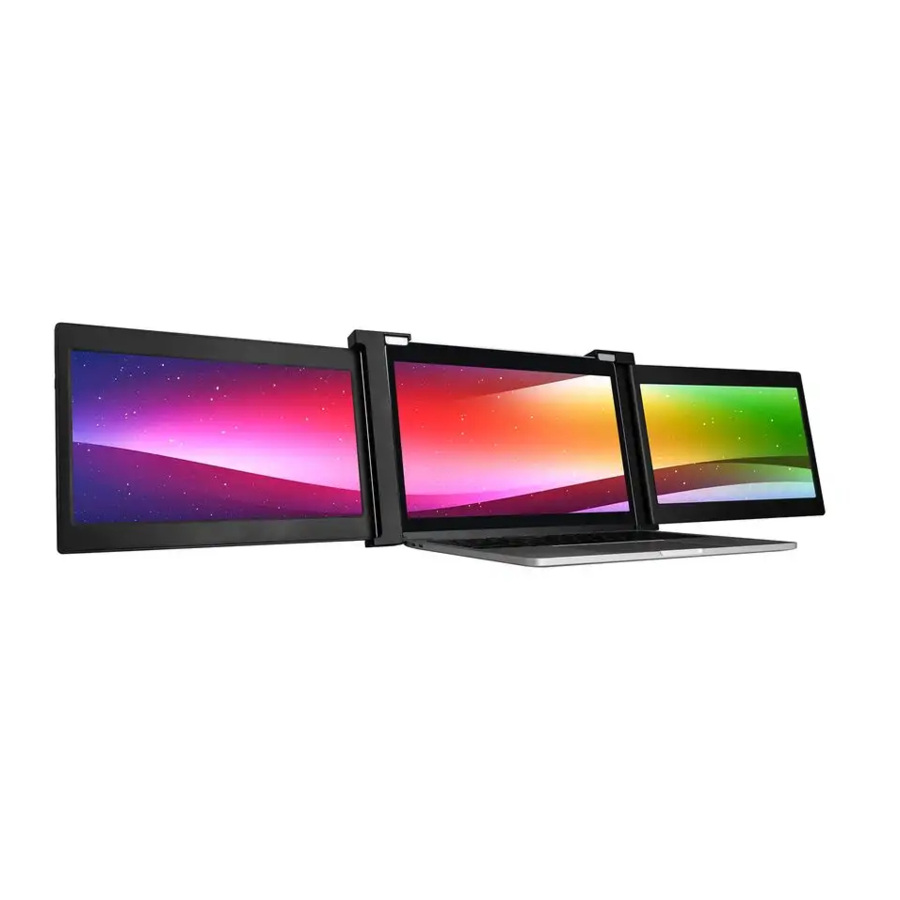
PORTABLE DUAL MONITOR
monitor 10.1"
3M101B
compatible with
laptops 12" – 13"
(with a minimum height
of 178 mm for the laptop's
own screen)
monitor 12"
monitor 13.3"
3M1200S
3M1303D
compatible with
compatible with
13.3" – 16.1" laptops
laptops 14" – 17"
(with a minimum height
(with a minimum height
of 210 mm for the
of 218 mm for the
laptop's own screen)
laptop's own screen)
monitor 14"
monitor 15"
3M1400S
3M1500S
compatible with
compatible with
15" – 18" laptops
15,5" – 18" laptops
(with a minimum height
(with a minimum height
of 230 mm for the
of 235 mm for the
laptop's own screen)
laptop's own screen)
Advertisement
Table of Contents

Related Manuals for MISURA 3M1500S


Summary of Contents for MISURA 3M1500S
- Page 1 USER MANUAL ENGLISH PORTABLE DUAL MONITOR monitor 10.1“ monitor 12“ monitor 13.3“ monitor 14“ monitor 15“ 3M101B 3M1200S 3M1303D 3M1400S 3M1500S compatible with compatible with compatible with compatible with compatible with laptops 12“ – 13“ 13.3“ – 16.1“ laptops laptops 14“ – 17“...
- Page 2 The technical data and information in this manual are provided for information only, are subject to change at any time without notice, and should not be construed as a commitment by MISURA. MISURA is not responsible for any errors or inaccuracies that may appear in this manual, including the products and software described in this manual.
- Page 3 NOTICE Please handle dual screen with care and do not press the screens to avoid damage. Do not exceed its maximum turning angle showing as below: TURNING ANGLE OF SCREENS: Left screen (0° – 235°) Right screen (0° – 180°)
-
Page 4: Table Of Contents
CONTENT OVERVIEW OF COMPONENTS INPUTS AND BUTTONS CABLE SELECTION PROTECTIVE CAP ASSEMBLY CONNECTION METHODS 6–9 DISPLAY CONFIGURATION 10–11 INTRODUCTION TO OSD FUNCTIONS OSD SETTINGS 13–15 TECHNICAL SPECIFICATIONS... -
Page 5: Overview Of Components
OVERVIEW OF COMPONENTS 2× USB-C to USB-C (90–degree) Cables VIDEO & POWER 2× Mini HDMI 1× Hook and loop to HDMI Cables (for fasten VIDEO ONLY the cables) 2× USB-C to USB-A Cables 6× Protective caps POWER ONLY... -
Page 6: Inputs And Buttons
INPUTS AND BUTTONS USB-C Full Functioned Port: Power Supply, Video Signal Transmission HDMI Mini HDMI Port (No Power Supply): Video Signal Transmission TYPE-C PORT (Power only) USB-C Port (Power Supply Only): Power Supply, Reverse Charging, Compatible with PD2.0 power supply protocol, Supporting 5-20V voltage input MENU Press the Menu to enter the OSD (On-Screen Display) menu. -
Page 7: Cable Selection
HDMI DisplayPort on the right, or refer to the laptop‘s user guide. If your laptop has two Thunderbolt3 / USB-C with DisplayPorts, the simplest way to use MISURA monitors is with the two USB-C to USB-C Mini-DisplayPort Mini-DVI cables provided. -
Page 8: Protective Cap
PROTECTIVE CAP Using the protective cap if your laptop is an ultra-thin style(laptop screen thickness ≤6mm), it helps to reduces the shaking. -
Page 9: Assembly
ASSEMBLY Lift the stand and pull the end of the stand Take the dual to extend the stand. Press monitor out and hold the button to retract of the box. the stand. Open the two screens in in the directions described in the figure. -
Page 10: Connection Methods
CONNECTION METHODS 1. Two USB-C or Thunderbolt 3/4 Ports If there are 2 full-functioned Type-C or 2 Thunderbolt 3/4 ports on the laptop, use two included Type-C cables to connect the laptop to the MISURA monitors. USB-C USB-C Notes: Use the protective cap if your laptop is an ultra-thin style (laptop screen thickness ≤6mm). - Page 11 Some USB-C ports may not be able to transmit currents above 5V/2A, please connect an external power supply to better use the monitor. USB-C to USB-A NOTE: it can USB-C USB-C be also powered by other USB-A avalible on laptop. Notes: 1 | Make sure the USB-C of your laptop is a Full-functioned USB-C port (support both video &...
- Page 12 CONNECTION METHODS 2. One Full Functioned Type-C and HDMI Port Connection If there‘s one full functioned Type-C port and one HDMI port on the laptop: 1 | Use the included full functioned Type-C cable to connect one side of the monitor and the laptop.
- Page 13 3. Other Connection Type (Extra Adapter Needed) If you lack enough HDMI port for connection: 1 | Find a suitable HDMI hub for your laptop. 2 | First: Connect one side of your monitor to laptop with a HDMI and a USB-C to USB-A cord. Second: Connect the HDMI hub to your laptop.
-
Page 14: Display Configuration
DISPLAY CONFIGURATION – PC / WINDOWS 1. Go to Display Settings (Start > > Settings > System> Display 2. Click and drag screens to configuration shown 3. If you need to set different display modes for multiple screens, please click 1/2/3 (click the „Identify“... - Page 15 DISPLAY CONFIGURATION – MAC Fig. 1 1. Open „System Preferences“ 2. Select “Displays” from the menu 3. Click “Display Settings” from display S19(1) S19(2) menu (Fig. 1) S19(2) Fig. 2 4. Click monitor name to set Mirror or Extended display (Fig. 2) 5.
-
Page 16: Introduction To Osd Functions
INTRODUCTION TO OSD FUNCTIONS 1. Press the „ „ Menu button to activate BRIGHTNESS the OSD menu BRIGHTNESS 2. Press the „+„ button to select your CONTRAST setting BLACK LEVEL 3. Press the Menu „ „ button to confirm SHARPNESS 4. -
Page 17: Osd Settings
OSD SETTINGS BRIGHTNESS BRIGHTNESS The setting range is from 0 to 100 CONTRAST The setting range is from 0 to 100 BLACK LEVEL The setting range is from 0 to 100 SHARPNESS The setting range is from 0 to 100 IMAGE ECO: Default display settings for various modes... - Page 18 OSD SETTINGS COLOR TEMPERATURE COLOR TEMP Allows you to adjust each individual RGB color or select a default Warm or Cool level The setting range is from 0 to 100 GREEN The setting range is from 0 to 100 BLUE The setting range is from 0 to 100 OSD SETTINGS LANGUAGE Select the OSD language.
- Page 19 OSD SETTINGS RESET RESET Selects RESET to return all settings to the factory default mode MISC SIGNAL It contains two signal sources, SOURCE USB-C and HDMI LOW BLUE Reduces the blue light LIGHT content on the display HDR MODE Enables HDR (High Dynamic Range) when connected to a compatible device.
-
Page 20: Technical Specifications
TECHNICAL SPECIFICATIONS Screen size 10.1 inch 12 inch 13.3 inch 14 inch 15 inch Length (left to right) Length (left to right) Length (left to right) Length (left to right) Length (left to right) 225 – 328mm Breadth 255 – 372mm Breadth 308 –... - Page 21 CLEANING AND MAINTENANCE Turn off the monitor and unplug the cable before cleaning. Clean the surface of the monitor with a smooth cloth that does not release fibres does not release fibres Resistant stains can be removed with a cloth dampened with a mild detergent designed for cleaning monitors.
- Page 22 Description and identification of machinery: Title: portable USB monitor Type: 3M101B, 3M1200S, 3M1303D, 3M1400S, 3M1500S The device described above has been tested in accordance with the above standards and found to comply with the EMC 2014/30/ES. The observations and test results given in this certificate are only relevant for the test sample.
Need help?
Do you have a question about the 3M1500S and is the answer not in the manual?
Questions and answers