Advertisement
Quick Links
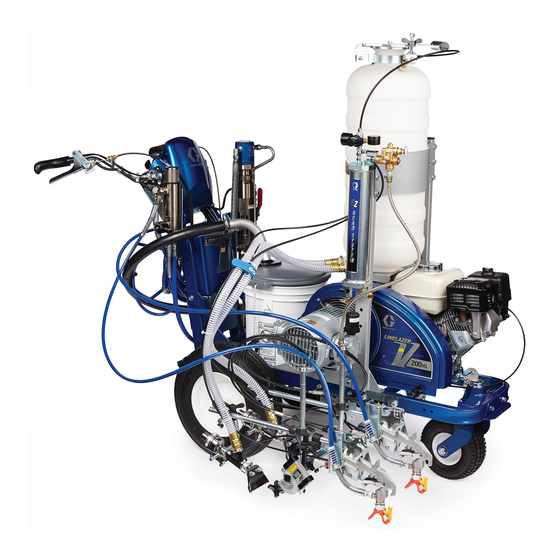
Installation - Operation - Parts
Complete Pressurized Bead System for
LineLazer 200HS/DC/MMA and LineLazer
250SPS/DC/MMA
Models:
25R268 1-Gun LL200
25R270 1-Gun LL250
25R267 2-Gun LL200
25R269 2-Gun LL250
80 psi (.55 MPa, 5.5 bar) Maximum Working Pressure
Important Safety Instructions
Read all warnings and instructions in the striper manual. Be familiar
with the controls and the proper usage of the equipment. Save
these instructions.
- For professional use only -
HS/MMA
SPS/MMA
HS/DC/MMA
SPS/DC/MMA
Related Manual
Bead Gun Kit
LLIV 200HS Repair
LLV 200HS/DC Repair and Parts
LLV 200MMA Operation, Repair, Parts 3A6466
250DC Repair
332230T
EN
332226
311021
3A3390
334053
Advertisement

Related Manuals for Graco LineLazer 250SPS


Summarization of Contents
Safety and Procedures
Important Safety Instructions
Essential safety guidelines for operating the pressurized bead system.
Hazard Warnings
Details fire, explosion, misuse, injection, entanglement, moving parts, and burn hazards.
Pressure Relief Procedure
Step-by-step guide to safely relieve pressure before servicing or cleaning.
LL200 Installation and Assembly
Tools and Component Identification
Lists required tools and identifies key components for LL200 installation.
Compressor and Frame Assembly
Instructions for assembling compressor mounting, drive components, and frame for LL200.
Bead Tank Mounting
Steps for securely mounting the bead tank onto the LL200 frame.
LL250 Installation and Assembly
Compressor and Frame Assembly
Instructions for assembling compressor mounting, drive components, and frame for LL250.
Maintenance Procedures
Routine Maintenance Schedule
Schedule for replacing air filter and changing oil for compressor upkeep.
Recycling and Disposal
Guidelines for dismantling and recycling the product at its end of life.
Bead Tank Mounting
Instructions for mounting the bead tank during maintenance or setup.
Operation and Application
Charging Air Tank
Procedure for charging the air tank with compressed air.
Setting Bead Hopper Pressure
How to set the pressure regulator valve for the bead tank.
Bead Timing With Gun
Using air flow restrictors to time bead gun opening and closing.
Determining Bead Application Pressure
Guide for matching bead delivery rate, nozzle size, and pressure.
Parts Identification
Parts List - Model 25R268
Detailed list of parts for the 25R268 model with reference numbers.
Parts List - Model 25R270
Detailed list of parts for the 25R270 model with reference numbers.
Warranty and Information
Graco Standard Warranty
Details Graco's warranty policy for equipment and limitations.
Graco Information
Contact information and website for Graco product support and patents.
Need help?
Do you have a question about the LineLazer 250SPS and is the answer not in the manual?
Questions and answers