Advertisement
Installation

- Connect the supplied armored drain line ensuring it is tight and has a constant slope. Connect filtered water line to pump and connect pump to machine.
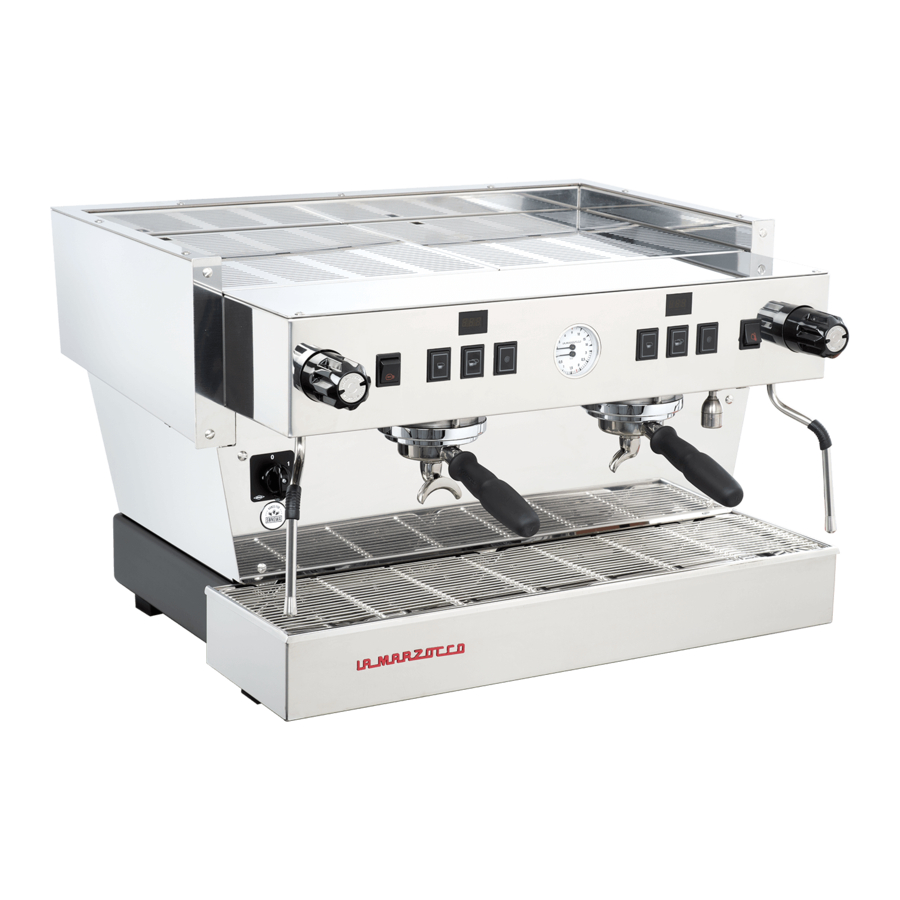
- Remove the group cover and cup tray from top of the machine.
- Open the bleed screws on top of the group caps one full turn using a 5mm allen/hex key.
- Open the water line to the machine to fill the boilers.
- Close the bleed screws as water appears.
- Verify the correct voltage and amp ratings for your machine. Then connect the machine to power and turn the main power switch to position 1.
- Once the machine has started, press the second button on the first (left) group (AV) or second button on the front of the electronics box under machine (EE) to initiate heating. Once steam pressure is above 1 bar and brew lights are illuminated, proceed to programming.
Programming
The machine can be programmed using the leftmost keypad for AV machines, or the keypad below the machine for EE machines.
T1 = back/decrease value
T2 = forward/increase valve
T3 = access programming, enter/return

BARISTA MENU PROGRAMMING (AV)
- On Group 1 press and hold T3 until the menu appears. The display will show PrG.
- To Program Doses:
- Press T3 to set the shot volumes using your espresso recipe.
- Starting with Group 1, place a measuring cup, or a gram scale and cup, under group one and press the button you want to program. The group will start flowing coffee.
- Note - T1 & T2 have short and long presses giving 4 programable doses per group.
- Press the button again when the desired volume or weight is achieved.
- Shot volumes programmed on Group 1 will automatically copy to the remaining groups. Remaining groups can be independently programmed using steps a-c above.
- The hot water duration can be set by pressing the hot water button once to start the flow of water and again to stop. Volume is based on time and not a flow meter.
- Press T3 when finished programming doses.
- Set Coffee Boiler Temperature:
- Press T2 to advance to tC and press T3 to enter.
- Verify the coffee boiler temperature, default is 200°F. Adjust using T1 or T2.
- Press T3 to accept the temperature.
- Set the Machine to Connect to the App:
- Press T2 to advance to AP and press T3 to enter.
- Press T2 to select enable and press T3 to accept.
- To Exit Barista Programming press T3 to advance to End and Press T3 again to return to normal operation.
To download the app, scan the QR code below for your device operating system.


TECHNICAL MENU
To access additional parameters, press and hold T3, then immediately press T2, the display will now read Off. Then press and hold T3 until the technical menu appears. The display will show Mod.
| Display | Description (default value) | In App | ||||||||||
 | Machine model: (AV-automatic) or EE-manual | |||||||||||
 | Half heater: if enabled, elements are activated separately (disabled) | |||||||||||
 | Tea pump (disabled) | |||||||||||
 | Pre-infusion (disabled) | Yes | ||||||||||
 | Pre-infusion time programming: Select the button on which to set pre-infusion. Time ON and time OFF can then be adjusted. *First value is time ON *Second value is time OFF | Yes | ||||||||||
 | Level probe sensitivity: (0=low), 1=med, 2=high | |||||||||||
 | Measure unit: (C°) or F° | Yes | ||||||||||
 | Temperature coffee boiler 1 (94.5°C) | Yes | ||||||||||
 | Offset coffee boiler (0°C) | |||||||||||
 | Temperature coffee boiler 2 -4grp (94.5°C ) | Yes | ||||||||||
 | Offset coffee boiler 2 (0°) | |||||||||||
 | Pid KP for coffee boiler (3.8) | |||||||||||
 | Pid KI for coffee boiler (0.04) | |||||||||||
 | Pid KD for coffee boiler (10.0) | |||||||||||
 | Pid range for coffee boiler (5.0°C) | |||||||||||
 | Temperature steam boiler (126.5°C) | Yes | ||||||||||
 | Pid KP for steam boiler (3.8) | |||||||||||
 | Pid KI for steam boiler (0.04) | |||||||||||
 | Pid KD for steam boiler (10.0) | |||||||||||
 | Pid range for steam boiler (5.0°C) | |||||||||||
 | Filter alarm Liters: 1=10lit (0) | |||||||||||
 | Number of groups (3) | |||||||||||
 | Cash register (disabled) | |||||||||||
 | Cup warmer (disabled) - not present in US spec. | |||||||||||
 | Enable or disable coffee boiler 1 [and 2 if present] | |||||||||||
 | Chrono (enabled) | Yes | ||||||||||
 | Steam boiler filling up while brewing (enabled) | |||||||||||
 | Clock
| Yes | ||||||||||
 | Purge boiler | |||||||||||
 | Empty boiler | |||||||||||
 | Start test safety valve | |||||||||||
 | First installation | |||||||||||
 | Exit |
To auto backflush machine:
Press T3+T1, then release T1. Display will read "CLN" (AV machine only)
Alarms
 | Corrupted data |
 | Alarm coffee boiler max temperature |
 | Alarm coffee boiler min temperature |
 | Alarm steam boiler max temperature |
 | Alarm steam boiler min temperature |
 | Alarm low level probe |
 | Time out steam boiler filling up |
 | Filter alarm |
 | Alarm Flowmeter |
 | Alarm electronic boards connection (for 4 group ma |
 | Alarm coffee boiler max temperature |
 | Alarm coffee boiler min temperature |
LA MARZOCCO USA HQ, SEATTLE
1553 NW Ballard Way, Seattle WA 98107
TECHNICAL SUPPORT
6am-5pm PST, Monday-Friday
206-706-9104 x101
solutions.usa@lamarzocco.com
Documents / Resources
References
Download manual
Here you can download full pdf version of manual, it may contain additional safety instructions, warranty information, FCC rules, etc.
Advertisement


Need help?
Do you have a question about the linea classic s and is the answer not in the manual?
Questions and answers