Advertisement
Table of Contents
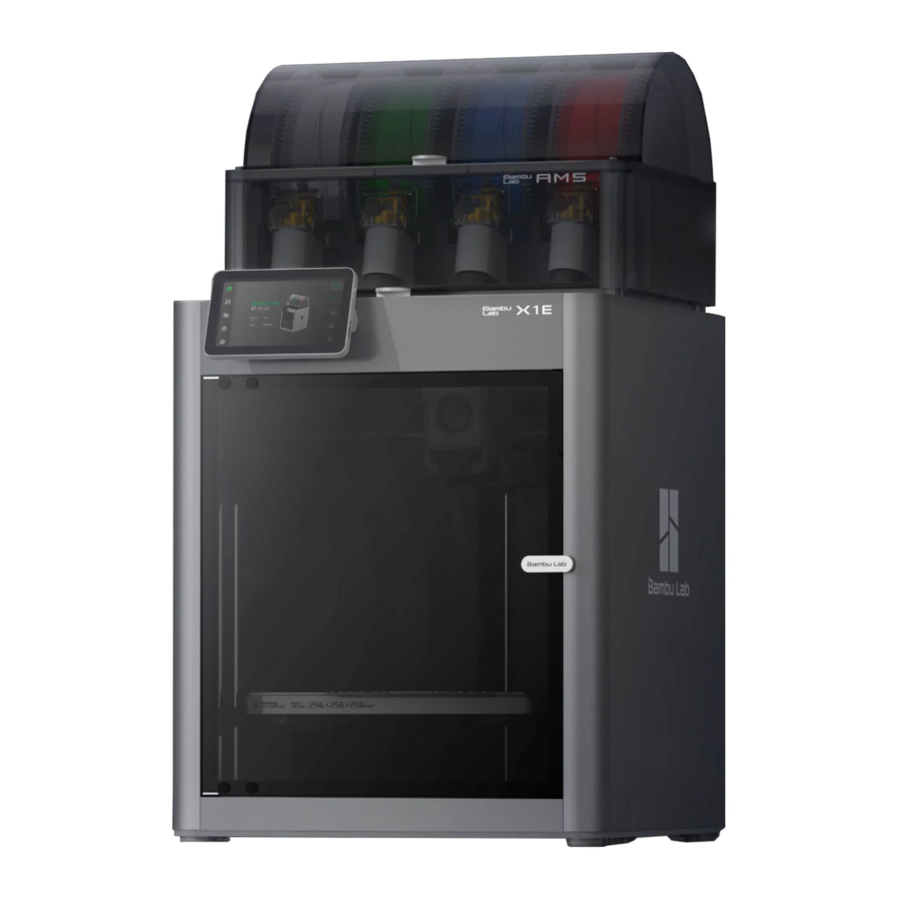
Bambu Lab X1E Manual
Introduction
The X1E combo package comes with the following:
- screen
- spool holder
- filament
- spare hotend
- 2 nozzle wiping pads
- power cord
- unclogging pin tool
- glue stick for build plate
- Bambu filament swatches
- air filter
- 4*6PIN cable
- screw pack for scraper
- Allen Keys (H1.5 and H2)
- screw pack for spool holder
- screw pack for extruder
- hotend clip 2 scrapers
- micro ridar quick label
- Textured PEI Plate (pre-installed on the hotbed)
- lubricant oil
- thermal paste
- 5 lubricant grease
- quick start guide
- disclaimer
- AMS disclaimer
- warranty leaflet.
Setting Up
- Unboxing and Removing Protective Parts
Open the cardboard box and remove the foam inserts.

Take out the plastic bag and retrieve the Quick Start Guide from the top cover (please read the Quick Start Guide before proceeding to the next step). Take out the printer and the filament spools and air filter included at the bottom of the box.

- Remove the glass top cover and the plastic bag protecting the front door glass


- Take out the accessory box

- Remove the two fixing screws of the AMS and take out the AMS.


- Remove the front chamber LED protective cover (do not forget this step)
Forgetting to remove the protective cover will result in XY home position errors, leading to print failures and a series of error messages.

- Remove the four fixing screws of the AMS bracket and take out the bracket.


- Remove the zip tie, protective cardboard, and tape from the tool head.


- Remove the three fixing screws of the heatbed.
Open the front glass door and remove the three screws securing the heatbed.

- Place the build plate.

- Install the touchscreen
Carefully connect the ribbon cable to the touchscreen. You may need to gently pull the ribbon cable, so handle it with caution to avoid damage. When inserting the ribbon cable, ensure the correct orientation and try to insert it vertically. If you need to remove it, make sure to press the buttons on both sides to release the metal latch.


- Install the external spool holder and put the glass top cover back in place.


- Install the AMS.
Remove the protective film from the AMS. Take out the spare PTFE tubes.

Place the AMS on top of the printer.

Connect the PTFE tubes.

Use the 4-pin cable to connect the filament buffer to the printer.


Use the 6-pin cable to connect the filament buffer to the AMS.


- Power on the printer, start it up, and complete the initialization process


- Complete the calibration and remove the foam under the heatbed.
Note: After the calibration is completed, please remember to remove the fixed foam under the heatbed.
![]()
- Place the provided filament into the AMS, and close the AMS cover


Documents / ResourcesDownload manual
Here you can download full pdf version of manual, it may contain additional safety instructions, warranty information, FCC rules, etc.
Advertisement


Need help?
Do you have a question about the X1E and is the answer not in the manual?
Questions and answers