
Related Manuals for Bambu Lab AMS Riser X1C


Summary of Contents for Bambu Lab AMS Riser X1C
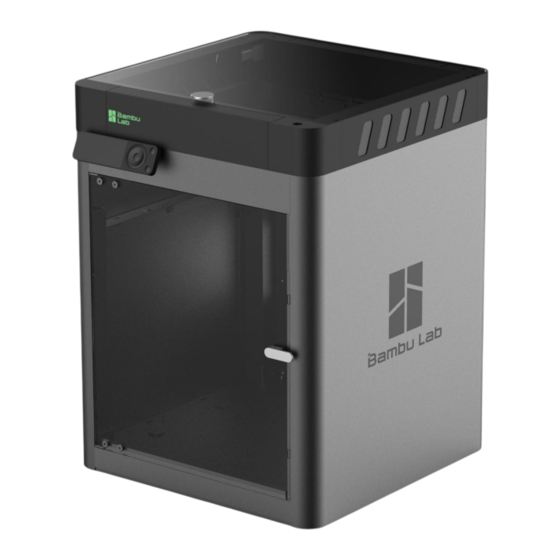
- Page 2 部件总览 Parts Overview...
- Page 3 防尘网 将防尘网粘接到格栅后,置入图中红框位置再 次进行粘接固定。 fter attaching the dustproof mesh to the grille, place it in the position marked with the red box in the diagram and proceed with reattaching and securing it.
- Page 4 箭头所指位置置入M3*5*5铜螺母。 Insert an M3*5*5 brass nut into the position indicated by the arrow.
- Page 5 用M3*20螺丝进行紧固。 Secure it using an M3*20 screw.
- Page 6 放入前散热盖板,并从箭头位置插入1.75mm 料丝作为转轴。 Insert the front heat dissipation cover, and insert a 1.75mm filament as the pivot at the arrow-marked position.
- Page 7 盖入两侧装饰板。 Install the decorative panels on both sides.
- Page 8 将3*7*3滚珠轴承安装在支架臂上,1mm孔径 防尘网粘接在外侧框架中然后扣合组装,另一 侧同样重复操作。 Install the 3*7*3 ball bearings onto the bracket arms. Adhere the 1mm aperture dustproof mesh to the outer frame and then assemble it by snapping it into place. Repeat the same operation on the other side.
- Page 9 上下装入M3*20螺丝紧固。 Tighten M3*20 screws both top and bottom.
- Page 10 将20mm行程电机提前装入预留位后,固定蓝 色箭头位置的两颗M3*20螺丝预先紧固。 After installing the 20mm stroke motor into the designated slot, pre-secure the two M3*20 screws at the position marked with the blue arrow.
- Page 11 前后对接后在箭头位置使用M3*20螺丝进行紧 固。 After aligning front and back, use M3*20 screws to secure at the arrow-marked position.
- Page 12 将所有硬件置入后,在箭头位置使用M3*20螺 丝紧固,组装即可完成 After placing all hardware components, use M3*20 screws to tighten at the arrow-marked positions. Assembly will then be complete.
Need help?
Do you have a question about the AMS Riser X1C and is the answer not in the manual?
Questions and answers