GAOMON PD1220, PD1320 Manual
- User manual (57 pages) ,
- User manual (87 pages) ,
- User manual (393 pages)
Advertisement
- 1 Product Overview
- 2 OSD Menu
-
3
Function Settings
- 3.1 Device Connection Prompt
- 3.2 Working Area Setting
- 3.3 Pen Buttons Function Setting
- 3.4 Pressure Sensitivity Setting
- 3.5 Pen Pressure Testing
- 3.6 Calibration
- 3.7 Enable the Windows Ink Feature
- 3.8 Mouse Mode (Only for specific models)
- 3.9 Customize Press Keys and Pressure Curve
- 3.10 Data Export and Import
- 4 Specifications
- 5 Trouble Shooting
- 6 Precautions
- 7 Documents / Resources
Product Overview
Product Introduction
Thanks for buying GAOMON PD1220/PD1320 Pen Display. This is a new generation of professional battery-free pen display, which can greatly improve your work efficiency of painting and creation, and full of fun. You can freely painting and writing, depicting different lines and colors, just as the pen writes on the paper, which brings you a real shock experience.
To give you a better understanding and using of your tablet, please read this user manual carefully. The user manual only shows the information under Windows, unless otherwise specified, this information applies to both Windows and Macintosh systems.
Product and Accessories
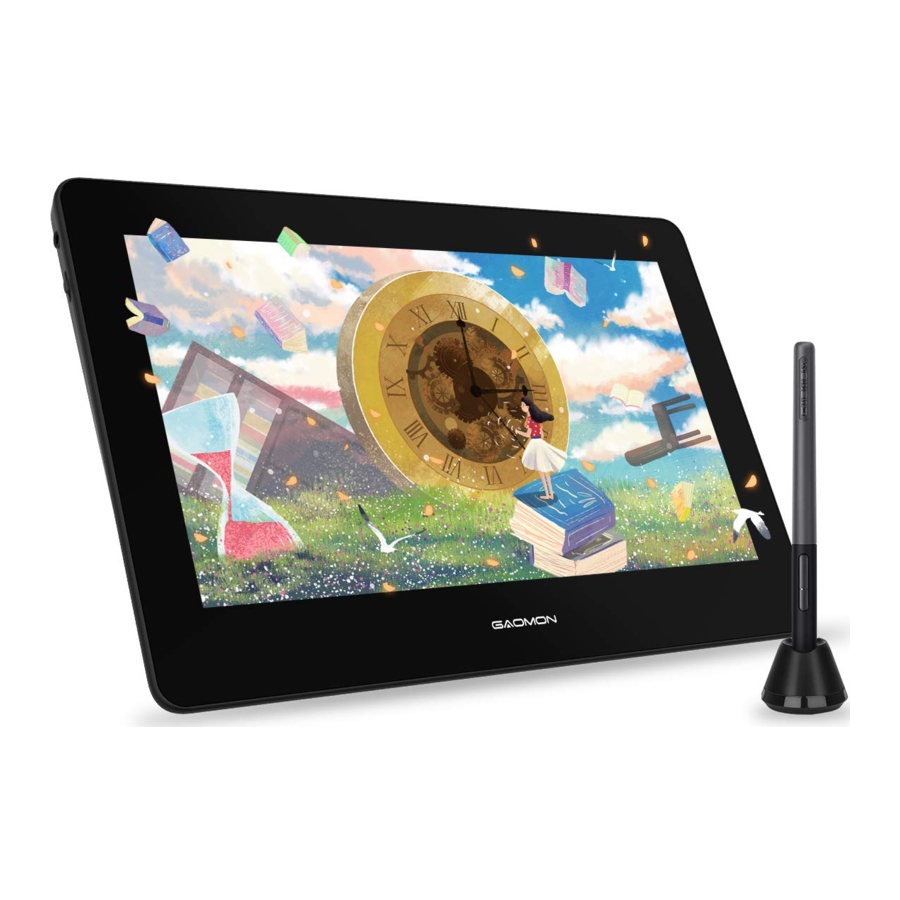
Pen Display

Digital Pen
The digital pen is battery-free and boasts 8192levels of pressure sensitivity.

Accessories

Power Adapter
Please select the appropriate plug according to your country or region, and assemble it to the power adapter (the plug that comes with the product will be different depends on countries and regions).

Connection
Scenario 1
Step 1: Connect the pen display to PC with the HDMI cable;
Step 2: Connect the pen display to PC with the Type-C male plug inserted into the pen display, and the USB-A male plug inserted into the computer. (The red USB-A male plug is for power supply)
 Note: If there is no response on the pen display or a flashing screen occurs, the other USB-A male plug left shall also be inserted into the PC or a power adapter, and please make sure there are two USB-A ports on the PC.

Scenario 2
Step 1: Buy a Type-C to Type-C cable (not included in the package);
Step 2: Connect the pen display (both Type-C ports can do the work) to PC with the Type-C to Type-C cable.
Note: Please make sure the Type-C ports of the PC supports USB3.1 and DP1.2 protocol.

Scenario 3
Step 1: Buy a Type-C to Type-C cable (not included in the package);
Step 2: Connect the pen display to smart phone with the Type-C to Type-C cable.
Note: In case there is no response on the screen or a flashing screen occurs, it is suggested to reconnect the cable, and buy a power adapter (gauge: 5V; not included in the package) for connection to the other type-C port on the device to ensure the power sufficiency. For phone charging, charger that supports PD protocol is suggested.

Note:
Please make sure your Android phone supports 'Dex','Desktop', or 'TNT' mode.
Visit GAOMON website for compatible phone models: https://gaomon.net/Pen_Display/PD1220&PD1320.html
Driver Installation
OS Support
Windows 7 or later, macOS 10.12 or later.
Install Driver
Please download the driver from our website: www.gaomon.net/download
After finishing installation, you can find the grey driver icon ![]() in the system tray area, which means the driver was installed successfully; when you connect the tablet to computer, the icon will become orange
in the system tray area, which means the driver was installed successfully; when you connect the tablet to computer, the icon will become orange ![]() , which means the driver has already recognized the tablet and you can start using it now.
, which means the driver has already recognized the tablet and you can start using it now.

Note:
- Before installing, you need to uninstall other driver of similar products, including the old driver of this product.
- Before installing, please close all graphics software and anti-virus software to avoid unnecessary mistakes.
Pen Nib Replacement
- The nib will wear off after using for a long time, then you need to replace a new nib.
![]()
- Unscrew the pen holder and take out a new nib.
![]()
- Insert the old pen nib into the hole at the bottom of the pen holder and tilt the pen to pull out the nib.
![]()
- Insert a new pen nib into the stylus and push the nib until it stops.


OSD Menu
OSD Settings
- When the headphone jack is not connected, the thumbwheel switch can be used to wheel up/down to increase/decrease the display brightness;
- When the headphone jack is connected, the thumbwheel switch can be used to wheel up/down the volume;
- Press the thumbwheel switch lightly to call up the OSD menu, where the power button will therefore be used for auto-setting. Users can wheel the thumbwheel switch up for increase and down for decrease;
MENU: call up the OSD menu/OK;
AUTO: return to the previous page when the OSD menu is running;
+: navigate upwards or increase the value when the OSD menu is running;
-: navigate downwards or decrease the value when the OSD menu is running;

Illustration of Thumblewheel Features
Quit OSD
Press the power button to quit the OSD menu.
Function Settings
Device Connection Prompt
- No Device Detected: The computer does not recognize the tablet.
- Device connected: The computer has recognized the pen display.


Working Area Setting
Using Multiple Monitors
The location of cursor depends on the screen mode you chose when connected the pen display to an external display (such as laptop or all-in-one PC), for instance:
In Duplicate Mode, the pen display and the external display will show the same picture, and the cursor will be displayed on each monitor simultaneously.
In Extend Mode, you need to choose the monitor on the driver interface to decide the cursor location.
When the location of the cursor is decided, you can map the working area on the driver interface.

Working Area Setting
Define the tablet area that will be mapped to the screen area.
- Full Area: The entire active area of the tablet. This is the default setting.
- Custom Area: Drag the corners of the foreground graphic to select the screen area.


Rotate Working Area
By changing the direction of the pen display to provide more choices for users. Four directions are available.

Pen Buttons Function Setting
Customized Setting: Select the function to be achieved on the pop-up dialog box, and it will be saved automatically.


Pressure Sensitivity Setting
The pressure sensitivity will be changed by dragging the points of the pressure curve.
Drag the points to the upper left for higher sensitivity.
Drag the points to the lower right for lower sensitivity.

Pen Pressure Testing
You can gradually apply pressure to the stylus on the screen to test the pressure level.

Calibration
Screen Calibration: Click the red cross on the screen to complete calibration.
Factory Reset: Click 'Factory Reset' to reset the pen display.
Cancel Calibration: Click 'Cancel Calibration' or press 'ESC' to stop the calibration.


Enable the Windows Ink Feature
The function is for software that supports Windows Ink, such as Microsoft Office, Windows Journal,
Adobe Photoshop CC, SketchBook 6 and so on.

Mouse Mode (Only for specific models)
As shown below, check the checkbox in front of the mouse mode to open the mouse mode. Under mouse mode, when you move the pen, the cursor moves following the relative coordinate principle, similar to moving the cursor with the mouse. This means you can click icons or select options at the edge of the screen without moving the pen to the edge of the working area.

Customize Press Keys and Pressure Curve
You can customize the function of press keys and pressure curve for different program. Select a program, customize the function of press keys, and adjust the pressure curve, the settings will be automatically saved.

Data Export and Import
The driver supports exporting and importing your custom configuration data of the product, which is convenient for you to use different software and avoid the trouble of repeated settings.

Specifications
PD1220 Specifications
| Model | PD1220 | |
| Screen | Panel Size | 11.6inch |
| Resolution | 1920 x 1080(16:9) | |
| LCD Type | IPS | |
| Active Area | 256.3 x 144.2mm | |
| Contrast Ratio | 1000:1 | |
| Brightness | 220cd/m2 | |
| Response Time | 25ms | |
| Viewing Angle | 89° /89° (H)/89° /89° (V) (Typ,)(CR > 10) | |
| Gamut | 86% Ntsc | |
| Display Color | 16.7M | |
| Touch | Touch Technology | Battery-free Electromagnetic Resonance |
| Touch Resolution | 5080LPI | |
| Pressure Level | 8192Level | |
| Report Rate | ≥ 220PPS | |
| Sensing Height | 10mm | |
| Accuracy | ±0.5mm(Center) ±3mm(Corner) | |
| Digital Pen | Model | AP50 |
| Net Weight | 16.5g | |
| Dimension | 160 x Φ12mm | |
| Side Buttons | Two Customizable Buttons | |
| General | Input Voltage | 100-240VAC, 50/60Hz |
| Output Voltage | 5V 2A | |
| Video Interface | HDMI | |
| Dimension | 304 x 206 x 13.4mm | |
| Net Weight | 0.74Kg | |
| OS Support | Windows 7 or later, macOS 10.12 or later, Android(USB3.0 DP1.2) | |
PD1320 Specifications
| Model | PD1320 | |
| Screen | Panel Size | 13.3inch |
| Resolution | 1920 x 1080(16:9) | |
| LCD Type | IPS | |
| Active Area | 293.8x 165.2mm | |
| Contrast Ratio | 1000:1 | |
| Brightness | 220cd/m2 | |
| Response Time | 25ms | |
| Viewing Angle | 89° /89° (H)/89° /89° (V) (Typ,)(CR > 10) | |
| Gamut | 86% Ntsc | |
| Display Color | 16.7M | |
| Touch | Touch Technology | Battery-free Electromagnetic Resonance |
| Touch Resolution | 5080LPI | |
| Pressure Level | 8192Level | |
| Report Rate | ≥ 220PPS | |
| Sensing Height | 10mm | |
| Accuracy | ±0.5mm(Center) ±3mm(Corner) | |
| Digital Pen | Model | AP50 |
| Net Weight | 16.5g | |
| Dimension | 160 x Φ12mm | |
| Side Buttons | Two Customizable Buttons | |
| General | Input Voltage | 100-240VAC, 50/60Hz |
| Output Voltage | 5V 2A | |
| Video Interface | HDMI | |
| Dimension | 343 x 233 x 13.4mm | |
| Net Weight | 0.88Kg | |
| OS Support | Windows 7 or later, macOS 10.12 or later, Android(USB3.0 DP1.2) | |
Trouble Shooting
Breakdowns Related to Display
| Malfunctions | Suggested Solutions |
| Power indicator doesn't work |
|
| No display on the screen |
|
| Blurry screen | Please change the resolution to 1920 x 1080 |
| Lack of colors | Check the pins of the signal cable are not bent or fractured. |
| Chromatic aberration | As the regional color temperature is different, so minor chromatic aberration is a normal phenomenon |
| Jumping or shaking image | There may be electrical devices around that cause electronic interference. |
Breakdowns Related to Functions
| Malfunctions | Suggested Solutions |
| Digital pen doesn't work and no pressure in the graphics software |
|
| Abnormal cursor movement | Reinsert the USB cable or restart the PC. |
| The side button of the digital pen doesn't work | When pressing the side button, please make sure that the nib didn't touch the tablet surface and the distance between the nib and surface is less than 10mm. |
| Deviation between the nib and the cursor | Try calibration. (About calibration, please refer to "Calibration") |
Note: For more information, please contact us with our email:
service@gaomon.net
or find answer here https://blog.gaomon.net/faq-list/
Precautions
- Please read this manual carefully before using, and keep it well for future reference.
- Before cleaning the pen display please unplug the power cord and wipe with a soft damp cloth, do not use any kind of detergents.
- Don't expose this product to water or other liquids. Take care to never spill liquids onto the pen display, digital pen, power cable, or power adapter.
- Do not place the pen display or digital pen on where is unstable or a height.
- Do not place the tablet on where children reaching easily in order to avoid danger.
- Do not place the display and digital pen close to the magnetic field.
- Only power supplies shown on the nameplate can be used for the display. If you have questions about the power supply which you are using, please consult the distributor of your display.
- To protect your display, please switch off the power when it is not in use. During blackouts or not using for long time, please unplug the display from the socket.
- Don't overload the socket or lengthen the power wire, which may lead to electric shocks.
- Make sure no foreign bodies get inside the monitor through grooves and prevent liquid from splashing on the display as to prevent short-circuit or fire.
- If the display has a breakdown, do not open the main case and try to repair it by yourself. Please ask for a service for proper repair and maintenance.
- When the following situations occur, please unplug the power adapter and you may need a service for full repair and maintenance:
- The power wire or plug is damaged or worn out;
- There is liquid splashed inside of the display;
- The display has fallen or the LCD is broken;
- When obvious abnormalities occur to the display.
- While getting the components replaced, you are supposed to guarantee that the repairman is using the substitute components specified by the manufacturer. Unauthorized component replacement might cause fire, electric shocks or other dangers.
Documents / Resources
References
Download manual
Here you can download full pdf version of manual, it may contain additional safety instructions, warranty information, FCC rules, etc.
Advertisement


Need help?
Do you have a question about the PD1220 and is the answer not in the manual?
Questions and answers