Table of Contents
Advertisement
Advertisement
Table of Contents

Subscribe to Our Youtube Channel
Related Manuals for GAOMON PD2200


Summary of Contents for GAOMON PD2200
- Page 2 D. When obvious abnormalities occur to the display. 13. While getting the components replaced, you are supposed to guarantee that the repairman is using the substitute components specified by the manufacturer. Unauthorized component replacement might cause fire, electric shocks or other dangers. www.gaomon.net...
-
Page 3: Table Of Contents
1.4 Driver Installation ......................5 1.5 Pen Nib Replacement ....................6 2. OSD Setting ..........................7 3. GAOMON Driver Setting ...................... 8 3.1 Device Connection Prompt ..................8 3.2 Working Area Setting ....................8 3.3 Press Keys Function Setting ..................10 3.4 Pen Button Setting ....................... -
Page 4: Product Overview
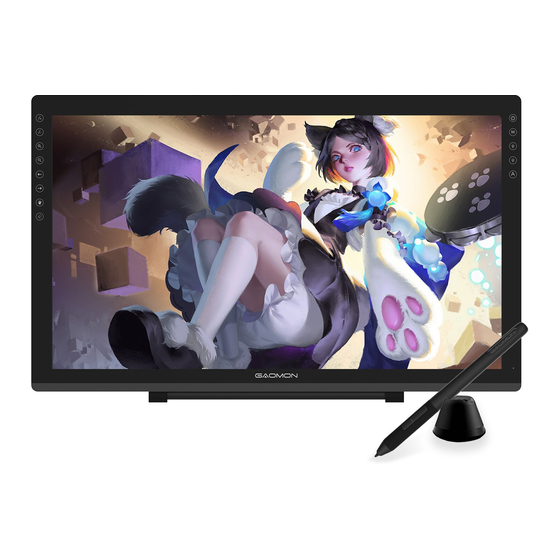
® Thanks for choosing GAOMON PD2200 Pen Display. This is a new generation of 21.5'' large size professional drawing display, which can greatly improve your work efficiency of painting and creation, and full of fun. You can freely painting and writing, depicting different lines and colors, just as the pen writes on the paper, which brings you a real shock experience. - Page 5 We designed this ergonomic adjustable stand specially for your pen display, you can adjust the angle of the display according to your usage habit, and make you feel more comfortable when painting and creating. By dragging this switch to adjust the stand angle from 15°-85° www.gaomon.net...
-
Page 6: Display Connection
1. As shown on the below, connect the pen display to your computer with attached power adapter, HDMI cable and USB Cable. 2. Press the power button on the top of the display to power on the display 1.4 Driver Installation 1.4.1 OS Support Windows 7 or later,macOS 10.12 or later www.gaomon.net... -
Page 7: Pen Nib Replacement
1.4.2 Install via Download Please download the driver from our website: www.gaomon.net/download/ After finishing installation, you can find the driver icon in the system tray area, which means the driver was installed successfully; When you connect the display to computer, the icon will change to color , which means the driver has already recognized the display and you can start using it now. -
Page 8: Osd Setting
Manually exit the MENU: Touch Auto key for 0.5 seconds Automatically exit the MENU: without movement for 10 seconds Enter OSD Menu: MENU: Call up the menu or confirm. +: Up/ Right/ Increase. -: Down/ Left/ Decrease Auto: Back to previous menu/Exit. www.gaomon.net... -
Page 9: Gaomon Driver Setting
2.Device connected: has been recognized by your computer successfully already. 3.2 Working Area Setting 3.2.1 Using Multiple Monitors When the GAOMON Display and other monitors are used in the same system, the movement of the screen cursor on the standard display depends on the system configuration. - Page 10 1. Full Area: the entire active area of the Display. This is the default setting. 2. Same Ratio with LCD. 3. Customized Area: 1.> Enter coordinate values. Or 2>. Drag the corners of the foreground graphic to select the screen area. www.gaomon.net...
-
Page 11: Press Keys Function Setting
Default Setting: Place the cursor on the button or click the button icon to see the default values for the press keys Customizable Press Keys: Select the function to be achieved on the pop-up dialog box, then click APPLY or OK to take effect. Enable/Disable Press Key: Check/Uncheck ”Enable Press key ” 10 / www.gaomon.net... -
Page 12: Pen Button Setting
3.4 Pen Button Setting Select the function to be achieved on the pop-up dialog box, then click APPLY or OK to take effect. 11 / www.gaomon.net... -
Page 13: Pressure Sensitivity Setting
The pressure sensitivity will be changed by dragging the slider up and down, the smaller the value, the more sensitive the pressure. 3.6 Pen Pressure Testing You can gradually apply pressure to the stylus on the screen to test the pressure level. 12 / www.gaomon.net... -
Page 14: Enable The Windows Ink Feature
Monitor Calibration: Click the red point of the cross center appearing on the screen to complete the calibration. Restore Factory Settings: Click "Restore Default" to restore to the factory settings. Cancel Calibration: Click"Cancel calibration ” or press ESC on the keyboard to cancel the calibration. 13 / www.gaomon.net... -
Page 15: Data Export And Import
3.9 Data Export and Import The driver supports exporting and importing your customized configuration data of the product, which is convenient for you to use different software and avoid the trouble of repeated settings. 14 / www.gaomon.net... -
Page 16: Specifications
4. Specifications Model PD2200 Panel Size 21.5inch Resolution 1920 x 1080(16:9) LCD Type LCD IPS Active Area 476.64 x 268.11mm Contrast Ratio 2000:1 Screen Brightness 220cd/m Response Time 25ms 89°/89°(H)/89°/89°(V) View Angle (Typ.)(CR>10) Gamut 92%(NTSC) Touch Type Battery-free Electromagnetic Resonance... -
Page 17: Trouble Shooting
Check "Mirror Displays" 3. If you decide to use in Extended mode. Make sure to choose PD2200 as Work Area in GAOMON Driver. It is usually ''Display 2''. Please set the display resolution with 1920 x 1080. -
Page 18: Possible Breakdowns Related To Functions
10 mm There is a deviation between Try calibration the tip and the cursor GAOMON driver indicates ''device connected'', but the pen doesn ’ t respond in Mac OS 10.14 or above versions. Find answer here: https://www.gaomon.net/question/macos_mojave_catalina_solution.html...
Need help?
Do you have a question about the PD2200 and is the answer not in the manual?
Questions and answers