
Related Manuals for LuxenHome Summer WHIF2248


Summary of Contents for LuxenHome Summer WHIF2248
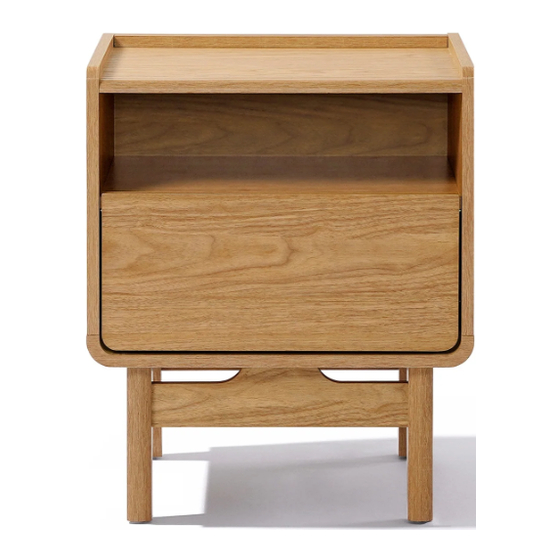
- Page 1 Summer Nightstand SKU WHIF2248 60 min. assembly 2 person C:\Users\Nur Salam\Downloads\TIME.png A S S E M B L Y I N S T R U C T I O N S * The estimated assembly time may vary depending on the individual.
-
Page 2: Tools Required
Hey,there Now is assembly time! · Thank you for purchasing this LuxenHome product. This product has been manufactured with the Deeeeeep breathe..and again..highest standards of safety and quality. Tools ready, Easy peasy! PLEA E READ ALL IN TRU TION... - Page 3 Furniture components: 1 Top Panel x1 2 Bottom Panel x1 3 Side Panel (L) x1 4 Side Panel (R) x1 5 Back Mdf Board x1 6 Shelf Panel x1 7 Drawer Face Panel x1 8 Drawer Side Panel x2 9 Drawer Back Panel x1 10 Drawer Mdf Board x1 11 Complete Leg Frame x2 12 Long Back Leg Frame x1...
- Page 4 Step 1 STEP 1 HARDWARE : Ball Bearing with Holder 12" (LEFT)x1 Down Step 1: Separate the Slide: Ball Bearing with Holder 12" Release the Lock: Inside the slide, locate a (RIGHT)x1 lock. Screw M3.5x16MM x6 Move part A down, and part B up. Push the lock device down to release the lock.
- Page 5 Step 2 HARDWARE : A Cam Pin M5x24MM x14 B Cam Lock x14 Wood Dowel M8x30MM x16 E White Leg Pin x4 COMPONENTS : 1 Top Panel x1 2 Bottom Panel x1 3 Side Panel (L) x1 4 Side Panel (R) x1 6 Shelf Panel x1 11 Complete Leg Frame x2 12 Long Back Leg Frame x1...
- Page 6 Step 3 HARDWARE : H Allen Key x1 COMPONENTS : 1 Top Panel x1 3 Side Panel (L) x1 4 Side Panel (R) x1 6 Shelf Panel x1 Installation: Place foam to support the As shown, the head of minifix housing panel during the installation goes into the open mouth of the mini fix bolt.
- Page 7 Step 5 HARDWARE : F Screw M6x50MM x4 H Allen Key x1 COMPONENTS : 2 Bottom Panel x1 Installation Screw: Please insert the screw (I) on panel using a allen key. Step 6 (combine step 3 and step 5) HARDWARE : H Allen Key x1 COMPONENTS : 5 Back Mdf Board x1...
- Page 8 Step 7 HARDWARE : I i Stub x4 I ii Screw M3.5x16MM x4 I ii Installation Screw: Please insert (I i) inside the groove fasten it with screw (I ii) Step 8 HARDWARE : D Screw M4x38MM x8 COMPONENTS : 7 Drawer Face Panel x1 8 Drawer Side Panel x2 9 Drawer Back Panel x1...
- Page 9 Step 9 HARDWARE : Ball Bearing with Holder (LEFT) 12" x1 Ball Bearing with Holder (RIGHT) 12" x1 Screw M3.5x16MM x4 Installing Ball Bearing Slide Part B on the Drawer: Prepare Drawer Bottom: Place the drawer with its bottom side facing up. Position Ball Bearing Slide: Set the ball bearing slide Part B on the drawer.
- Page 10 VOILA! Now enjoy. Warning !!! DO NOT stand on the table as this may damage the product and cause serious bodily injury. Please save this manual for future reference.
- Page 11 If you experience any dissatisfaction, feel free to contact us immediately. Our in-house customer care team will respond ASAP. customerservice@luxenhome.com · Things to do to Get response within 24 hrs expedite the process 909.548.6688...
- Page 12 Happy with our product? Leave us a review Share with others It really help us as a small business Our customers look for REAL stuff Find the product you purchased on Follow us on IG @luxen.home · our website (tip: search by SKU) ·...
Need help?
Do you have a question about the Summer WHIF2248 and is the answer not in the manual?
Questions and answers