Sign In
Upload
Download
Table of Contents
Contents
Add to my manuals
Delete from my manuals
Share
URL of this page:
HTML Link:
Bookmark this page
Add
Manual will be automatically added to "My Manuals"
Print this page
×
Bookmark added
×
Added to my manuals
Manuals
Brands
NANLITE Manuals
Lighting Equipment
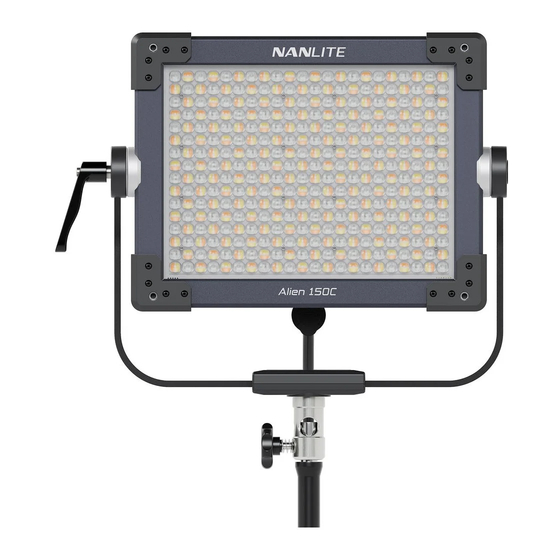
Alien 150C
User manual
NANLITE Alien 150C User Manual
Hide thumbs
Also See for Alien 150C
:
User manual
(3 pages)
1
2
Table Of Contents
3
4
5
6
7
8
9
10
11
12
13
14
15
16
17
18
19
20
21
22
23
24
25
26
27
28
29
30
31
32
33
34
35
36
37
page
of
37
Go
/
37
Contents
Table of Contents
Bookmarks
Table of Contents
Revision History
Table of Contents
Introduction
Product Overview
Product Layout
Specifications
Includes
Safety Instructions
Installing Instructions
Connecting the Fixture with the Power Outlet
Connecting the Fixture with Battery
Installing and Detaching the Quick Release Clamp
Installing the Rain Cover (for Control Unit)
Installing the Softbox
Installing the Diffuser and Eggcrate
Operating Instructions
Lighting Mode Control
Control Panel Control
Mode Selection
Mode Operation
DMX Control
DMX Connection
DMX Settings
NANLINK APP Control-Via Bluetooth
NANLINK APP Control-Via 2.4G
Remote Controller Control
Lumenradio CRMX Control
Menu
Menu Overview
Menu Operation
Others
Preset
Save Preset
Apply Preset
Manage Preset
Lock
Troubleshooting for Common Issues
Advertisement
Quick Links
Download this manual
Table of
Contents
Previous
Page
Next
Page
1
2
3
4
5
Advertisement
Table of Contents
Need help?
Do you have a question about the Alien 150C and is the answer not in the manual?
Ask a question
Questions and answers
Related Manuals for NANLITE Alien 150C
Lighting Equipment NANLITE Alien 150C User Manual
Led rgbww panel light (3 pages)
Lighting Equipment NANLITE MixPanel 150 User Manual
Rgbww led panel light (30 pages)
Lighting Equipment NANLITE Compac 100B User Manual
Led studio light (6 pages)
Lighting Equipment NANLITE Forza 150B User Manual
(34 pages)
Lighting Equipment NANLITE Forza 150B User Manual
Led bi-color spot light (35 pages)
Lighting Equipment NANLITE Compac 100 User Manual
Led studio light (6 pages)
Lighting Equipment NANLITE PavoTube 15C User Manual
Rgbww tube light (14 pages)
Lighting Equipment NANLITE DSA Series User Manual
Led studio light (8 pages)
Lighting Equipment NANLITE 600SA User Manual
(7 pages)
Lighting Equipment NANLITE PavoSlim 120B User Manual
Led bi-color panel light (67 pages)
Lighting Equipment NANLITE Alien 300C User Manual
(37 pages)
Lighting Equipment NANLITE D672II User Manual
Led panel light (10 pages)
Lighting Equipment NANLITE PavoTube II 15X User Manual
(23 pages)
Lighting Equipment NANLITE Forza 500 User Manual
Led spot light (16 pages)
Lighting Equipment NANLITE Forza 720B User Manual
(37 pages)
Lighting Equipment NANLITE PavoTube II 15C User Manual
(38 pages)
This manual is also suitable for:
Alien 300c
Table of Contents
Print
Rename the bookmark
Delete bookmark?
Delete from my manuals?
Login
Sign In
OR
Sign in with Facebook
Sign in with Google
Upload manual
Upload from disk
Upload from URL


Need help?
Do you have a question about the Alien 150C and is the answer not in the manual?
Questions and answers