Merlin prolift 230T Manual
- User manual (13 pages) ,
- User manual (13 pages) ,
- Installation instructions manual (17 pages)
Advertisement
- 1 Welcome
- 2 Manually operating the door
- 3 Operating from a remote control transmitter
- 4 Operating from a wired wall control box
- 5 Adjusting the chain tension
- 6 Adjusting the door travel limits
- 7 Additional setup for trackless tilt doors (jamb fittings) only
- 8 Adjusting the force sensitivity
- 9 Setting up wireless controls
- 10 Remote transmitter learning
- 11 Troubleshooting
- 12 Fault feedback
- 13 Specifications
- 14 Merlin service centres
- 15 Important safety instructions
- 16 Documents / Resources
Welcome
This product combines convenience with security.
You can operate the door from a remote control radio transmitter or from a push-button inside your garage. One touch of the remote control button or internal push button will activate the opener and the door will open (or close) automatically. The door may be stopped in any position during the opening cycle by simply depressing either button. You may close the door by depressing the button again.
This ruggedly built garage door opener will provide years of safe and dependable service. Please take a moment to complete and send in the warranty card included with this product. Also please note your serial number and purchase details. We are proud of our product and want to provide the best after sale service possible.
Please feel free to contact us if you have any suggestions or comments.
Manually operating the door
The garage door opener can be disengaged from the garage door to enable the door to be operated manually. This may be necessary in the event of a power failure or in case of a breakdown of the garage door opener. Do not use the release cord to drag the door open - the release lever is not designed as a towing point for a heavy door and may break if subjected to abuse.

TO DISENGAGE THE OPENER
Pull the red emergency release cord in a downwards direction. If disengaging the opener with the door open, stand clear of the door as it may close rapidly when the opener is disengaged.
TO RE-ENGAGE THE OPENER
Push the lever (attached to the red emergency release cord) upwards and move the door manually to allow the torpedo to engage inside the trolley.
Operating from a remote control transmitter
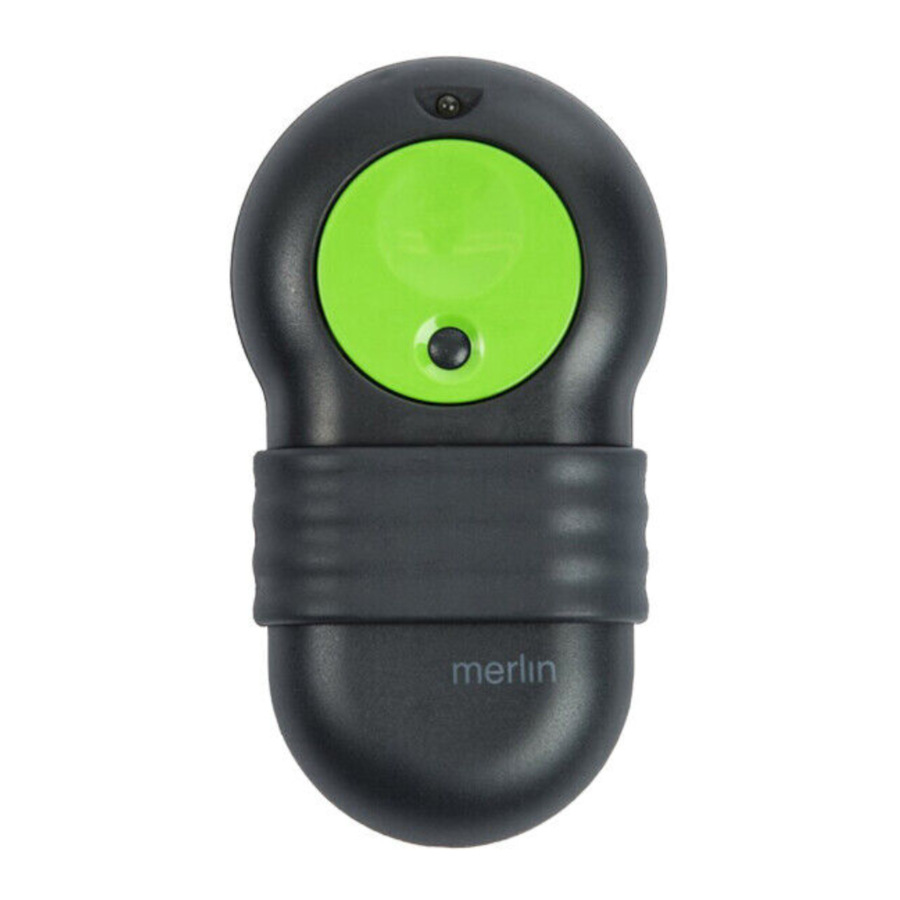
Your remote control transmitter has two buttons. One large button and one small button. You can control two products or two functions with the two buttons. For example a gate opener and a garage door opener.
A press on the a remote control transmitter button will open, stop or close the door will open, stop or close the door

If your remote control transmitter has no effect, move closer to the opener. Radio signals can be blocked or reduced by many external factors. There is a battery inside the remote control transmitter which requires periodic replacement. A fresh battery will give better performance than an old battery.
Operating from a wired wall control box
Repeated pushes of the large button cause the door to open, stop and close.
The small button turns the lamp on or off until the next door operation.
Holding the small button for 1-2 seconds places the opener in learn mode.
Delayed operation from a wired wall control box
A ten second delay can be added between pressing the main button of the wired wall control switch and the closing operation of the opener.
Remove the lamp cover, remove the control panel cover. Identify the option switch marked 'Exit delay'. Switch this to the ON position.
Note that this only affects closing commands, and only affects the wired wall switch.
All other controls and commands are unaffected.
Adjusting the chain tension
The chain is correctly tensioned when it sags no lower than the bottom of the pole. After tensioning, tighten any locking nuts.

Adjusting the door travel limits
Please read this section fully before beginning any of the procedures.
 NOTE Repeated operation of the opener in a short period of time may trigger the thermal cutout of the motor. In this case you will have to wait for approximately twenty-five minutes for the motor to cool sufficiently to continue the installation process. If the unit has overheated you will hear the relays clicking in response to the transmitter or pushbutton but the motor will not operate. After cooling down, normal operation is able to resume.
The travel of the door is set by adjusting two screws at the bottom of the opener. These screws are inside the light cover and are marked as up limit and down limit. There are arrows indicating which direction to adjust for more travel in either direction. One full turn of either screw results in around 250 mm of trolley travel.
Always run the opener to place the door at least 500 mm from the appropriate limit before making any adjustment.
The up limit travel should only require minor adjustments. Take care not to allow the door to travel out of its tracks or beyond its normal range of movement. For doors with tracks, allow a safety margin of at least 50 mm to prevent the guide wheels from travelling out of their tracks.

Additional setup for trackless tilt doors (jamb fittings) only
You will need to adjust the top limit of travel so that the door closes smoothly and without undue pressure from the opener. This may result in the door being set so that it is at an angle to the ground in the fully open position.
As the door closes from the fully open position the top edge of the door moves upwards. But the natural action of the opener is to force the door downwards (because the opener is above the door). Unless care is taken in setting the top limit of travel then the movement of the door and the force of the opener can conflict, resulting in damage or premature wear of the door hardware.
The aim of these steps is to make the opener push in the direction that the door edge is moving. Preferably the door edge is being forced upward slightly as the closing cycle begins.
You must adjust the top limit of travel so that if you sight along the fully open door the sight line intersects the pole in front of the trolley - not behind the trolley.
If the door does not open far enough after setting the top limit of travel correctly then it will be necessary to make some installation changes. The limits should now be set in the correct position. The door travel can be finely adjusted at any time by following this procedure again.


The door is not safe for unsupervised operation until the force sensitivity has been be set.
Adjusting the force sensitivity
This opener is designed to stop and reverse if it encounters an obstruction while closing. If it encounters an obstruction while opening the opener will stop. The force sensing is set when the opener is installed.
The opener compensates for small and gradual changes in the condition of the door and springs. If the door is serviced, or if a climate change is large enough to result in greatly different door loads, then adjustment may be required.
The opener can be set so that it automatically determines the correct amount of extra force to allow before deciding it has been obstructed.
Alternatively a larger manual override setting can be made, allowing for larger variations in normal door loads. This can be to deal with occasional wind or snow loadings against the door.
Force adjustment settings are on the underside of the opener, under the control panel inside the lamp cover.
Any movement of the force setting controls will reset all compensating adjustments to zero.
Moving the force setting control fully to anti-clockwise will set the opener to autosensing.
Manual force settings begin after the first 20 degrees of control knob rotation.
AUTO-SENSING FORCE
Rotate the force setting control knob clockwise, then fully anti-clockwise. This resets the force sensing memory of the opener. The next operation after this is at full available force. Once the opener is operated such that it runs fully from one limit to the other, with no obstructions, the opener will automatically set itself to only allow a small extra margin of force to be applied on subsequent operations. Opening and closing operations are independent of each other and each must be set individually.
MANUAL OVER-RIDE FORCE
This setting can allow up to the full rated force of 770 N (equivalent to 77 kg of weight) to be applied at the top edge of the door. Due to door weight and leverage the resulting force measured at the bottom edge of a closing door can be substantially greater than this. Manual settings should be used with care.
Turn the control knob according to how much additional force is allowed before the opener senses an obstruction.

Regularly check the force sensitivity feature using a 40 mm or greater block of wood as an obstruction. The door should reverse promptly on contact. Adjust down force as required.
Setting up wireless controls
Wireless controls can operate the opener, or the opener's courtesy lamp, by sending coded radio signals. These coded signals use high-security code-hopping.
Wireless controls can be hand-held or fixed to walls, such as a wireless keypad, or a wireless wall-switch.
Up to 25 Merlin wireless controls can be learned by the opener. After this, the 25th wireless control is over-written in the opener's memory. All wireless controls can be deleted from the opener's memory.
There is a learn button on the underside of the opener inside the lamp cover. The small button on a Merlin M-122 wired wall-switch can also be used as the learn button. If a setting is enabled in the opener, then it is possible to use any existing learned wireless control as a learn button. (See separate section following.)
Remove the lamp cover by turning the catch on it's underside. Remove the green or red control panel cover to expose the setup controls. Identify the red learn button.
TO LEARN A REMOTE BUTTON TO OPERATE THE OPENER
Press the learn button for 1-2 seconds, until the courtesy lamp begins to flash slowly.
Press the desired remote button, wait 1 second, press the desired remote button again.
The courtesy lamp will stop flashing once learning is complete.
TO LEARN ONE REMOTE BUTTON TO OPERATE THE OPENER AND ANOTHER TO OPERATE THE LAMP
Press the learn button for 1-2 seconds, until the courtesy lamp begins to flash slowly. Press the desired remote button for control of the opener, wait 1 second, press the desired remote button for control of the courtesy lamp. The courtesy lamp will stop flashing once learning is complete.
TO DELETE ALL REMOTE CONTROLS FROM THE OPENER'S MEMORY
Press and hold the learn (or setup on some models) button for eleven seconds, until the courtesy lamp stops flashing. After six seconds it will flash fast as a warning. If you release the learn (or setup) button during this warning period then the memory will not be wiped.
Remote transmitter learning
Remote Transmitter Learning (RTL), when enabled, allows any existing learned wireless control to be used as a learn button for the learning of additional wireless controls. Note that this feature trades convenience for security. If it is chosen to disable RTL (the default setting at manufacture is enabled) then the level of security is increased. It is recommended that after use this feature be disabled.
TO ENABLE OR DISABLE RTL
Remove the lamp cover by turning the catch on it's underside. Remove the green or red control panel cover to expose the setup controls. Identify the red learn button and the black program button.
Hold both of the these buttons down for three seconds until the courtesy lamp begins to flash. Release both buttons.
Six flashes confirms that RTL is now enabled.
Four flashes confirms that RTL is now disabled.
TO PLACE THE OPENER IN LEARN MODE USING RTL
Select any two or four button Merlin hand held remote control that is already learned in to the opener. Call this the master remote.
Press the North and the South buttons together for 2-3 seconds.
The courtesy lamp on the opener will begin to repeat a cycle of flashing three times and pausing. If you have several openers that operate from this master remote, then all these openers will begin to flash their courtesy lamps.
Press the button on the master remote that would normally operate the opener that you want to learn another remote into. Now that opener will go into learn mode, and any other openers that were flashing will return to their normal standby state.
The courtesy lamp on the opener that is in learn mode will begin to flash slowly. If no signals are received for 20 seconds, the opener will revert to it's normal standby state.
TO LEARN A BUTTON TO OPERATE THE OPENER
Press the desired remote button, wait 1 second, press the desired remote button again.
The courtesy lamp will stop flashing once learning is complete.
TO LEARN ONE REMOTE BUTTON TO OPERATE THE OPENER AND ANOTHER TO OPERATE THE LAMP
Press the learn button for 1-2 seconds, until the courtesy lamp begins to flash slowly. Press the desired remote button for control of the opener, wait 1 second, press the desired remote button for control of the courtesy lamp. The courtesy lamp will stop flashing once learning is complete.
Troubleshooting
There are no user serviceable parts inside the opener. The power cord is not intended for replacement by the user. Please refer to your Merlin dealer in the event that replacement is required. Contact your Merlin dealer or Authorised Merlin Installer for any service requirements.
| Problem | Cause/Solution |
| Opener does not work at all. | May be no power. If the lamp is still on then the motor may have temporarily shut off to cool down. SOLUTION: Plug another appliance into the power point to check power. Wait 20 minutes for the motor to cool. |
| Courtesy lamp flashes when door stops. | This is a warning that your door was obstructed and couldn't reach its normal stopping position. SOLUTION: Look for a anything blocking the beam sensor. Is the beam aligned correctly? Release the manual release and check the door can be operated easily by hand. Get your door repaired or serviced if it is heavy to move by hand. |
| Transmitter range is shorter than normal. | Your transmitter battery may be going flat. The antenna wire out of the door opener may be damaged. SOLUTION: Replace the transmitter battery. Uncoil the antenna wire if it is coiled up. |
| Transmitter doesn't work some times. | There may be occasional radio interference in your area. Your transmitter battery may be going flat. SOLUTION: Check for other interfering wireless products. Replace the transmitter battery. |
| Transmitter doesn't work at all. | Your transmitter battery may be flat. Transmitter may not be learned. SOLUTION: Replace the transmitter battery. Learn transmitter. |
| Wall button doesn't work. | Switch or wiring may be broken or damaged. Connection may be loose. SOLUTION: Replace switch. Replace wiring. Check connections each end. |
| Door operates unexpectedly. | A transmitter may be operated accidentally. SOLUTION: Check all of your transmitters to be sure they are not being operated by items placed on top of them. |
| Door is open when you arrive home, yet you pressed the button to close it when leaving. | Door may have sensed an obstruction and automatically reversed to the open position. SOLUTION: Make sure you watch the door close fully before driving away. Do not rely on auto-closing, there are many safety over-rides which can prevent it from operating. |
| Door stops part way up. | There is an obstruction being sensed. Settings for force sensitivity or door travel limits may have been altered. SOLUTION: Pull the manual release and check that the door can be operated easily by hand through the full range of movement. Adjust or repair the door. Make the opener less sensitive by adjusting force sensing. |
| Door closes partly then opens again by itself. There is an obstruction being sensed. Settings for force | sensitivity may have been altered. SOLUTION: Pull the manual release and check that the door can be operated easily by hand through the full range of movement. Adjust or repair the door. Make the opener less sensitive by adjusting force sensing |
| Courtesy lamp does not go. | Bulb may be blown. SOLUTION: Remove the lamp cover and replace the bulb. |
| Door or opener has become more noisy. | Door may be worn. Chain may be loose. Mountings may be loose. SOLUTION: Pull the manual release and check that the door can be operated easily by hand through the full range of movement. Adjust, lubricate or repair the door. Adjust the chain tension. Check the mountings. |
| Auto-closing doesn't work any more. | Beam sensor may not be functioning correctly. SOLUTION: Check beam is aligned. Check for damage to the sensors or wiring. |
Fault feedback
LED FLASHES
The green and red LEDs under the green or red control panel cover display the status of the opener, and can be used to diagnose common causes of problems.
| Green continuous | at open limit |
| Red continuous | at closed limit |
| Red slow flash | closing |
| Green slow flash | opening |
| Both slow flash | obstructed during last operation |
| Red flickering | receiving a Merlin remote control |
| Both flickering | receiving a learned Merlin remote |
MAIN LAMP FLASHES
| 1 on-flash, pause, repeating | in learn mode |
| 1 off-flash, pause, repeating | in 'set limits' mode |
| 3 on-flashes, pause, repeat | in pre-learn mode |
| on-off fast flashing | about to wipe all remotes from memory |
| 4 slow off-flashes | obstructed during last operation |
| 4 slow off-flashes | just disabled Remote Transmitter Learning |
| 6 slow off-flashes | just enabled Remote Transmitter Learning |
Specifications
| Replacement light bulb | E27 45 mm Round, 40W maximum, RC preferred |
| Mains power required | 220V to 240 V, 50 Hz, single phase AC, earthed |
| Stand-by power consumption | 3W maximum |
| Operating power consumption | 900W maximum |
| Rated force | 770N maximum |
Merlin service centres
ENGLAND
Merlin Remote Control Openers Ltd. PO Box 203, Goldthorpe, Rotherham. S63 9BL
Ph: 01709 514 533
or toll free 0800 073 0112.
Fax: 01709 514 534
Important safety instructions
It is vital for the safety of persons to follow all instructions. Save these instructions.
Each month check that the drive reverses when the door contacts a 40 mm high object placed on the floor. Adjust if necessary and recheck since an incorrect adjustment may present a hazard.
Disconnect electric power to the garage door opener before making any repairs or removing any side covers.
Do not allow children to play with door controls. Keep remote controls away from children.
Watch the moving door and keep people away until the door is completely opened or closed. Use caution when operating the manual release with the door open since it may fall rapidly due to weak or broken springs or an imbalanced door.
Frequently examine the installation, in particular cables, springs and mountings, for signs of wear damage or imbalance. Do not use if repair or adjustment is needed since a fault in the installation or an incorrectly balanced door may cause injury.
To prevent fire or shock hazard, do not expose the opener to rain or moisture.
To avoid electrical shock do not open the cabinet without disconnecting the opener from the mains.
Documents / ResourcesDownload manual
Here you can download full pdf version of manual, it may contain additional safety instructions, warranty information, FCC rules, etc.
Advertisement


Need help?
Do you have a question about the prolift 230T and is the answer not in the manual?
Questions and answers