Advertisement
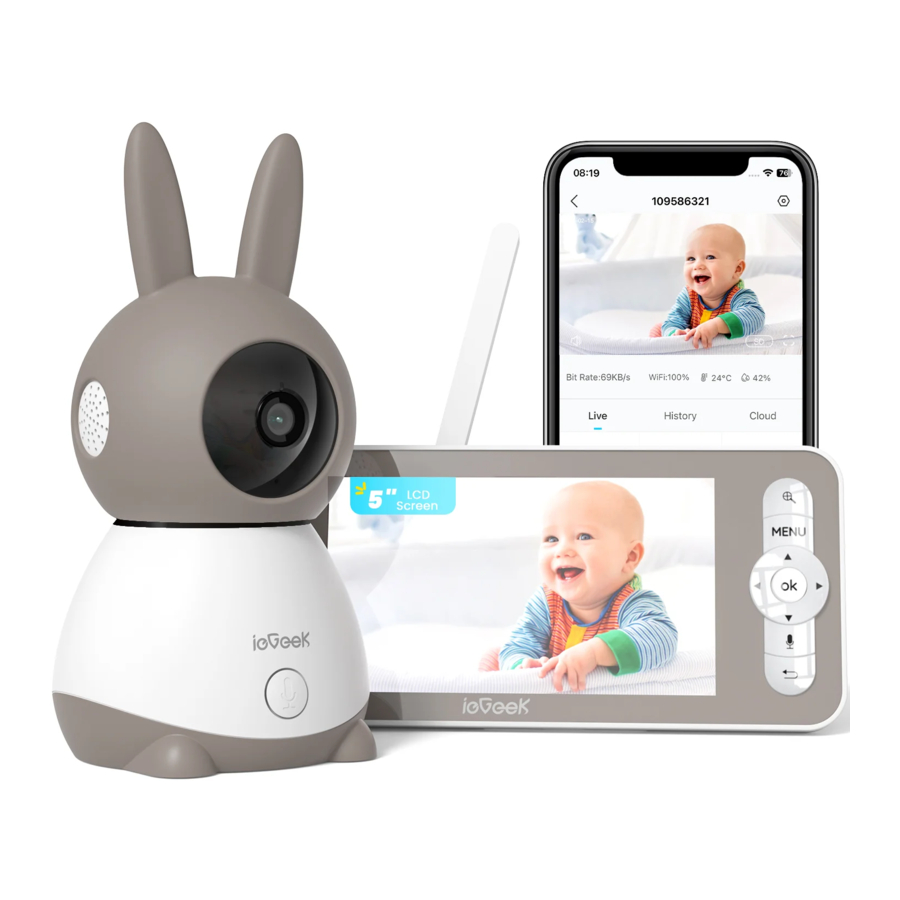
Overview

Download'ieGeekCam' APP
Method 1:
Download 'ieGeek Cam' APP from App Store (iOS) or Google Play(Android).


Method 2:
Scan the QR-Code to download the App.

Connect the Camera to the APP
The camera can be connected both to the monitor and the App. Generally, it is connected to the monitor by default. Follow the steps below to connect the camera to the App:
- Make sure the Wi-Fi network is a 2.4 GHz network, as the camera doesn't support 5 GHz Wi-Fi.
- Download the ieGeek Cam App on your phone. Register a new account to log in or log in directly.
- Use the needle to reset the camera for 5 seconds until you hear the 'BOOGU' beep, which means the camera has been reset, after 10-20 seconds, you will hear another beep and the red light of the camera blinks slowly.
- Follow the step instructions on your smart phone to add the camera, and scan the QR code with your camera.
Connect the Camera to the Monitor
Turn on the power of the camera and the monitor, and then the camera will automatically connect to the monitor.
Note: If the connection to each other is not successful the first time, please use the needle to reset the camera and reconnect the monitor after the second beep of the camera. The connection is distance-limited, so make sure the distance between the camera and the monitor no more than 300m.
Disconnect the camera from the monitor

- Press Menu button on the display screen, and select
![]() > camera.
> camera. - Long press the OK button on the display screen to release the binding.
Reconnect the camera to the monitor

- Press the Menu button on the display screen, and select
![]() > Camera.
> Camera. - Long press the camera pairing button until you hear the prompt tone.
- Press the 0K button on the display screen to start paring.
Note: If you have problems with connection, please feel free to contact service@iegeek.com for one-on-one customer service guidance.
Connect two cameras to the monitor
Follow the step above to connect the two cameras in turn. Two screens will appear on the monitor.
Press back key for camera selection (a small camera icon flashes on the screen).
Press  or
or  for camera selection, then press the 0K key to remotely control the selected camera (split Press the 0K key again to enter the selected camera in full screen mode.
Press back key to reselect the camera.
General Settings
Set up volume
- Press Menu button on the d
isplay screen, and select![]() and press OK to enter the interface.
and press OK to enter the interface. - Press UP and DOWN direction buttons to adjust volume.
 and press OK to enter the interface.
Set up brightness
- Press the Menu button on the display screen, select
![]() and press OK to enter the interface.
and press OK to enter the interface. - Press UP and DOWN direction buttons to adjust brightness.
 and press OK to enter the interface.
Set up time
- Press the Menu button on the display screen, and select
![]() > Date and Time.
> Date and Time. - Press D
irection buttons to change date, time and time displaying mode.
Set up language
- Press the Menu button on the display screen, and select
![]() > Language.
> Language. - Select the language you need.
Set up sleep mode
You can set up sleep mode to increase standby time.
- Press the Menu button on the display screen, and select
![]() > Sleep mode.
> Sleep mode. - Select Sleep mode as 1minute, 5 minutes, 10 minutes, 30 minutes, 60 minutes or off.
Setting camera status indicator
- Press the Menu button on the display screen, select
![]() and press the OK button to enter the interface.
and press the OK button to enter the interface. - Press the left and right arrow keys to select on or off.
 and press the OK button to enter the interface.
SD card
- Press the Menu button on the display screen, and select
![]() >SD card management. Then you can view the total capacity and remaining capacity of your SD card.
>SD card management. Then you can view the total capacity and remaining capacity of your SD card. - (Optional) You can format the SD card as you needed, but make sure that the important data is backed up.
Note:
This product does not support hot-swapping. Please insert the SD card before power on or unplug it after power off.
Upgrade
Make sure your camera is connected to a 2.4 GHz Wi-Fi. You can upgrade your camera when the upgraded alarm appears. Or press Menu button on the display screen, and select  > Device information to check whether it needs to be upgraded.
Low battery alarm
When the camera is low on battery, the low battery alarm will appear on the display screen. Please charge the display as soon as possible.
Motion Tracking & Alarm Area
- Motion Tracking: Open ieGeek Cam app, click your device, click the pinion icon in the upper right corner, select Motion Tracking and open it.
- Alarm Area: Open ieGeek Cam app, click your device, click the pinion icon in the upper right corner, select Alarm Management>Motion Detection>AIarm Area.
Onvif Settings
Open ieGeek cam app, click your device, click the pinion icon in the upper right corner, select Onvif Setting, you need to set password to enable this function.
FAQ
The monitor cannot be previewed properly?
Check whether the monitor has connected to the camera. If not, pair the camera and the monitor firstly.
Cannot find the pairing button?
The pairing button is the call button of the camera. Long press the button for 3 seconds, and follow the step instructions of the display. To enter the pairing interface of the display, press the Menu button on the display screen, and select Camera Management.)
What if the monitor screen is stuck and it doesn't work while pressing any buttons?
Reset your monitor with the needle, and then long press the power button of your monitor to restart it.
Why I can't get the notifications with my cell phone App when I connect the camera to the monitor?
Please confirm that the App has been running on the phone, and the relevant reminder function has been opened; Message notification and authority confirmation in the mobile phone system has been opened.
How can I add devices or configure my network?
The camera can be connected to both the monitor and the application. Generally, it connects to the monitor by default.
The sound and cry detection function doesn't work
The sound detection interval is 1 minute, after the sound triggers the alarm, the interval is 1 minute again to avoid f ent alarms. The cry detection function can detect most babies crying. This function uses a sound filtering algorithm, so some crying may not trigger the 'cry detection' function.
Please follow the steps below to connect the camera to the application.
- Make sure the Wi-Fi network is a 2.4GHz network, as the camera does not support 5GHz Wi-Fi.
- Download the appropriate application on your phone. Register a new account to sign in or sign in indirectly.
- Use the needle to reset the camera until the red status light flashes slowly (you must connect the camera to the app within 2 minutes or you must reboot the camera again).
- Follow the step-by-step instructions on your smartphone to add the screen and scan the QR code with the camera.
Can I set up motion tracking and alarm zones on the monitor?
No, you need to set the motion tracking and alarm area through the ieGeek Cam APP.
Why does the display make a bee sound?
Because the monitor is too close to the camera, take it away from the camera m ore than 1 meter.
If you encounter any other problems, please send your order number and problem to service@ iegeek.com, we will deal with your issue within 24 hours.
Watch operation videos
Scan the QR code to subscribe and watch more step-by-step operation videos about ieGeek cameras, and stay informed with the latest in
tech news and product launches.

Technical Support
If you need help, please before returning your product.
Most questions can be answered through our online support center at http://www.iegeek.com or our after-sale mailbox at service@iegeek.com.
Documents / Resources
References
Download manual
Here you can download full pdf version of manual, it may contain additional safety instructions, warranty information, FCC rules, etc.
Advertisement


Need help?
Do you have a question about the Baby 1T and is the answer not in the manual?
Questions and answers