
Related Manuals for Patiowell T-PS24-0590


Summary of Contents for Patiowell T-PS24-0590
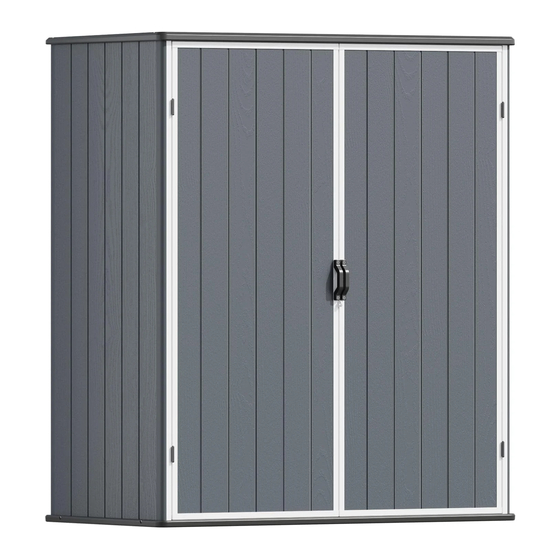
- Page 1 ASSEMBLY INSTRUCTIONS RESIN STORAGE CABINET SKU: T-PS24-0590 Patiowell, Store Your Resin Garden House Patio Well Installation Tutorial https://www.patiowell.com/ pages/video-T-PS24-0590 www.patiowell.com saleservice@patiowell.com...
- Page 2 FLOOR PARTS A X1 WALL PARTS G1 X4 G2 X1 G3 X1 G4 X2 G5 X1 G3-L X1 G5-R X1...
-
Page 3: Door Parts
ROOF PARTS C X1 C1 X1 DOOR PARTS M X2 M1 X2 M2 X1 M3 X1 D1-2 X4... - Page 4 ACCESSORIES D5 X4 D1-3 X2 B1-2-1 X1 D1-2-1 X1 C3 X8 C4 X1 C2 X5 SCREW ST5*30 ST5*14 ST4*30 ST5*12 S3 X20 S4 X8 ST5*20 M5*30 ST5*40 S7 X8 S5 X5...
- Page 5 STEP 1 Please note the direction by the“UP” of G3-L. √ × Note: G3L and G3 need to be installed securely, otherwise, the subsequent steps cannot be completed. G3-L G3-L 4 pcs STEP 2...
- Page 6 STEP 3 STEP 4...
- Page 7 STEP 5 STEP 6...
- Page 8 STEP 7 STEP 8...
- Page 9 STEP 9 STEP 10 Please note the direction by the“UP” of G5-R. √ × Note: G5 and G5-R need to be installed securely, otherwise, the subsequent steps cannot be completed. G5-R G5-R 4 pcs...
- Page 10 STEP 11 STEP 12 Note: The screw holes of C1 need to be aligned. √ × Note: The protrusion of C2 5 pcs should face downwards.
- Page 11 STEP 13 8 pcs STEP 14 8 pcs...
- Page 12 STEP 15 20 pcs STEP 16 12 pcs...
- Page 13 STEP 17 Note: M1/M2 need to be installed securely with part M, otherwise, the subsequent steps cannot be D1-2 completed. √ × Note: After installing M1, M2, and D1-2, measure to ensure the length is 1608mm and the width is 666mm. If the deviation is too large, it is recommended to press each part firmly into place before reinstalling.
- Page 14 STEP 19 Note: D1-2 M1/M2 need to be installed securely with part M, otherwise, the subsequent steps cannot be completed. √ × Note: After installing M1, M2, and D1-2, measure to ensure the length is 1608mm and the width is 666mm. If the deviation is too large, it is recommended to press each part firmly into place before reinstalling.
- Page 15 STEP 21 D1-3 B1-2-1 6 pcs 2 pcs STEP 22 D1-2-1 D1-3 6 pcs 2 pcs...
- Page 16 STEP 23 4 pcs STEP 24 4 pcs...
- Page 17 STEP 25 8 pcs...
-
Page 18: Care And Safety
CARE & SAFETY • In case of fire, do not attempt to extinguish any burning polypropylene with water Unsuitable for storage of flammable or corrosive substances. • It is of utmost importance to assemble all of the parts according to the directions. Do not skip any step.
Need help?
Do you have a question about the T-PS24-0590 and is the answer not in the manual?
Questions and answers