Advertisement
Quick Links
SAFETY TIPS:
•Ensure that the cabinet is positioned square and firm on the floor so that it will not fall over. Some cabinets are equipped with
adjustable floor levelers. Adjust the levelers for maximum stability and proper alignment. (The levelers may have unscrewed
unevenly during shipment.)
•Some cabinets include a Safety Strap. Follow the instructions included with the Safety Strap to ensure maximum stability. (See step #4)
•Do not allow climbing on cabinets.
•Keep plastic bags and small parts away from children.
CABINET SET UP:
1. Turn the adjustable floor levelers located on the bottom of the
cabinet all the way in (up)(Figure 1). Be sure to include the
support(s) located in the center of some cabinets.
2. Inspect the inside of the cabinet, carton and packaging to make
sure you have removed all separately packed parts. Do NOT
dispose of any packing material until the set up is complete.
3. Move the cabinet to its final location. Do NOT put any items on
shelves or racks until finished with the set up instructions.
Attach units together (available on some models):
(TWO PEOPLE RECOMMENDED)
TOOLS REQUIRED: screwdriver (not included)
a) Locate hardware pack of #8 x 1" screws and #8 x 2-1/4" screws.
b) Locate holes in the Top Front Rail and Top Back Rail, from inside
of the unit (Figure 2).
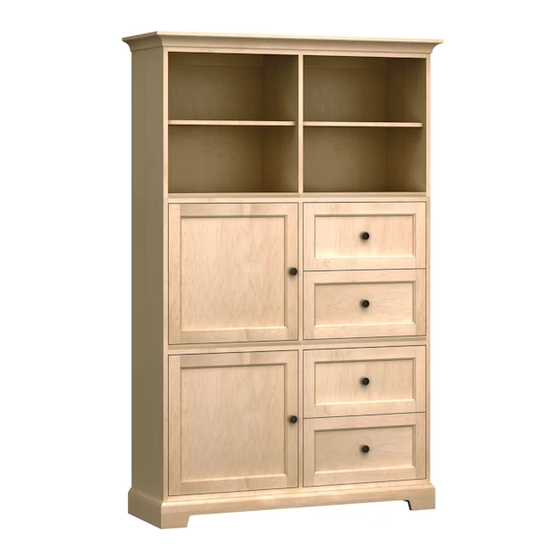
c) Determine the unit arrangement according to the diagram of
your Personal Storage Cabinet.
d) Position the Base Unit near its final location. (Figure 3)
e) Position the Second Unit on top of the Base Unit. (Figure 3)
f) Confirm the units are straight front-to-back and side-to-side.
g) Secure the units together with the enclosed screws, from inside of
the unit. (Figures 2, 3 & 4)
Use 1" screws to attach the Top Front Rail of the Base Unit
with the Bottom Panel of the Second Unit.
Use 2-1/4" screws to attach the Top Back Rail of the Base
Unit with the Bottom Panel of the Second Unit.
h) Repeat above steps as needed to add additional levels to your
cabinet.
Refer to any additional assembly instructions that may be included
with your cabinet.
4. Assemble the cabinet as required.
Some cabinets include a safety strap to prevent tipping.
If a safety strap was included with your cabinet, review the
instructions included with the safety strap at this time and choose
the assembly option which best fits your application. The cabinet
should be attached to the wall for maximum stability. If your
cabinet does not have this feature, proceed to the next step.
CABINET INSTRUCTIONS
Holes for #8 x 2-1/4" screws
Top Front Rail
Holes for #8 x 1" screws
FIGURE 3
1
Levelers
FIGURE 1
Top Back Rail
FIGURE 2
Bottom Panel
Second Unit
Base Unit
FIGURE 4
497107 Rev1
Advertisement

Related Manuals for Howard Miller HS50P


Summary of Contents for Howard Miller HS50P
- Page 1 CABINET INSTRUCTIONS SAFETY TIPS: •Ensure that the cabinet is positioned square and firm on the floor so that it will not fall over. Some cabinets are equipped with adjustable floor levelers. Adjust the levelers for maximum stability and proper alignment. (The levelers may have unscrewed unevenly during shipment.) •Some cabinets include a Safety Strap. Follow the instructions included with the Safety Strap to ensure maximum stability. (See step #4) •Do not allow climbing on cabinets. •Keep plastic bags and small parts away from children. CABINET SET UP: 1.
- Page 2 5. Close and secure the door(s). Front Screw 6. Level the Cabinet. Place a level alongside the cabinet from front- to back and side-to-side. There are adjustable levelers under the cabinet (Figure 1) that can be turned in (up) or out (down) to Back Screw make adjustments.
Need help?
Do you have a question about the HS50P and is the answer not in the manual?
Questions and answers