Advertisement
Advertisement
Table of Contents

Subscribe to Our Youtube Channel
Related Manuals for Pyronix MC1Z2/SHOCK-WE


Summary of Contents for Pyronix MC1Z2/SHOCK-WE
- Page 1 MC1Z2/SHOCK-WE - Installation Guide Speci cation Privacy Terms...
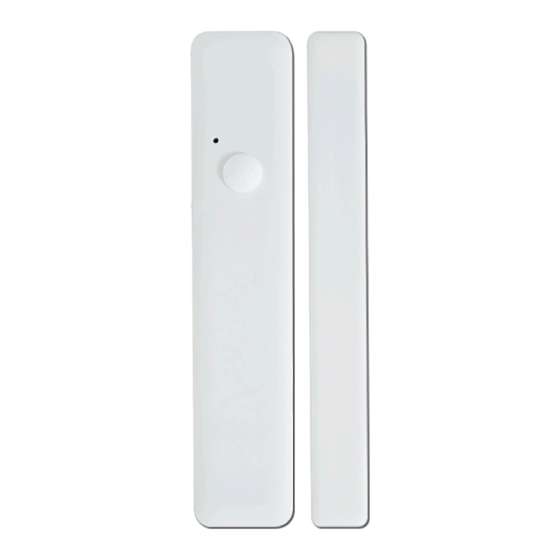
- Page 2 Speci cation Value Device 26 x 125 x 28mm, 65g Dimensions and weight (W x H x D) Magnet 15 x 125 x 16mm, 30g Casing / Colour 2.5mm ABS, white LED colours Red, blue and green Transmission frequency 868MHz FM transceiver narrow band Transmission method Fully encrypted rolling code Battery...
-
Page 3: Pcb Overview
Emissions EN 55032:2015+A11:2020 Immunity compliance EN 50130-4:2011+A1:2014 Environmental class PCB Overview A. Terminals for external inputs B. Shock sensitivity button C. Jumper headers D. Contact/zone 2 learn button E. Tamper switch F. Shock/zone 1 learn button G. LEDs H. Reed switch I. -
Page 4: Jumper Information
The device has four terminals that can be wired to utilise external inputs. The inputs must be wired in a double pole con guration between the common (C) and the zone/tamper terminal. C. Jumper header overview a. Zone 1 external input enable/disable b. - Page 5 a. Zone 1 external input b. Supervision retries enable/disable enable/disable This header is used to determine the When this two pin header is linked out number of times the device will poll trying with a jumper, the Z1 terminal is disabled. to get a supervision acknowledgment from the panel.
- Page 6 s s used to dete e t e type o utt g a ju pe o t s t o p eade for zone 2. disables the T terminal. Descriptions below are given holding the device vertical with the battery to the bottom.
-
Page 7: Wireless Device Control
Wireless Device Control i. Prepare the system for pairing with the device. – Please refer to control panel instructions. ii. Remove the piece of polyester lm that is separating the battery from the battery contacts. iii. Press and hold the ‘learn button’ on the device for at least 5 seconds and then release. –... -
Page 8: Installation
Once learnt to the system, the zone or zones need to be programmed so that the system responds as intended when the device is triggered. Please note: Refer to the installation or programming guides provided with the control panel for advice. - Page 9 Mark where the If the device is to be Securely a x the Insert the P device and the installed in a brick or device and magnet. magnet is b magnet are to be plaster wall, drill out In order to comply switch and installed.
- Page 10 For any of the con gurations utilising the external alarm circuit input, the reed switch of the device should be linked out. See section “C. Jumper headers (https://www.support.pyronix.com/uk/product/mc1z1-we/documentation/mc1z2-shock-we- installation-guide#C.+Jumper+header+overview)”. Please note: The colours for the circuits below are indicative and not the colours required to make the circuit work.
- Page 11 Zone 1 Alarm Circuit Zone 2 Alarm Circuit Tamper Circuit Only Only Only Remove the jumper to Remove the jumper to Remove the jumper to enable the internal enable the internal enable the external tamper switches. tamper switches. tamper terminal. Remove the jumper to Remove the jumper to Wire a normally closed...
- Page 12 Shock Sensitivity The shock has 5 levels of sensitivity, 1 being the lowest and 5 the highest. It also has the capability if being completely disabled as well. Follow these steps to set the sensitivity: Press and hold the button positioned at the top left corner of the PCB.
-
Page 13: Calibration Mode
Remove the jumper to enable the internal tamper switches. Move the jumper over from the two pins linking out Z2, so that it now links the RS pins. Wire the roller shutter circuit between the C and Z2 terminals. When the device is con gured in ‘roller shutter mode’, it requires 7 activations to trigger the zone into alarm. -
Page 14: Battery Information
(battery excluded). In the interest of continuing care and design, Pyronix Ltd reserves the right to amend speci cations, without giving prior notice. Please see the control panel programming manuals for further information or visit: www.pyronix.com/uk/terms-...
Need help?
Do you have a question about the MC1Z2/SHOCK-WE and is the answer not in the manual?
Questions and answers