Advertisement
Available languages
Available languages
Table of Contents
π
H-11331
SEATING CHAIR
TOOL NEEDED
4 mm T-handle Hex Key
(included)
Arm x 2
1.
Using one 1¾" bolt, attach left arm and left back leg
using 4 mm T-handle hex key. Repeat with right arm
and leg. (See Figure 1)
NOTE: Left arm and left back leg have notches
on inner right faces. Right arm and right back
leg have notches on inner left faces.
Figure 1
Notches
Arm
PAGE 1 OF 6
1-800-295-5510
uline.com
Seat x 1
Back x 1
1¾" Bolt
Back Leg
Left Side
PARTS
Back Leg x 2
ASSEMBLY
2. Using 4 mm T-handle hex key, attach back leg to
seat using 1¾" bolt in top hole. Attach front leg to
seat using two 2" screws. Repeat on opposite side.
(See Figures 2-3)
Figure 2
Top Hole
1¾" Bolt
Figure 3
Right Side
Para Español, vea páginas 3-4.
Pour le français, consulter les pages 5-6.
1¾" Bolt x 4
2" Screw x 6
3" Screw x 2
Left Side
2" Screws
1¾" Bolt
2" Screws
0224 IH-11331
Advertisement
Table of Contents

Related Manuals for U-Line H-11331


Summary of Contents for U-Line H-11331
- Page 1 Para Español, vea páginas 3-4. Pour le français, consulter les pages 5-6. π H-11331 1-800-295-5510 uline.com SEATING CHAIR TOOL NEEDED 4 mm T-handle Hex Key (included) PARTS 1¾" Bolt x 4 2" Screw x 6 Arm x 2 Seat x 1...
-
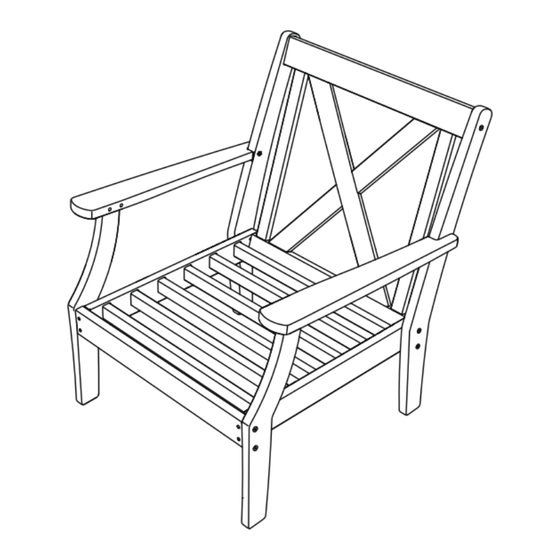
Page 2: Maintenance
ASSEMBLY CONTINUED 3. Attach back legs to back of chair using two 2" screws in the top holes and two 3" screws in the bottom holes. (See Figure 4) Figure 4 2" Screw 2" Screw 3" Screw Bottom Completed Holes Assembly 3"... - Page 3 π H-11331 800-295-5510 uline.mx SILLA PARA JARDÍN HERRAMIENTA NECESARIA Llave Hexagonal con Mango en T de 4 mm (Incluida) PARTES 4 Pernos de 1¾" 6 Tornillos de 2" 2 Brazos 1 Asiento 1 Respaldo 2 Patas 2 Tornillos de 3"...
-
Page 4: Mantenimiento
CONTINUACIÓN DEL ENSAMBLE 3. Fije las patas posteriores al respaldo de la silla utilizando dos tornillos de 2" en los orificios superiores y dos tornillos de 3" en los orificios inferiores. (Vea Diagrama 4) Diagrama 4 Tornillo de 2" Tornillo de 2" Tornillo de 3"... -
Page 5: Montage
π H-11331 1-800-295-5510 uline.ca CHAISE OUTIL REQUIS Clé hexagonale à poignée en T de 4 mm (inclus) PIÈCES Boulon de 1 ¾ po Vis de 2 po x 6 Accoudoir x 2 Siège x 1 Dossier x 1 Pied arrière x 2... -
Page 6: Entretien
MONTAGE SUITE 3. Fixez les pieds arrière au dossier de la chaise à l'aide de deux vis de 2 po dans les trous supérieurs et de deux vis de 3 po dans les trous inférieurs. (Voir Figure 4) Figure 4 Vis de 2 po Vis de 2 po Vis de 3 po Trous...
Need help?
Do you have a question about the H-11331 and is the answer not in the manual?
Questions and answers