Dakota Alert MURS Alert Manual
- Owner's manual (8 pages) ,
- Owner's manual (8 pages) ,
- User manual (12 pages)
Advertisement
![]()
Introduction
Our MURS Alert Transmitter is compatible with any of our other MURS products:
The M538-BS is a Base Station MURS transceiver that receives alert signals from the MURS Alert transmitters. It can also be used for two way communication between other MURS Transceivers. In addition, the M538-BS is equipped with a normally open (N/O) relay output.
The M538-HT is a hand-held MURS transceiver that receives alert signals from the MURS Alert transmitters. It can also be used for two way communication between other MURS Transceivers. The M538-HT is powered by six rechargeable batteries (included) that will last for about 40 hours per charge.
Please visit our website www.dakotaalert.com for more information.
How to use
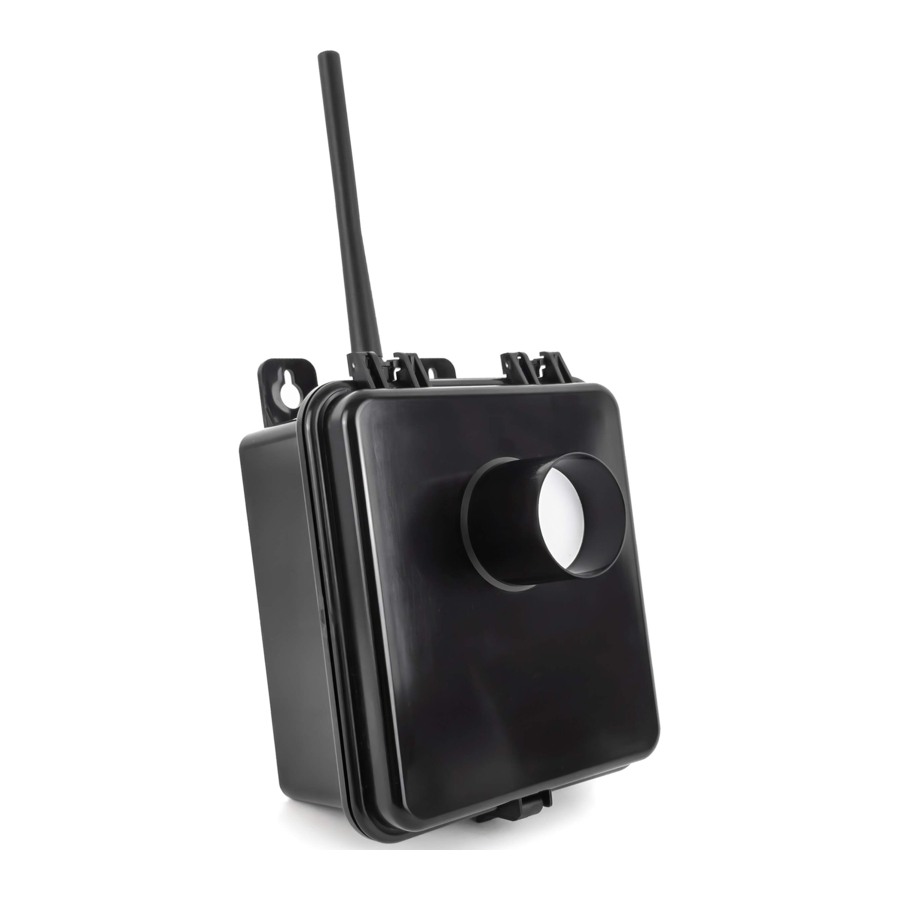
When you first open the MURS exterior case you will see an instruction booklet, antenna, a battery pack and the PIR sensor.

Remove the antenna and screw it onto the antenna jack on the top of the exterior case.

Power Supply
The MURS Alert Transmitter is powered by 6 AA batteries. For best results, we recommend that you use good quality alkaline batteries. When replacing batteries, do not mix old and new batteries together. The average life of the batteries is about 6 months, under normal conditions. Conditions affecting battery life include use of the product in high traffic areas, and using the product in a cold climate. If you live in a cold climate, it is recommended that you put in new batteries at the beginning of winter.
Installation
In order for the sensor to detect properly, it is recommended that the transmitter be mounted on a tree or post about 20 feet back from the area to be monitored and 3 - 4 feet off the ground.

Alert Signal
The MURS Alert Transmitter has 4 different alert signals. The alert signal will repeat the location of the transmitter. The signal will be a voice saying "Alert zone one,...", "Alert zone two,...", "Alert zone three,...", or "Alert zone four." If you have more than one transmitter, you may wish to change the alert from the default setting (Alert zone one...) to one of the other alerts. This can be done by changing the position of the switch located on the radio board (see Figure 5).
PIR Settings

To adjust the settings of the PIR motion detector, remove the lens cover of the sensor. Remove the jumpers and reinstall them on the correct pins for settings:

DETECTION (RANGE) PIN POSITIONS:
 | LOW Setting: Detects up to 30 feet |
 | MEDIUM Setting: Detects up to 50 feet |
 | HIGH Setting: Detects up to 80 feet |
LED:
 | To turn ON: Place the jumper over the top two pins to turn the LED light on. The LED light will flash when it detects. |
 | To turn OFF: Place the jumper over the bottom two pins. The LED will not light up when it detects. |
FILTER:
| To turn ON: Place the jumper over the top two pins to turn the Filter on. This setting is recommended when using OUTDOORS. |
| To turn OFF: Place the jumper over the bottom two pins to turn the filter off. This setting is recommended when using INDOORS. |
RESET:
 | 15 Second Reset: Place jumper over the top two pins. Your transmitter will reset 15 seconds after activation. |
 | 120 Second Reset: Place jumper over the bottom two pins. Your transmitter will reset 120 seconds after activation. |
Changing Zones
- To access the MURS Radio Board gently push the two plastic tabs to the side and lift out the PIR and plastic backing.
![]()
- You will now be looking inside of the case to the radio transmitter.

- Locate the Alert Zone switch. This is a 4 position slide switch. If the switch is all the way up to the top, this is Zone One, the other zones will be located in order from top to bottom.


Changing Channels & Sub-Channels

- Locate the top dial (SW1)on the MURS Radio Board ( Figure 5). The MURS Alert Transmitter is capable of transmitting on any of the 5 MURS channels. Turn the dial to select the appropriate channel 1 to 5.
- The bottom two dials (SW2 & SW3) make up the Sub-Channel (CTCSS). There are 38 different CTCSS combinations, if the CTCSS is set at 39 or 00, no Sub-Channel will be used.
- In the example Figure 7. The setting is:
Channel: 3 (SW1=3)
CTCSS: 25 (SW2=2; SW3=5) - See Channel and Sub-Channel Frequency Charts.
** Factory default setting is Channel 1, Sub-Channel 01. May leave these settings as is.
*** The Channel and Sub/Channel on your MURS Alert Transmitter must match the Channel and Sub-Channel of your M538-BS or M538-HT Transceiver for them to communicate.
Frequency Charts
Frequency Chart
| Channel Channel | Type | Frequency (MHz) | Power (Watts) |
| 1 | MURS | 151.820 | 1.1 |
| 2 | MURS | 151.880 | 1.1 |
| 3 | MURS | 151.940 | 1.1 |
| 4 | MURS | 154.570 | 1.1 |
| 5 | MURS | 154.600 | 1.1 |
Sub Code (CTCSS) Frequency
| Code | Frequency (Hz) |
| 00 | 00.0 |
| 01 | 67.0 |
| 02 | 71.9 |
| 03 | 74.4 |
| 04 | 77.0 |
| 05 | 79.7 |
| 06 | 82.5 |
| 07 | 85.4 |
| 08 | 88.5 |
| 09 | 91.5 |
| 10 | 94.8 |
| 11 | 97.4 |
| 12 | 100.0 |
| 13 | 103.5 |
| 14 | 107.2 |
| 15 | 110.9 |
| 16 | 114.8 |
| 17 | 118.8 |
| 18 | 123.0 |
| 19 | 127.3 |
| 20 | 131.8 |
| 21 | 136.5 |
| 22 | 141.3 |
| 23 | 146.2 |
| 24 | 151.4 |
| 25 | 156.7 |
| 26 | 162.2 |
| 27 | 167.9 |
| 28 | 173.8 |
| 29 | 179.9 |
| 30 | 186.2 |
| 31 | 192.8 |
| 32 | 203.5 |
| 33 | 210.7 |
| 34 | 218.1 |
| 35 | 225.7 |
| 36 | 233.6 |
| 37 | 241.8 |
| 38 | 250.3 |
Low Battery Alert
The sensor will send a second alert message 30 seconds after the first message. Indicating the batteries need to be replaced.
Technical Support
If you encounter any difficulty in the operation of this product after reading the manual, please contact us. You can reach us by phone at 605-356-2772 from 8:30-5:00 PM, Monday through Friday (Cental Standard Time). We will be happy to answer your questions and help you in any way we can.
Dakota Alert, Inc.
www.dakotaalert.com
Phone: (605)356-2772
Fax: (605)356-3662
Address:
32556 477th Ave.
PO Box 130
Elk Point, SD 57025
Documents / Resources
References
Download manual
Here you can download full pdf version of manual, it may contain additional safety instructions, warranty information, FCC rules, etc.
Advertisement


Need help?
Do you have a question about the MURS Alert and is the answer not in the manual?
Questions and answers