
Related Manuals for Duco DucoBox Reno UK


Summary of Contents for Duco DucoBox Reno UK
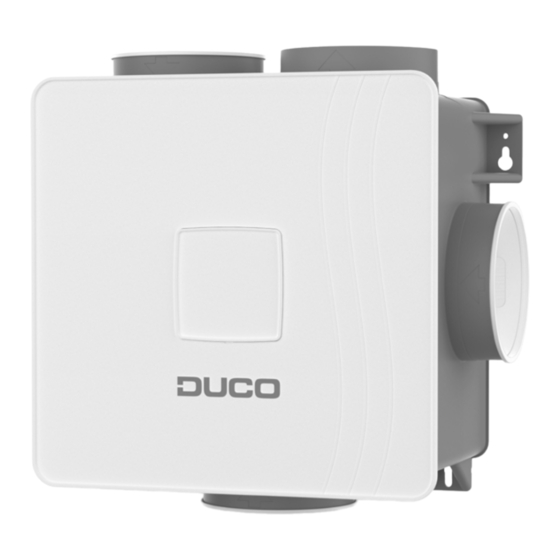
- Page 1 DucoBox Reno UK / IE ENGLISH Installation guide L2004970 (Revision A | 06.12.2024)
-
Page 2: Table Of Contents
�������� ��������� � � � �� � � � � � � � � � � � �� � � � � � � � � � � � � � � � � � �� � � � � � � � � � � � � � � � � �� � � � � � � � � � � � � � � � �� � � �� � � � � � � � � � 07�A Air calibration procedure for DucoBox Reno UK / IE �... -
Page 3: Introduction
RH sensor integrated in the box itself� DUCO advises against connecting the DucoBox (via a duct or directly) to an extractor hood, regardless of the type� This usually causes excessive fouling in the DucoBox, which affects its operation or has a more direct effect on output�... -
Page 4: Regulations And Safety Instructions
• Bends in the ducts immediately upstream of the fan unit. • The DucoBox Reno UK / IE should not be connected to a (motorless) extractor hood or dryer. Take care to ensure that the electrical supply is a 230 V, single-phase It ought to be impossible to touch the fan by hand�... -
Page 5: Mounting
2: Against a wall, you can position the Box in any possible direction� Figure 3: You can mount the box vertically or horizontally� If you place the DucoBox Reno UK / IE in a damp room with a water connection, avoid placing it on the floor� 03.B Mounting Figure 4: Mounting: adapt the mounting material to the surface�... -
Page 6: 03�C Air Duct Connections
10 UNMISSABLE TIPS The smooth running of your Duco ventilation system is totally dependent on the choice and the quality of implementation of the duct system! Has the duct system been optimized? Ask professional advice from your duct supplier. -
Page 7: Communication
INST / ENTER DOWN DUCO NETWORK TOOL LED INDICATOR PERILEX ‘INST / CALIB: Ventilation Rate’ BOXSENSOR Figure 8: Connections and buttons on the circuit board of the DucoBox Reno UK / IE� L2004970 Installation guide for DucoBox Reno (Revision A | 06.12.2024) - Page 8 ENGLISH Wireless communication The DucoBox Reno UK / IE is able to communicate with DUCO slave components via a wireless (RF) connection� 230 VAC 230 VAC 230 VAC DucoBox Reno ≥ 30 cm Remote control Switch Sensor Max. of 25 RF components...
-
Page 9: Additional Control Option
BOX SENSOR MOUNTING + CONNECTING 1� Disconnect the DucoBox Reno UK / IE from the mains and remove the lid of the DucoBox Reno UK / IE� To do this, first remove the screw located behind the cover plate� (Figure 10: Remove the cover plate and unscrew the lid)�... - Page 10 ENGLISH Figure 10: Remove the cover plate and unscrew the lid� Figure 11: Detaching the motor plate� Figure 12: Removing the motor plate� Figure 13: Clicking the CO Box Sensor into the duct port� Figure 14: Four options for cabling up to 1 CO Box Sensor to circuit board�...
-
Page 11: Electronical Installation
(see table at 06�C in the next section)� Installer mode can be activated by pressing the 'INST' button of the DucoBox Reno UK / IE (see drawing in chapter "04�A Connection & buttons")� When the LED on the controller starts flashing green, Installer mode is active� Press ‘INST’ again to return to ‘User mode’... -
Page 12: 06�D Pairing Components
Never pair more than one system with RF components at the same time� If you do so, a component in the wrong network could be paired, e�g� in the neighbours’ DucoBox� PAIRING COMPONENTS ON THE DUCOBOX RENO UK / IE 1� Activate ‘Installer mode’ by pressing ‘INST’ ( ) on the DucoBox� The LED will flash green rapidly�... -
Page 13: 06�E Removing / Replacing Components
ENGLISH 06.E Removing / replacing components Removing paired components from the network or replacing is only possible within 30 minutes after the component is paired or is restarted� Restarting can be done by disconnecting the power for a moment� After a time span of 30 minutes, remove and replace operations are ignored�... -
Page 14: Air Calibration
07.A Air calibration procedure for DucoBox Reno UK / IE The air calibration procedure must be carried out on a calm day (no more than wind force 2: leaves rustling, feeling the wind in one’s face). - Page 15 ENGLISH The DucoBox Reno UK / IE has 4 modes: everyday speed (trickle rate), high speed (boost rate) or extra-high speed (purge rate) and AUTO mode� By default, these are set as follows: • Trickle rate: 50 % of maximum power (325 m³/h) •...
-
Page 16: 07�B Option: Installation Of User Controller On The Ducobox
07.B Option: installation of user controller on the DucoBox To keep the DucoBox and user controllers together during delivery, the option is provided to mount the User controller RF/Bat on the DucoBox Reno UK / IE� Figure 20: Remove the cover plate of the lid with a... -
Page 17: 07�C Checking
ENGLISH 07.C Checking The steps set out below can be used to check whether the flow rates have been set correctly� Checking configured flow rate Remove the cover plate of the lid with a screwdriver to gain access to the adjustment buttons� Long press the button to select the desired airflow rate: •... -
Page 18: Maintenance & Service
Please contact your installer� Keep the serial number of your product to hand� For service problems as an installer: Please contact your retailer of DUCO products� Keep the serial number of your product to hand� L2004970 Installation guide for DucoBox Reno (Revision A | 06.12.2024) -
Page 19: Warranty
All warranty conditions concerning the DucoBox and DUCO's ventilation systems can be found on the DUCO website� All complaints are to be reported to DUCO by the DUCO distributor with a clear description and the order/invoice number under which the products were delivered� To do so, please fill out the complaint registration form, found on the DUCO website, mentioning the serial number and send it to service@duco�eu�... - Page 20 Installed by: L2004970 Document last modified on 06.12.2024 (revision A)
Need help?
Do you have a question about the DucoBox Reno UK and is the answer not in the manual?
Questions and answers