Advertisement
Quick Links
ASSEMBLY INSTRUCTIONS
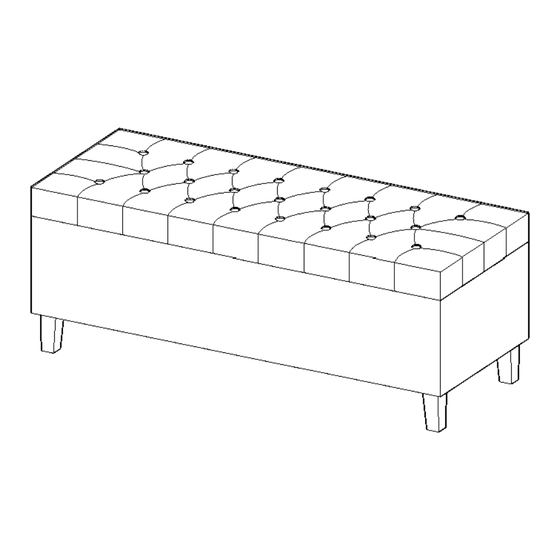
SHANDRA BENCH
Please read below before assembly:
Assemble the product on a flat, soft surface such as a carpet or cloth to prevent
scratching the finish.
Do not discard any content until assembly is complete to avoid accidentally discarding
small parts or hardware.
Take out all parts and hardware from box.
Failure to follow these instructions may cause the bolts to misalign during assembly.
DISCLAIMERS:
WHEN PROPERLY ASSEMBLED, THIS ITEM IS SAFE FOR INTENDED USE. SELLER IS NOT LIABLE
FOR ANY DAMAGES RESULTING FROM ITEM BEING IMPROPERLY ASSEMBLED AFTER PURCHASE.
BOLTS MAY LOOSEN DURING NORMAL EVERYDAY USE. THEY SHOULD BE INSPECTED AT LEAST
EVERY 3 MONTHS AND RE-TIGHTEN AS NEEDED TO PREVENT DAMAGE OR INJURY, AND ENSURE
STABILITY.
PEOPLE NEEDED
400
Ibs seat
WEIGHT LIMIT
SCAN QR CODE FOR
ASSEMBLY VIDEO
12
Minutes
ESTIMATED TIME
Page 1 of 4
R
Advertisement

Summary of Contents for Madison Park SHANDRA BENCH
- Page 1 ASSEMBLY INSTRUCTIONS SHANDRA BENCH SCAN QR CODE FOR ASSEMBLY VIDEO Please read below before assembly: Assemble the product on a flat, soft surface such as a carpet or cloth to prevent scratching the finish. Do not discard any content until assembly is complete to avoid accidentally discarding small parts or hardware.
- Page 2 PARTS LIST OTTOMAN 1 PC 4 PCS Page 2 of 4...
- Page 3 STEP 1 LOCATE PARTS PER BELOW DRAWING. PARTS REMOVE PLASTIC CAP STEP 2 Page 3 of 4...
- Page 4 ASSEMBLY COMPLETE Page 4 of 4...


Need help?
Do you have a question about the SHANDRA BENCH and is the answer not in the manual?
Questions and answers