Table of Contents
Advertisement
Quick Links
Important safety instructions:
Please read carefully all instructions before assembly.
For your safety and ease, assembly by two or more adults is recommended.
Keep instructions for future use.
Pre-assembly:
Do not discard any content until assembly is complete to avoid accidentally discarding small parts or hardware.
Take out all parts and hardware from box.
Parts List
Description
Item
TOP PANEL
P1
P2
SIDE PANEL
P3
BACK PANEL
P4
SHELF
P5
BASE PANEL
P6
DOOR
PANEL
Hardware List
Item
H1
ALLEN KEY 4 MM
H2
BOLT M6 X 40 MM
H3
LOCK WASHER 6 X 11 X 2
H4
FLAT WASHER 6 X 16 X 2
H5
PEN SHELF
ASSEMBLY INSTRUCTIONS
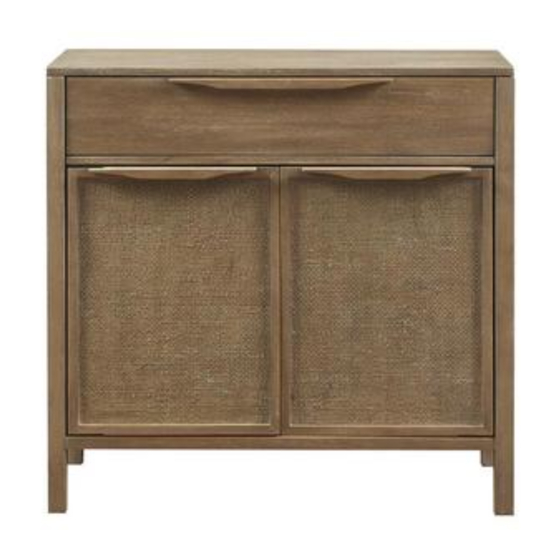
Description: E&E - PALISADES ACCENT CHEST
Description
QTY
1
2
1
1
1
2
QTY
20
20
20
Page 1 of 5
1
4
Advertisement
Table of Contents

Related Manuals for Madison Park E&E-PALISADES ACCENT CHEST


Summary of Contents for Madison Park E&E-PALISADES ACCENT CHEST
- Page 1 ASSEMBLY INSTRUCTIONS Description: E&E - PALISADES ACCENT CHEST Important safety instructions: Please read carefully all instructions before assembly. For your safety and ease, assembly by two or more adults is recommended. Keep instructions for future use. Pre-assembly: Do not discard any content until assembly is complete to avoid accidentally discarding small parts or hardware. Take out all parts and hardware from box.
- Page 2 ASSEMBLY INSTRUCTIONS Description: E&E - PALISADES ACCENT CHEST Description Item SCREW JF 6 X 1/2 PHILIP HEAD SCREWDRIVER ( NOT INCLUDE ) ANTI TIP KIT Assembly Procedures: Step 1. Assemble the chest on a flat, soft surface such as a carpet or cloth to prevent scratching the finish. hardware package Step 2: Attach Top panel (P1), Back panel (P3), Door panel (P6), and Base panel (P5) to be main body using Allen key (H1), Lock washer (H3), Flat washers (H4) and 40 MM Bolt (H2) as shown below.
- Page 3 ASSEMBLY INSTRUCTIONS Description: E&E - PALISADES ACCENT CHEST Step 3: First open the Drawer from main body, then attach Side panel (P2) to main body using Allen key (H1), Lock washer (H3), Flat washers (H4) and 40 MM Bolt (H2) as shown below. ALLEN KEY 4 MM (H1) x 1 (H2) x 12...
- Page 4 ASSEMBLY INSTRUCTIONS Description: E&E - PALISADES ACCENT CHEST Step 5: Attach Shelf (P4) to main body using Screwdriver (H7), Pen Shelf (H5),and Screw JF 6 x (H6) as shown below. (H5) x 4 PEN SHELF (H6) x 4 SCREW JF 6 X 1/2 (H7) x 1 PHILIP HEAD SCREWDRIVER ( NOT INCLUDE ) Step 6: For safety, attach Anti tip kit (H8) as shown below.
- Page 5 ASSEMBLY INSTRUCTIONS Description: E&E - PALISADES ACCENT CHEST Step 7: Assembly is complete. ADDITIONAL NOTE ABOUT SAFETY: BOLTS MAY LOOSEN DURING NORMAL EVERYDAY USE. THEY SHOULD BE PERIODICALLY INSPECTED AND RE-TIGHTENED TO PREVENT DAMAGE OR INJURY. ALWAYS CHECK TO ENSURE THAT ALL HARDWARE IS KEPT TIGHTENED.
Need help?
Do you have a question about the E&E-PALISADES ACCENT CHEST and is the answer not in the manual?
Questions and answers