Advertisement
Quick Links
Advertisement

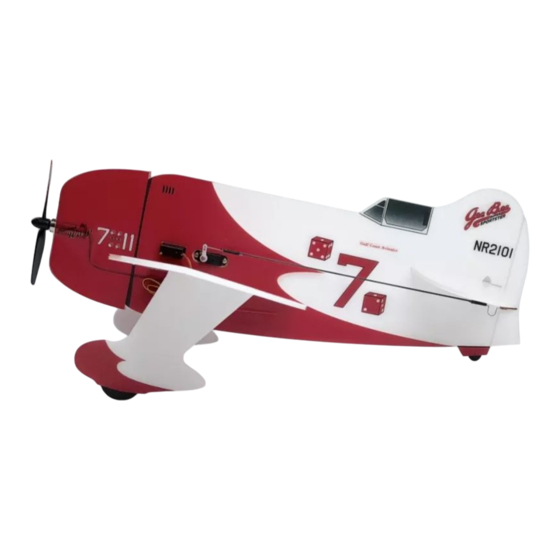
Summary of Contents for MinimumRC Geebee
- Page 1 Geebee Assembly Instructions...
- Page 2 1. Fold hinge for many times to make the rudder surface move freely (also can be cut off and connected with transparent tape). 2.Bond the fuselage, pay attention to the difference between the left and right sides of the fuselage.
- Page 3 3.Insert wing support, pay attention to both sides symmetrical.
- Page 4 4. Insert horizontal tail, pay attention to the symmetry of left and right sides, glue bonding 5. Glue the motor to the nose. The coating sticker can be pasted on the fuselage at this time.
- Page 5 6.Reference to coated stickers.
- Page 6 7.Bend the wing along the notch. 8.Installation of the wing.
- Page 7 9.Installation of the servos.
- Page 8 10.Installation of the control horns.
- Page 9 Connect the pushrod clips & pushrods with heat shrinkable tube and fix them with glue. Installation of the pushrods.
- Page 10 Attach the receiver to the fuselage with Velcro.
- Page 11 ·The amount of elevator, rudder and aileron is 5 mm for each side. Please adjust the rudder surface to the level before flight test. Explore the ultimate possibility of airplane kits MinimumRC.COM...


Need help?
Do you have a question about the Geebee and is the answer not in the manual?
Questions and answers