Westcott FJ400 Manual
- Quick start manual (9 pages) ,
- User manual (20 pages) ,
- User manual (22 pages)
Advertisement
Visit fjwestcott.com/firmware to download the latest firmware
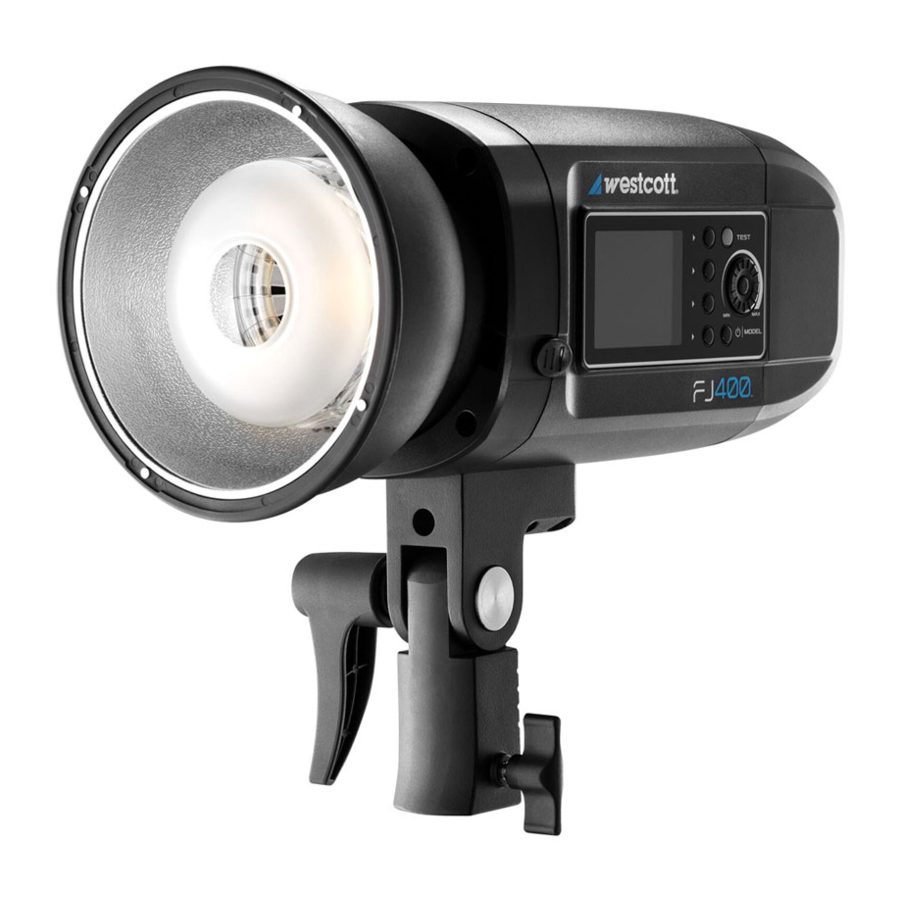
Included Components & Overview
FJ400Strobe, FJ400 AC/DC Lithium Polymer Battery, AC Power Adapter&Cord, FrostedDiffusion Dome, Magnetic Reflector (Bowens, 5.5"), Magnetic CC Gel Set, Magnetic Diffusion, USB-A to USB-C Cable, Rapid Box Switch Insert(Bowens)

LCD Display & Menus

'Indicates Canon camera is set to Continuous Shooting with TTL and HSS disabled. Maximum shoot speed may vary.

- Channel Selection
- Groups
- Canon RT ID Selection

- Audible Beep
- Optical Sensor
- Modeling Lamp

- Mask Function
- Mask All
- Mask Sequence Number

- Strobe Master Lock
- Delay
- Delay Time

Accessible by holding down the Menu Selection Button to customize default strobe settings.
Warning
![]()
During operation, the flash tube, LED modeling lamp, and select components of the FJ400 strobe temperatures will increase. Please use caution while using to avoid serious burns or injuries.- Use only with the Westcott FJ400 AC/DC Lithium Polymer Battery and/or AC Power Adapter and Cord.
- Do not touch glass diffusion dome, flash tube, LED modeling lamp, or metal reflector after immediate use to avoid potential injury.
- Never leave unattended around children and/or pets.
- Keep away from fire, water, and moisture.
- Do not submerge in water.
- Avoid drastic temperature changes before, during, or after use.
- Avoid direct skin contact with the flash tube and LED modeling lamp when replacing the flash tube.
- Always remove the FJ400 AC/DC Lithium Polymer Battery from the FJ400 Strobe during travel/storage to avoid accidental operation, which could lead to overheating or permanent damage.
- Do not overtighten tilter bracket tension knob or umbrella tension screw.
- Ensure the FJ400is securely mounted before use.
- Only use compatible modifiers and accessories and ensure they are securely attached to the FJ400 Strobe before use.
- Do not attempt to modify any Westcott products. Contact Westcott for assistance.
- The maximum operating temperature is 32-1040F (0-400C).
Dual-Stage Heat Protection
The FJ400 is equipped with self-monitoring cooling fans to ensure safe operation. It is also equipped with an automatic shutoff feature. In the rare event that the strobe has reached an unsafe operating temperature, the screen will display OH (overheat). Once the unit has cooled, the OH will disappear from the screen, and it will then be safe to continue operation.
Getting Started
Charging the FJ400 AC/DC Lithium Polymer Battery
The battery can be charged separate of the FJ400 or while attached to the FJ400. In both instances, connect the power cord to the AC Adapter, connect the AC Adapter's barrel plug to the battery AC receptacle, and connect the power cord into a power outlet. The battery charging process is complete when the red indicator light on the AC Adapter turns green.
AC Adapter LED Indicator Light Colors:
- Green: AC Adapter is plugged into a power outlet without a battery attached or connected to a fully-charged battery.
- Red: AC Adapter is plugged into a power outlet and the battery is currently charging and less than 100% charged.
Attaching the FJ400AC/DC Lithium Polymer Battery
Attach the FJ400 Battery to the strobe by aligning the silver connection points on the rear of the strobe to the holes on the silver strips located on the back of the battery and slide the battery down until it locks into place.
Removing the FJ400 AC/DC Lithium Polymer Battery
Ensure the FJ400 is OFF by long-pressing the Power I Model button until the LCD screen turns off. Then, slide the release lock located on top of the battery away from the strobe, gently press the battery up and away from the strobe to remove.
AC Power Operation
- Ensure the battery charge level is
![]() 2 25%.
2 25%. - Ensure the battery is securely attached to the FJ400.
- Plug the power cord into the AC Adapter.
- With the strobe powered off, connect the AC Adapter'sbarrel plug to the battery's AC receptacle.
- Plug the power cord into a dedicated power outlet.
- Turn the strobe ON by pressing and holding the Power I Model button until the start-up screen appears.
 2 25%.
DC Power Operation
- Ensure the FJ400 battery has been fully charged.
- Ensure the battery is securely attached to the FJ400.
- Turn the strobe ON by pressing and holding the PowerIModel button until the start-up screen appears.
Mounting
Mounting to a Light Stand
- Rotate the tilter bracket's handle counterclockwise until the light stand receptacle is perpendicular to the strobe body.
- Loosen the tension knob located lower on the tilter bracket.
- Insert the light stand spigot into the FJ400's 5/8"-16 mm tilter bracket receptacle.
- Tighten the tension knob to secure the strobe to the l
ight stand.
Attaching & Removing Modifiers
Connecting a Bowens Speedring & Modifier
- Ensure the strobe is turned OFF and has cooled for five minutes.
- Grasp the speed ring attached to the modifier and align its three square mounting blocks with the openings located on the face of the strobe.
- Insert the speedring and turn clockwise until the speedring locks into place.
Removing a Bowens Speedring & Modifier
- Ensure the strobe is turned OFF and has cooled for five minutes.
- Grasp the speedring attached to the modifier.
- Slide the strobe's speedring release away from the modifier.
- Rotate the modifier's speedring counterclockwise until its three square mounting blocks align with the openings. Pull the modifier away from the strobe to release.
Attaching an Umbrella-Based Modifier
- Ensure the strobe is turned OFF and has cooled for five minutes.
- Grasp the umbrella's shaft and slide into the strobe's umbrella receptacle.
- Tighten the tension screw to secure the umbrella-based modifier.
Removing an Umbrella Based Modifier
- Ensure the strobe is turned OFF and has cooled for five minutes.
- Loosen the umbrella tension screw.
- Grasp the umbrella's shaft and gently slide the umbrella out of the FJ400 umbrella receptacle.
 Note:
Note:
- Never force entry or removal of speedring, umbrellas, or modifiers.
- Use caution during the removal of modifiers to not damage the flash tube.
- Octagonal umbrella shaft may not fit into the FJ400 umbrella receptacle.
Updating Firmware
The FJ400 strobe is designed with a USB-C port to allow for firmware updates only. Future firmware updates will result in performance enhancements, modified menu options, and improved menu layouts. It is strongly suggested that you visit fjwestcott.com/firmware to confirm your strobe has the latest firmware.
Installing the Firmware
- Visit fjwestcott.com/firmware to find and download the latest firmware ZIP file.
(![information]() Note: Various browsers may automatically unzip the ZIP file. In this scenario, skip to Step #3.)
Note: Various browsers may automatically unzip the ZIP file. In this scenario, skip to Step #3.) - Unzip the file and open the extracted folder.
![]()
Read ALL FILES located in the extracted folder (i.e. README, Changelog).- Ensure the FJ400 is OFF and cooled before removing the battery from the strobe.
- Connect the USB-A to USB-C cable to the FJ400's USB-C port.
- Common operating systems will present the strobe as an external drive device.
(![information]() Note: MacOS may display the external device on the desktop or in the Finder window.)
Note: MacOS may display the external device on the desktop or in the Finder window.) - Locate the .BIN file on your computer and drag the file to the FJ400 (external device).
(![information]() Note: The file ending in. BIN will be the ONLY filed copied to the FJ400.)
Note: The file ending in. BIN will be the ONLY filed copied to the FJ400.) - Once the file has been completely copied to the FJ400, EJECT the FJ400 from the computer.
- Remove the USB-C cable from the FJ400 and reattach the battery.
- Press the Power I Model button on the FJ400 to initiate the firmware update.

- If the FJ400 doesn't display as an external device after being connected to the computer, disconnect the USB cable from both devices, restart the computer, and restart the firmware installation process.
- It's recommended that the firmware update installation process be completed only when the connected computer's power level is 50%. Loss of power of any type during this process could render the FJ400 inoperable and require professional repair.
- Removing the USB-A to USB-C cable from the FJ400 without properly ejecting the FJ400 from your computer could render the strobe inoperable and require professional repair.
- Depending on the operating system and the applications running, copying the firmware from your computer to the FJ400 may take a few minutes and/or halt the copying process. Should this happen, close the copy progress window and try again. Further copying issues may require the computer to be restarted.
Phone: 800-886-1689 / 419-243-7311 (International)
Email: support@fjwestcott.com
Shipping: F.J. Westcott co, 1425-B Holland Rd. Maumee, OH 43537
Register your new gear online at FJWESTCOTT.COM/REGISTER
Visit WESTCOTTU.COM for videos, pro tips, inspiration, and more!
Documents / Resources
References
Download manual
Here you can download full pdf version of manual, it may contain additional safety instructions, warranty information, FCC rules, etc.
Advertisement


Need help?
Do you have a question about the FJ400 and is the answer not in the manual?
Questions and answers