Table of Contents
Advertisement
Quick Links
Advertisement
Table of Contents

Subscribe to Our Youtube Channel
Summary of Contents for Westcott RAPID BOX
- Page 1 Quick Start Guide...
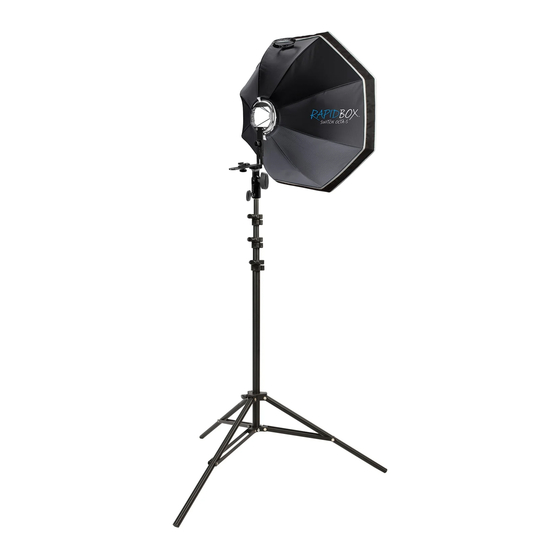
- Page 2 Included Components (1) Lantern Frame (1) Lantern Softbox (1) Lantern Dot (1) Travel Case Switch Light Mount Inserts sold separately. Please visit fjwestcott.com/switch for available options. Assembly Attaching a Switch Insert to the Lantern On the edge of the Switch Lantern ring, locate the three metal tabs and the thumb lock.
- Page 3 Disassembly 1. Undo the collar’s hook-and-loop fasteners. 2. With your hands on each side of the adapter ring, push down until the internal horizontal bar is below the hooks located at the base of the Lantern frame. 3. Maneuver the bar so that it’s clear of the hooks and slowly reduce the pressure on the adapter ring until the Lantern reaches the fully collapsed position.
- Page 4 Changing Switch Inserts 1. Remove the Switch Lantern from the light source after it has cooled. 2. To remove the insert, locate the thumb lock on the rear of the Switch Lantern, slide outward, and gently slide up and away from the thumb lock. Caution •...
- Page 5 Accessories Switch Light Mount Inserts Use these durable aluminium light mount inserts to attach any Rapid Box Switch or Beauty Dish Switch light modifier to a light source. FJ80, Profoto FJ400, Balcar Broncolor Broncolor A1, A1X, A10, Speedlite Bowens, Dynalite...
- Page 6 (“Warranty Period”). If a defect arises and a valid claim is received within the Warranty Period, at its option and to the extent permitted by law, Westcott will either (1) repair the defect at no charge, using new or refurbished replacement parts, or (2) exchange the product with a product that is new or which has been manufactured from new or serviceable used parts and is at least functionally equivalent to the original product.


Need help?
Do you have a question about the RAPID BOX and is the answer not in the manual?
Questions and answers