Advertisement
INTRODUCTION
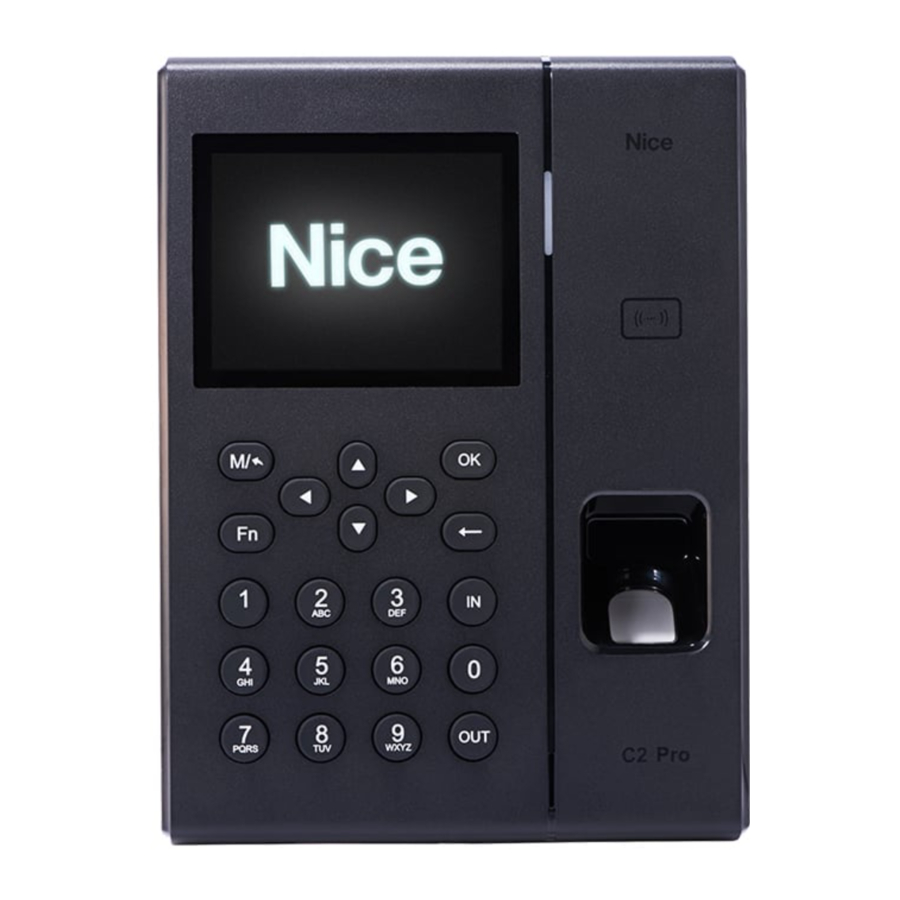
The C2 Pro is a presence and access controller that features a high efficiency 1GHz Dual-Core processor, maintaining high performance while reading the fingerprint in less than 0.5 second.
It supports RFID readers and has RS485, wiegand, PoE (Power over Ethernet) communication - TCP/IP or WiFi.
Based on the Linux operating system, C2 Pro provides SDK for integration with software. It also has one dry contact output (relay) and one connection for access control system.
SPECIFICATIONS
| PLATAFORM | Linux |
| HARDWARE | CPU: Dual Core 1GHz Processor Memory: DDR3512M + Flash 2GB LCD: 3.5" TFT LED: Three colours for light indicator |
| ENROLLMENT AND VALIDATION | Verify mode: Fingerprint (1:N, 1:1), Password, Card Fingerprint capacity: 10.000 (1:N) Logs: 100.000 |
| RFID | Yes |
| WIFI | Yes |
| INTERFACE | TCP/IP: Yes RS-485: yes Relé: 1 Relay USB: 1 Host |
| WEB SERVER | Yes |
| POWER | 12VDC 1A / PoE IEEE802.3af/at |
| DIMENSIONS | 140(L) x 190(A) x 32(P) mm |
| WEIGHT | 550g |
| CERTIFICATIONS | CE, FCC, RoHS |
Items included at the package:
- Device C2Pro
- Instruction manual
- Connector cable of extension function
- Screws
LAYOUT


INSTALLATION

Remove the screw at the bottom of C2 Pro and detach the foot mounting at the back part.
Atach the base using screws at the selected place of instalation, according to the image below.
With the cable correctly connected, power supply and/or Ethernet cable, fit the C2 Pro at its base and slide it downward and fixing it with the corrects screws at the bottom.
ENROLL USERS
INITIALIZATION
Turn on the C2 Pro connecting the extern power supply/Ethernet cable and wait for initialization.

Press the button M ![]() to access the menu.
to access the menu.

Insert 0 at the ID field, press OK and 12345 at the field password. Press OK again.
These values are factory standards. For safety it's recommended that the admin's password be changed.
Use the buttons top  , down
  , right
  and left
  to navigate through the menu and press OK to select the desired option.
The image below show the icons displayed at the main menu.

NOTE.: To change the administrator's password, check related item 08.1.
ENROLL USER
To enroll users there are two menus: ![]() and
and ![]() .
.
At the Enroll's menu it's only possible enroll only ID and fingerprints.
For a complete enrollment, use the user's menu. ![]()
Enroll

Enter an ID for the user and press OK. A message will be displayed "Search no such ID. Add it or not?". Press OK again.
In this moment the user can place the desired finger at the fingerprint reader to enrollment. From necessary position to put it three times to complete the enrollment. Follow the instructions displayed at the screen.

NOTE: It's recommended that each user enroll two or more fingerprints.
After the success at the enrollment of the fingerprints, press the button M ![]() twice to save and leave the menu.
twice to save and leave the menu.

Instructions for the positioning the finger at the sensor.
User

For a complete enrollment, access the submenu Add  at the menu user.

- Enter an ID for the user and press OK.
At the field name, to enable the alphanumeric keyboard, press the Fn ![]() button.
button.
Press the button with the desired letter and the number corresponding to that letter.
Example:
| Aa | Nice | ||||
| 1 | 2 | 3 | 4 | 5 | 6 |
| d | e | f | D | E | F |
The button ![]() enable the specials characters and numbers. Press the buttons to the right and left
enable the specials characters and numbers. Press the buttons to the right and left  to navigate through available characters' options.
Example:
| ,.!? | Nice! | |||||||
| 1 | 2 | 3 | 4 | 5 | 6 | 7 | 8 | 9 |
| ~ | ! | . | @ | ( | ) | : | - | |
- Enroll a password if desired.
- The use of RFID card is optional. To enroll a card, swipe it at card's reader area, according to the front layout and the field will be filled automatically.
- At admin's field, define if the user will be common (0-User) or Administrator (until 16 ).
- Select a group (see "Advanced > Group") for the user at the Group ID's field.
- To enroll a fingerprint, go to the enroll's field and press OK.
Follow the steps described previously at Enroll's menu. - The mode's field enable the configuration of the verify mode of the access control.
The option System default enables the verify mode through fingerprint, ID + password and Card.
The other options are only fingerprint, fingerprint + password, fingerprint + card, ID + password, ID + fingerprint, ID + password + fingerprint, card, card + password, card + password + fingerprint.
MODIFY USER

To modify a user, stay inside of the menu's option User, at the option Modify, you can edit all the informations enrolled previously.

DELETE USER

In this option, you can delete only one user. To erase all of users, do the factory reset (see "Setting > Device").

SEARCH USER

Use this option in case to look for a user in a big list of enrollments. The search is made based on the ID and, list all users containing that number in their ID.

ADMINISTRATOR
![]()
If you want add more people as administrator, it's possible to restrict the access of the person to the equipment, having just one main administrator.

Available functions:
| Enroll | User | Data | Network | Setting | Advanced |
| Add | Modify | Del | Search | Admin level | Record |
| Import | Export | Backup DB | Restore DB | Instant message | Ethernet |
| WiFi | Internet | Comm mode | Cloud | Device | Time¹ |
| Display | Basic info | Update | Test | T&&A | Application |
| Verify mode | FN | Auto FN | User4 | Record4 | Time² |
| DST³ | Access | Time zone | Group | Online App | |
| Remote verify |
¹Time: The first item Time, blocks the access to the configuration to each Time of C2 Pro (Time and DST).
²Time: The second option blocks only the configurations of the time, letting free the configuration of the DST.
³DST: This option blocks the configuration of the DST and let free the configuration of the time of C2 Pro.
4User and Record: Export the memory of users and records to another C2 Pro.
Press the button M ![]() twice to save the configurations and leave the menu.
twice to save the configurations and leave the menu.
DATA

RECORD'S VIEW

To filter and view the records stored at the equipment, enter the ID from the user at the search's field and press OK.

Use the  buttons in case the result of the search contains more than one page. The list organize the records from the newer to the oldest.
IMPORT RECORDS
![]()
To import records from others C2 Pro, connect a pendrive to the equipment, select the media and, using the down ![]() button select Import and press OK
button select Import and press OK

Wait for the progress bar came at the 100% and the import will be completed.
EXPORT
![]()
Inside of the Export menu, there are two options: User and Record. Both works the same way. The only diffence it's the information they save. Select the media and, using the down button  select Export them press OK.

Wait for the progress bar came at the 100% and the export will be completed.
BACKUP DATA BASE
![]()
Differently of the backup from the users and records of the C2 Pro, using the option of backup data base you can create a second C2 Pro with the same configurations as the first, without having to do it again. Press the down button ![]() , then Backup DB button and finally press OK.
, then Backup DB button and finally press OK.

RESTORE DATA BASE
After the backup of the data base you can make the restore in another C2 Pro, connect the pendrive with the backup at the equipment that you want to make the restore. Inside of the Data's menu, select the option "Restore DB", choose the media and, press the down button, then Restore DB button ![]() and finally press OK.
and finally press OK.

REPORT FORM
![]()
All of the records stored can be filtered and exported at the formats Text (.TXT) and Table(.XLS). But for this, it's necessary one media connected at C2 Pro to export these information and, using the down button ![]() press Export.
press Export.

After ending, the archive will be save automatically at the media according to the extension sellected previously.
NETWORK
Consult the administrator of the network to the definition of the parameters.
For configuration of the communication parameters, access the Network's menu.

ETHERNET

Option: Select Active option to choose Ethernet as communication interface.
Retrieve IP mode: The options are static or DHCP.
Get DNS: This field is enable when the option DHCP is selected. The options are auto or manual.
Device IP: IP address (exclusive address to a device in a TCP/IP network or a group of networks).
Subnet mask: A subnet mask is a number of 32 bits that masks an IP address and divide it in network address and host address.
Gateway: IP address of the router.
Press the button M  twice to save the configurations and leave the menu.
The icon  without the red exclamation, at the top right side, means that the connection was successful.
WIFI

Option: Select Active option to choose WiFi as communication interface.
ESSID: Network's WiFi name whose the C2Pro will be connected.
IP mode: Static (the configurations will be described in sequence) or DHCP (the configurations are set automatically by the network).
Get DNS: This field is enable when the option DHCP is selected. The options are auto or manual.
Device IP: IP address (exclusive address to a device in a TCP/IP network or a group of networks).
Subnet mask: A subnet mask is a number of 32 bits that masks an IP address and divide it in network address and host address.
Gateway: IP address of the router.
Choose WiFi: Choose which WiFi network the equipment will be connected.
Choose which network the equipment will be connected and enter the password. Press the button "Add WiFi" to include the information about the network manually. With success at the connection, press the button "Done".

Press the button M ![]() twice to save the configurations and leave the menu. The icon
twice to save the configurations and leave the menu. The icon ![]() without the red exclamation, at the top right side, means that the connection was successful.
without the red exclamation, at the top right side, means that the connection was successful.
INTERNET
![]()
Acess mode to the Anviz's Cloud. Contact the technical support for more information.
WAN Mode: Connection interface for the Cloud system.
DNS: Convert names of sites to IP address.

COMMUNICATION MODE
![]()
There are three modes of configurations at this mode, used to the software communication:
- Client – Software used working as Server
Port: TCP port used by the software.
CommPW: Option to enable the communication protected by password. Consult the documentation of the software to more information.
PWSetting: In case of the communication with password be enable it's possible change this password. The standard password is 12345.
Server Type: There are two options of connections, IP address to connection with the software or connection by URL (hostname) that allow connections outside of the network.
Server IP: IP address used to connection with the software.

- RS485
The communications with software are disable and the C2 Pro wors only as a slave biometry by RS485.
Note: Both communication will not work at the same time.

- Server - Software used working as Client
Port: TCP port used by the software.
CommPW: Option to enable the communication protected by password. Consult the documentation of the software to more information.
PWSetting: In case of the communication with password be enable it's possible change this password. The standard password is 12345.


CLOUD
![]()
Access mode to the Anviz's Cloud system. Be careful with this option because when the equipment it's connected at the cloud the memory is completely reset. Contact the technical support for more information.

SETTING

DEVICE

Volume: Volume output's sound of the equipment. From 0 to 5.
Device ID (1-255): Number for device identification at the network. Can be addressed until 255 devices (whose IDs with values from 0 to 99999999).
Admin PIN Code: Administrator's password. By default, it's 12345 but it's recommended that this password be changed for one more stronger. To do this press the button to eraser and enter the new one, and press OK to save the new password.
Web swicth: Embedded webserver for device setup.
Web port: Access port from HTML page. By default the port is 80, but if changed, the access to the page must be made following this sequence: http://IP_C2PRO:NEW_PORT
Factory reset (FN): Reconfigure the equipment to the factory reset. (The whole memory is reset).
Restart: Restart the equipment.
TIME
![]()
Configure the time and date fields according to your country using the numeric buttons. Select the button Set to save the configuration.


If it's necessary, configure the daylight saving time at the equipment. Configure the beggining and the end by date or month/week.
DISPLAY

Language: Traditional (chinese), Arabic, Chinese, Czech, English, French, German, Italy, Nepali, Persian, Polish, Portuguese, Russian, Eslovenian, Spanish, Thai.
Power saving: Options for C2 Pro entering in standby mode.
- Turn off: after a time configurated in "Standby" the equipment stays with the screen off and, back with the command of any key or when the fingerprint sensor is actived;
- Screensaver: after a time configurated in "Standby" the equipment stays with the screen off and showing date and hour. It's back at the command of any key or when the fingerprint sensor is activated; NOTE: In both cases, when the equipment is in standby, the card reader read but not validated.
- Disabled: screen always enabled.
Bright level: Changes the adjustment of bright of the screen.
Ul style: Background colour of the screen and icon's layout.
- Default: background colour is blue with squared and round edges menu's icons;
- Square: background colour is red with squared menu's icons;
- Circle: background colour is green with circled menu's icons.
Keyboard lock: Lock the keyboard of the C2Pro. NOTE: Be careful with this option – once enabled it's necessary to make a factory reset at the equipment to the keyboard back to work again.
Standby(min): Time for the C2 Pro enter at power saving.
ShowCard: Mode of sending the card's serial.
BASIC INFO
![]()
At this screen it's possible see the used memory of the equipment and the memory available to be used. It also shows informations about versions of system's firmware and serial number.

UPDATE
![]()
Use this screen for update the equipment's firmware using a media with a USB-input. Contact the technical support for more information.

TEST
![]()
Do basic tests at the equipment for the keyboard, screen and the sound output. Contact the technical support for more information.

ADVANCED

T&&A

Repeat Att. interval (0 – 250 minuts): Time between the records of events, avoiding repeated records.
Log alarm threshold: Minimum quantity of the record memory to a sound notification. When this memory is completed, the oldest records are overwritten.
Precision (Basic/Good/Excellent): Level of quality of fingerprint's read. The lower is the precision, the higher is false-positive rate during the validation.
Check finger: When disabled, keep the fingerprint sensor on all the time.
APPLICATION
![]()
Inside of the option "Application" there are 5 submenus to access's management. Here it's made the access control to groups and restrictions of time.

- Access

- Relay output mode: What the relay will controll. Door or ring.
- Lock delay time (0-15 seconds): Activation time of the relay.
- Wiegand format: Output format of the wiegand.
- Fix wiegand code (0-254): Configurable value to the format "Fixed Wiegand".
- Time zone
Configuration for access's restriction to the place where the equipment is installed. Allow 32 time zones each one with all days of the week.

- Group
It's configured during the enrollment of the user and it's linked to the time zone, restricting the access of the user during the period and the hour programmed.
Note: This configuration is made individually for the users.

- Remote verify
Remote verify, it's divide between the options Client Network, Server Network and RS485. The options Server and RS485 can be configured to work as only remote verify (only check if the fingerprint is enrolled at the data base to grant the access) as antiback (being the equipment configurated as entry or exit, depending from another C2 Pro or a software to grant the access, otherwise, there's no access again). This function still been implemented.
Contact the technical support for more information.

- Print
Option for the C2Pro version that have RS232 output. Contact the technical support for more information.


VERIFY MODE

Verify mode from the equipment. By default, the validation occur at three forms: Firgerprint (FP), ID + password (PW), Card. The configurations can be changed at any moment but, must be made individually during the enrollment of the user.

| Fingerprint | ID + Password | Card |
| Fingerprint + Password | ID + Fingerprint | Card + Password |
| Fingerprint + Card | ID + Password + Fingerprint | Card + Password + Fingerprint |
FN
![]()
Configuration of work hours. The status can be renamed in accordance with the administrator of the system. For that during the validation the status value appears at the record of access, press the Fn key ![]() , the numeric key relating to the status desired and press OK.
, the numeric key relating to the status desired and press OK.

Note: When the Fn key is pressed, a box appears at the screen asking for a working code.
AUTO FN
![]()
If have been configured work hours, can be stipulated hours of entry and exit, this way, only at this hours the user can validate the access. More used as Staff Clock.

CUSTOMER SUPPORT
Monday to Friday from 8:00 am to 5:00 pm
Telephone: +55 (11) 97594-3148 (WhatsApp)
E-mail: assistenciatecnica@niceforyou.com
Documents / ResourcesDownload manual
Here you can download full pdf version of manual, it may contain additional safety instructions, warranty information, FCC rules, etc.
Advertisement


Need help?
Do you have a question about the C2 PRO and is the answer not in the manual?
Questions and answers