70mai A200 Series - Dash Cam Manual
- User manual (35 pages) ,
- User manual (124 pages)
- Also fits for
- A200
- A200-1
- A200-2
Advertisement
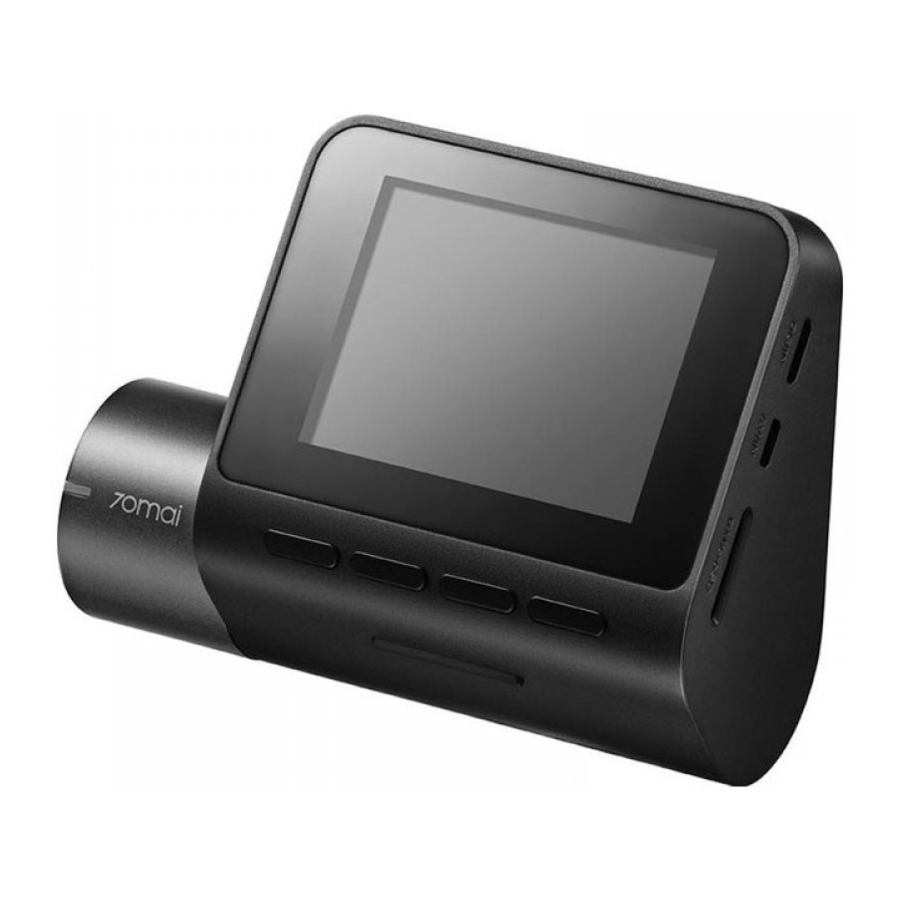
Product overview
Please read this manual carefully before using the product and keep it in a safe place.

- Display screen
- Function buttons
- Power button
- Power port
- Rear camera port
- Memory card slot
- Camera
- Speaker
- Mount slot
- Microphone
- Indicator light
- Adhesive sticker
 Note: Illustrations of the product, accessories, and user interface in the user manual are for reference purposes only. The actual product and functions may vary due to product enhancements.
Download 70mai app
This product may be used in conjunction with the 70mai app. You can download and install the app by scanning the QR code or finding "70mai" in the app store.

Note: Android 5.0 & iOS 11.0 or above is required to connect to the dash cam's Wi-Fi hotspot with a mobile phone.
Package contents
If you purchased the dash cam only, check the following items in the package:
- Dash Cam × 1
- Mount × 1
- Power cord × 1
- Car charger × 1
- Electrostatic sticker × 2
- Adhesive sticker × 1
- Wiring trim tool × 1
- User manual × 1
If you purchased the Dash Cam Set, check the following items in the package:
- Dash Cam × 1
- Mount × 1
- Power cord × 1
- Car charger × 1
- Electrostatic sticker × 2
- Adhesive sticker × 1
- Wiring trim tool × 1
- User manual × 1
- Rear camera package* × 1
* This package contains the rear camera (integrated with lead wire), signal wire and other accessories for the rear camera. For more information, please refer to the rear camera user manual.
Installation
Installing the electrostatic sticker
Paste the electrostatic sticker on the recommended area on the front windshield. Press the sticker to remove air bubbles out.
Avoid the edge of the windshield and select the flat and smooth area for the installation.

Note: Keep the windshield clean and dry without liquid residue to prevent the sticker from losing adhesion and dash cam from dropping.
Installing the mount
Attach the mount to the mount slot and slide up.

Installing the memory card
Insert the memory card into the slot.

Mounting the dash cam
Paste the dash cam onto the electrostatic sticker.

Routing cable
Route the power cord to the vehicle's power outlet and connect to power.
Start the car engine, and the dash cam will automatically turn on.

Note: Depending on the vehicle, the power outlet may be located in a different position. The provided figure is for reference only.
Adjusting the camera angle
Adjust the camera angle based on the image presented on the main screen when dash cam is turned on.

Accessories (optional)
The rear recording function of this product needs to be used with a rear camera. Scan the QR code to obtain the user guide for the rear camera.

Note: To avoid the rear camera malfunction due to device incompatibility, it is recommended to use a rear camera from the 70mai brand.
Specifications
Product: Dash Cam
Model: A200, A200-1, A200-2
Input: 5V ![]() 2A
2A
Battery capacity: 500mAh
Resolution: 1920 × 1080
Lens: FOV 130°/ F2.0
Battery type: Li-ion battery
Power supply: Car cigarette lighter
Wireless connectivity: Wi-Fi IEEE 802.11 b/g/n 2.4GHz
Wi-Fi operation frequency: 2400–2483.5MHz
Wi-Fi maximum output: < 20dBm
Memory card instructions
- A memory card (sold separately) must be installed in the dash cam before use.
- The dash cam supports standard microSD cards. Please use memory cards with capacity of 32GB ~ 128GB and rating of class 10, U1 or higher.
- The default file partition format of the memory card may be inconsistent with the format supported by the dash cam. When inserting the memory card for the first time, please format it in the dash cam before use. Formatting the memory card will delete all files on the card. Please back up important data to another device beforehand.
- The memory card may become damaged or deteriorated after repeated cycles of overwriting, and this may affect its ability to save video and image files. If this occurs, immediately replace it with a new memory card.
- Please use a high-quality memory card purchased from a reputable vendor. Inferior memory cards may have issues such as actual reading/writing speeds that do not match the stated speeds, and an actual storage capacity that does not match the stated storage capacity. We shall not be held liable for lost or damaged videos caused by the use of a lowquality memory card.
- Do not insert or remove a memory card while the dash cam is turned on.
Precautions
Before using this dash cam, please read all the precautions and user guide to ensure correct and safe use.
- This dash cam is a driving aid designed to record external images of the vehicle. And it does not have the function of ensuring the user's driving safety. Users must abide by local traffic rules and regulations and take driving safety as a priority consideration. Do not operate this product while driving.
- Due to differences in vehicle conditions, driving style, driving environment, and other factors, some functions may not work properly. A power failure, usage in environments outside the normal operating temperature or humidity range, a collision, or a damaged memory card may cause the dash cam to function abnormally. There is no guarantee that this dash cam will function normally under all circumstances. Videos recorded by this dash cam are for reference purposes only.
- Please install this dash cam correctly, and do not block the driver's line of sight, or block the vehicle's airbag, in order to avoid product failure or personal injury.
- If the front windshield where the dash cam is installed is covered with colored automotive film, it may affect the video recording quality or cause video distortion.
- Avoid collisions or forceful jolts to the dash cam, otherwise the product may malfunction. Keep this dash cam away from any strong magnetic fields.
- Never use chemical solvent or detergent to wash the dash cam.
- Do not use this dash cam in environments with temperatures over 60°C or below -10°C.
- When the dash cam has been operating for a period of time, the temperature of the outer casing will rise, please be careful when touching.
- Please only use this dash cam within the scope permitted by law.
- Please use the included car charger, power cord, and other accessories in order to avoid product failure due to non-conformance. We shall not be held liable for any loss or damage caused by the use of a non-genuine car charger or power cord.
- If you use power adapter to charge the dash cam, only use the power adapters that comply with the local safety standards or certified and supplied by qualified manufacturers.
- The dash cam and its accessories may contain small parts. To avoid choking or other hazards or damages caused by the children, keep the dash cam out of the reach of children.
Scan the QR code and email us at help@70mai.com

Service: help@70mai.com
For further information, please go to
www.70mai.com
Documents / Resources
References
Download manual
Here you can download full pdf version of manual, it may contain additional safety instructions, warranty information, FCC rules, etc.
Advertisement


Need help?
Do you have a question about the A200 Series and is the answer not in the manual?
Questions and answers