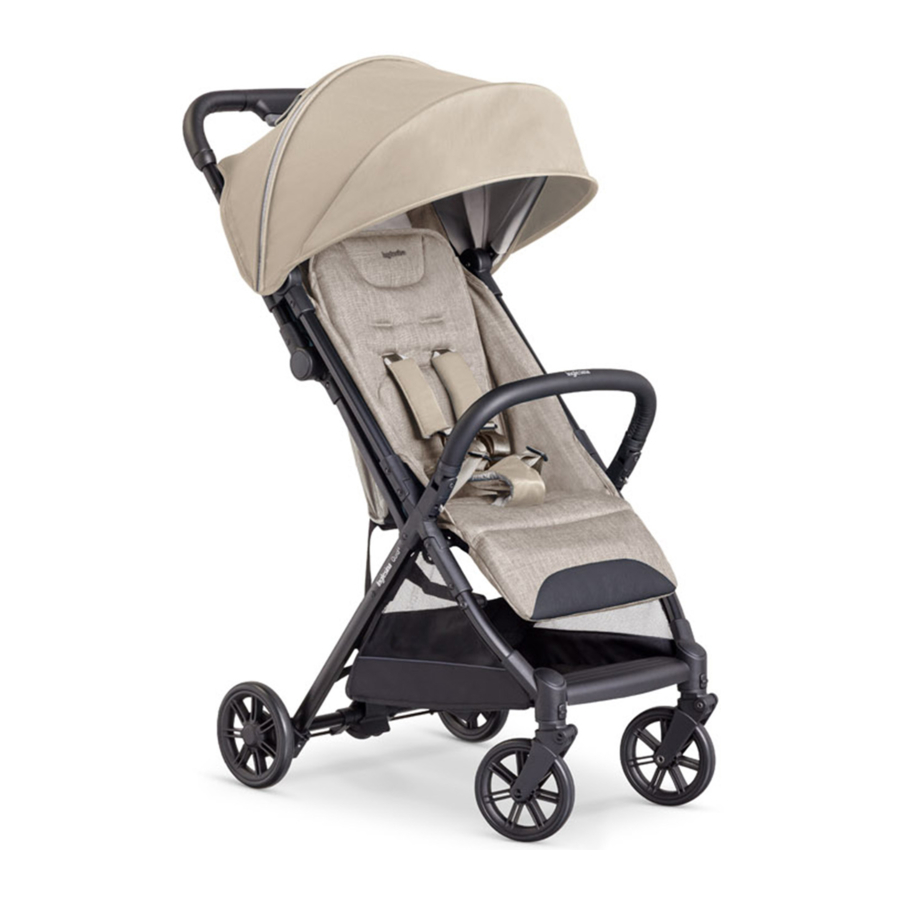
Inglesina QUID - Stroller Manual
- Instruction manual (100 pages) ,
- Instructions for use manual (36 pages) ,
- Instruction manual (20 pages)
Advertisement
- 1 SAFETY INSTRUCTIONS
- 2 HINTS FOR CLEANING AND MAINTAINING THE PRODUCT
- 3 HINTS FOR CLEANING THE TEXTILE LINING
-
4
INSTRUCTIONS
- 4.1 LIST OF COMPONENTS
- 4.2 "SELF STANDING" SUPPORT
- 4.3 STROLLER OPENING
- 4.4 REMOVING/ATTACHING THE FRONT WHEEL ASSEMBLY
- 4.5 REMOVING/ATTACHING THE REAR WHEELS
- 4.6 REAR WHEELS BRAKE
- 4.7 BLOCKING/UNBLOCKING THE FRONT WHEELS
- 4.8 BUMPER BAR
- 4.9 ADJUSTING THE BACKREST
- 4.10 SAFETY BELTS
- 4.11 HOOD
- 4.12 HOOD VENTILATION
- 4.13 REMOVING THE HOOD
- 4.14 ADJUSTING THE FOOTREST
- 4.15 CLOSING THE STROLLER
- 4.16 TRANSPORTATION HANDLE
- 4.17 RAIN COVER (IF AVAILABLE)
- 5 Documents / Resources
EXTEND YOUR WARRANTY FROM 2 TO 3 YEARS FROM THE DATE OF PURCHASE & AVOID MAILING THIS CARD BY REGISTRING YOUR PRODUCT ON inglesina.us/product-registration
SAFETY INSTRUCTIONS

carefully read, understand and follow all warnings and instructions provided in this manual. Failure to do so can result in an accident, personal injury or death. If you have any doubt about the use of this seat, DO NOT USE THE STROLLER. Contact Inglesina or your retailer for advice.
This article meets all requirements covered in 16 CFR 1227 ASTM F833-19 SOR/2016-167 Standards and Regulations.
- READ ALL INSTRUCTIONS BEFORE ASSEMBLY AND USE OF STROLLER.
- FAILURE TO FOLLOW ALL WARNINGS AND INSTRUCTIONS COULD RESULT IN SERIOUS INJURY OR DEATH.
- KEEP INSTRUCTIONS FOR FUTURE USE.
- This product can be used for babies: from 3 months up to max 50 lbs (22 kg) according to ASTM F833-19.
- This product can be used for babies whose maximum weight is 50 lbs (22 kg) and whose maximum height is 41 inches (105 cm) according to Canadian Regulation SOR/2016-167.
- NEVER LEAVE CHILD UNATTENDED.
- AVOID SERIOUS INJURY FROM FALLING OR SLIDING OUT. ALWAYS USE SEAT BELT.
- DO NOT ATTACH OBJECTS (SUCH AS POCKET BOOKS OR DIAPER BAGS) TO THE STROLLER AS THIS MAY AFFECT THE STABILITY AND SAFETY OF THE PRODUCT.
- To prevent the baby from falling and/or sliding out with serious injury risks, always use the safety belts properly fastened and adjusted.
- The correct use of the restraint system is not a substitute for proper adult supervision.
- Be aware that the bumper bar is not an effective restraint. Always use the restraint system.
- This product is not intended for prolonged period of sleeping. When the child needs to sleep it is necessary to use a bed or a crib.
- Maximum weight for objects placed in basket is 3 kg (6,6 lbs). Do not exceed the recommended maximum weight because it may cause a hazardous unstable condition.
ADDITIONAL SAFETY INSTRUCTIONS
- This product must be used to accomodate only one child.
- For the safety of your child, remove and eliminate all plastic bags and elements belonging to the packaging before use and, in any case, keep them out of reach of newborns and children.
- Before assembly, ensure that the product and all its components have not been damaged during transport. Should this be the case, do not use the product and keep it out of reach of children.
- Assembly, disassembly and adjustments must be carried out only by adults. Make sure that the person using the product (baby-sitter, grandparents, etc.) are aware of its correct operation. This product must only be used by an adult.
- To prevent injuries, keep your child away when unfolding and folding this product.
- While performing any adjustment, make sure that no moving part of the product (e.g. backrest, hood, etc.) comes into contact with the baby. Always make sure that the brake is duly engaged when performing these operations.
- Do not open, fold or disassemble the product with the baby inside.
- In any case, be particularly careful when performing these tasks with the child nearby.
- Do not let other children or pets play unattended near the product or climb on it.
- Before use:
- Make sure that the product is properly assembled, that all its components are properly fastened and that all the mechanisms are engaged. Make sure that the lining is properly secured to the structure.
- Make sure that the stroller is fully open and ensure that all the locking devices are engaged. ‡Regularly inspect the product and all its components to detect any damage and/or signs of wear, unstitching and tears. In the event of damage or malfunction, keep the product out of the reach of children, do not use it and/or attempt to repair it, but turn exclusively to qualified staff.
- Do not use the product if any part is broken, torn or missing. Contact manufacturer immediately for replacement parts or service.
- Do not use spare parts or accessories not supplied and/or not approved by Inglesina.
- Any load applied to the handle and/or the backrest and/or laterally to the product can compromise the stability of the product.
- Pets attached to the product may affect its stability and cause loose of control.
- Never place the product close to stairs or steps even if the brake is engaged, as child movements may slide the product.
- Do not leave the stroller on a slope with the baby inside, even if the brake is engaged.
- When parking check if the brake is properly engaged by moving forward/rearward the product.
- Always make sure that the brake is engaged when positioning the child into the stroller or taking him/her out, as well as during stops, and when assembling/disassembling any accessory. Always use the parking brake, even when standing still for only a few moments.
- This product is designed for walking use only.
- This product is not suitable for running, skating or for other sport activities.
- Never use the stroller on stairs or escalators with the baby inside, as you may suddenly lose control of the product or the child may fall out. Also take extra care when going up or down a curb or other uneven surfaces.
- Do not carry the stroller by the bumper bar as it may disengage.
- Do not lift the stroller with child in it.
- Do not leave the baby in the stroller when travelling on transport means (eg. train, bus, etc).
- To prevent accident ensure that the stroller is kept away from automatic closing doors (e.g. train, lift, ...)
- Make sure that all possible sources of hazard (e.g. cables, electric wires, etc.) are kept out of reach of the child.
- Never leave the product with the child inside in places where ropes, curtains or other objects can be used by the child to climb up or cause choking or strangling hazards.
- When the product is not used, it must be stored out of reach of children. The product shall not be used as a toy! Do not let the child play with it.
- In case of prolonged exposure to sunlight, let the product cool down before using it.
- To avoid overheating and skin burns, do not expose the child to direct sunlight for prolonged period of time, even if the canopy is fully extended.
- Watch out for cars - never assume that a driver can see you and your child.
- The rain cover must be used only on the Inglesina product for which it was designed.
![]()
choking hazard! Use the product with hood/sun cover always properly installed and open.![]()
choking and overheating hazard! Do not leave the product under the sun, in closed areas or near direct heat sources with the rain cover installed.![]()
use the rain cover under adult supervision.
HINTS FOR CLEANING AND MAINTAINING THE PRODUCT
- This product requires regular maintenance by the user.
- Do not store the product if it is still wet and do not leave it in humid environments since mildew may form.
- Store the product in a dry place.
- Protect the product against weather agents, water, rain or snow; moreover, continuous and prolonged exposure to sunlight can cause changes in the colour of many materials.
- Should the product be used on the beach, carefully clean and dry it afterwards in order to remove sand and salt as this may cause rusting.
- Clean the plastic and metal parts with a damp cloth or with a mild detergent; do not use solvents, ammonia or benzine.
- Carefully dry metal parts after any contact with water to prevent the formation of rust.
- Keep all moving parts clean and, if necessary, lubricate them with light oil.
HINTS FOR CLEANING THE TEXTILE LINING
- Seat cover and harness are surface wash only. Clean with a damp cloth and mild soap; do not use solvents, ammonia or bleach. Do not use abrasive cleaners or scrubbing pads.
- Follow the lining washing instructions on the labels.
 | Do not bleach |  | Do not iron |
 | Do not tumble dry |  | Do not dry clean |
 | Dry flat in shade |
- Dry the textile lining completely before using or storing it.
INSTRUCTIONS
LIST OF COMPONENTS

- Hood
- Bumper bar
- Storage basket
- Rain cover (if available)
"SELF STANDING" SUPPORT
In order to allow the stroller to remain upright on its own, pull out the support (S1) and place it in its housing.

STROLLER OPENING
To open the stroller, use both levers (P1) and simultaneously, holding the handle firmly, lift the stroller until the correct opening is heard.

before use, make sure that the stroller is correctly opened by checking that the red area is no longer visible from both sides.

use the levers (P1) exclusively while opening and closing the stroller. Be careful not to operate them accidentally during the normal use of the stroller.
REMOVING/ATTACHING THE FRONT WHEEL ASSEMBLY
In case of need, the front wheel assembly (D) can be easily removed.

To remove it, pull it out from the front support while holding down the lever (D1).

To reinstall it, simply position it and push it until it clicks into place.

Make sure thet the wheels are properly attached before use
REMOVING/ATTACHING THE REAR WHEELS
Should it be necessary, the rear wheels (E) can easily be removed.

Use a screwdriver (or similar tool, not included) to operate the lever (E1) and simultaneously pull them out from the rear support.

To reinstall them, simply position them and push them until they click into place.
make sure that the wheels are properly attached before use.
REAR WHEELS BRAKE
To operate the brake, use the rear central lever (P3). Always engage the brake during stops.

BLOCKING/UNBLOCKING THE FRONT WHEELS
The stroller features swivelling wheels that can be blocked or unblocked simply by operating the lever (P4) by the front wheel assemblies.

BUMPER BAR
The bumper bar (B) can be opened on one side or completely removed; to open it, pull the lever (B1) and remove it from its housing.

To remove it, repeat the operation on the other side as well.
never attach the bumper bar in the direction opposite the one shown.
ADJUSTING THE BACKREST
To lower the backrest, release the rear strap by pressing the button (P5) on the central device (P6).

To lift the backrest, press the button (P5) on the control device (P6) and simultaneously pull the rear ring (P7).

SAFETY BELTS
If the height of the back straps must be changed, remove the shoulder straps (P8) by detaching the velcro that secures them on the belts (P13), then pull them out of the loops on the backrest (P9). Use both back straps always at the same height.

Once the correct positon has been found, re-insert the shoulder straps (P8) on the back straps, making sure that the velcro (P13) adheres correctly.

Make sure that the back strap is properly inserted in the ends of the waist one (P10).

Fasten the ends of the waist belt to the central buckle (P11).

Always use the crotch strap (P12) in combination with the waist strap, making sure that they are all well adjusted around the baby.

Failure to comply with this precaution can cause the baby to fall or slide out, with serious injury risks.
adapt the height and the length of the harness according to the baby's growth.
HOOD
To adjust the hood, simply accompany it to the desired position.

The hood features a fabric insert that extends the degree of cover, improving protection from the sun.

HOOD VENTILATION
The back of the hood can be removed and completely folded down to allow for greater air circulation.
Detach the fixing velcro (A1) and wrap the hood back, locking it with the small central buckle (A2).

REMOVING THE HOOD
To remove the hood, detach the fixing velcros (A)

Press the lever (A3) on the central joint (A4) and simultaneously remove the hood from the housings (A5) on the stroller.

Unbutton the two press studs (A6) on the central joints (A4).

Open the internal zip (A7) and free the lining from the fixed rear rib (A8). The hood can now be removed completely from the stroller.

ADJUSTING THE FOOTREST
To lower the footrest (E), use both lower buttons (E1) and push it down simultaneously.

To lift the footrest, simply pull it upwards and it shall automatically lock into position.

CLOSING THE STROLLER
To close the stroller, use both levers (P1) and at the same time accompany the stroller downwards until it is completely folded.

use the levers (P1) exclusively while opening and closing the stroller. Be careful not to operate them accidentally during the normal use of the stroller.
TRANSPORTATION HANDLE
To transport the closed stroller, use the proper handle (M). Do not lift the stroller by holding it in another way.

RAIN COVER (IF AVAILABLE)
To fix the rain cover (D) to the stroller, after having correctly positioned it, fasten the velcro straps (D1) first around the side tubes and then around the front tubes.
")
Documents / ResourcesDownload manual
Here you can download full pdf version of manual, it may contain additional safety instructions, warranty information, FCC rules, etc.
Advertisement


Need help?
Do you have a question about the QUID and is the answer not in the manual?
Questions and answers