Advertisement
Regular maintenance using Mutoh UMS or Eco-Ultra ink
Dear customer,
Each ink has its own specific drying speed and drying characteristics, which has an influence on
its periodical maintenance cycle.
To maximise the life-time of all parts which are exposed to ink, it is crucial to carry out some easy
but important maintenance.
The most important maintenance actions are:
Wash away ink remainders from parts which are not (easily) accessible, avoiding that the ink
dries out, possibly causing blockage.
Regularly remove ink remainders from accessible parts.
Hereafter, tailored to each ink type, you will find simple guidelines explaining how you can
maintain excellent print quality and avoid that parts wear untimely.
Overview
When using the VJ-1638 / VJ-1638Xit is important to perform periodic maintenance. This will
help you maintaining excellent output quality and avoid parts to wear untimely. Depending on
your current ink setup, follow the required periodical maintenance scheme.
1) When using Eco ink
2) When using UMS ink
AP-76943_Rev 1.0
MUTOH Belgium nv
Archimedesstraat 13
8400 Oostende - Belgium
www.mutoh.eu
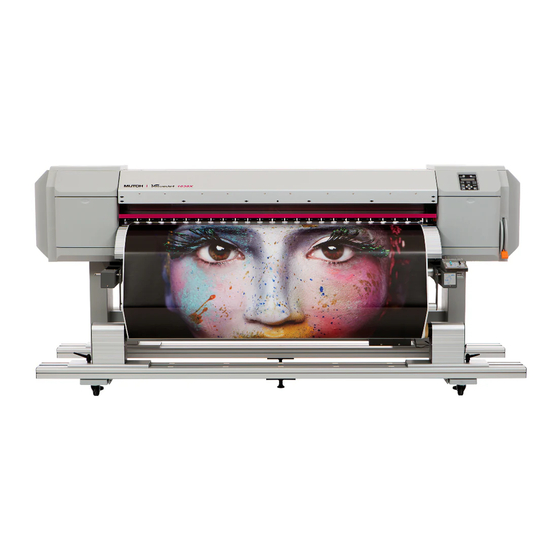
ValueJet 1638 / 1638X
Tel +32(0)59 56 14 00
Fax +32(0)59 80 71 17
BTWBE 0441.745.423
RPR Oostende
Page 1/19
Advertisement
Table of Contents

Related Manuals for MUTOH ValueJet 1638


Summary of Contents for MUTOH ValueJet 1638
- Page 1 8400 Oostende - Belgium RPR Oostende www.mutoh.eu ValueJet 1638 / 1638X Regular maintenance using Mutoh UMS or Eco-Ultra ink Dear customer, Each ink has its own specific drying speed and drying characteristics, which has an influence on its periodical maintenance cycle.
- Page 2 Important Please be aware that next to this periodical maintenance, a certified Mutoh Technician needs to perform yearly maintenance as well. Please contact your Authorised Mutoh Reseller for more information. Important Please keep in mind to use the correct cleaning fluid ...
- Page 3 Performing a tubing flush Important Only needed when working with UMS ink! (1) Cleaning frequency Once every two days (2) Cleaning procedures Use UMS cleaning liquid to perform a tubing flush when working with UMS ink. Step 1: If the printer is powered ON, make sure that printing or other operations are not in progress.
- Page 4 Step 6: Using a pipette filled with UMS cleaning liquid, drip about 5 ml of cleaning liquid onto the head cap unit as shown in the illustration. The cleaning liquid will be sucked into the capping unit and the connected tubing. It will remove ink remainders and prevent blocking of the tubing.
- Page 5 Cleaning around the print head (1) Cleaning frequency On a weekly basis, check if foreign substances (dust or ink clots that can cause missing dots or ink leakage) are attached around the print head. If it is the case, remove them as described. (2) Cleaning procedures Note Before cleaning around the print head, read this procedure thoroughly to fully...
- Page 6 Step 5: Move the print head manually so that you have a clear view on the print head. Name Print head section Circumference of the print head Step 6: Use a penlight, etc. to check if any foreign substances, such as dust or ink are attached to the following places.
- Page 7 Caution When cleaning around the print head, Do not touch the nozzle plate. Doing so may damage the print head. Do not touch the tip of the cleaning stick. The print head may be damaged because of skin oil.
-
Page 8: Cleaning The Cleaning Wiper
Cleaning the cleaning wiper (1) Cleaning frequency Once a week, or when blurs or lacking parts appear on printed media after head cleaning. Important Please make sure the wiper is in optimal condition. If you do not clean the wiper ... - Page 9 Step 4: Open the maintenance cover at the right side of the printer. Name Maintenance cover Caution When cleaning the cleaning wiper Do not touch the cleaning wiper and head cap unit with your hands. Head cleaning may not be performed correctly because of skin oil. Make sure to wipe the print head using the cleaning stick.
- Page 10 Step 5: Use a cleaning stick moistened with a suitable cleaning liquid to remove the ink and dust on the cleaning wiper. Front side of the cleaning wiper: Remove the ink and dust in the horizontal direction. Name Cleaning wiper Cleaning stick Head cap unit Cleaning wiper back side:...
-
Page 11: Head Cleaning
Head cleaning If printed data is blurred or lacks part of it, perform a cleaning sequence as described below. When not using the printer for a long period (2 weeks or more), perform head cleaning. If not performing head cleaning, the print head is clogged. Doing a head cleaning will preserve print quality. -
Page 12: Cleaning The Printer
It could lead to an electric shock or fire. Immediately turn OFF the power switch, disconnect the power plug from the electric socket, and contact your local MUTOH dealer. When cleaning the printer, be sure to turn OFF the power and disconnect the ... - Page 13 Step 3: Apply a damp and tightly squeezed soft cloth to wipe out paper powder and ink attached to the platen and media guide. Name Platen Media guide Step 4: Apply a damp and tightly squeezed soft cloth to wipe off the dirt of the unpainted (silver colour) area in the centre of the grid roller Name Grid roller...
- Page 14 Replacing the flushing box sponge (1) Replacement frequency Replace the flushing-box sponge in the following situations: When the flushing-box sponge is deformed or saturated When ink is spattered on the media. When more than two months have passed since the last replacement. ...
- Page 15 Step 5: Lift the flushing-box sponge tab and unhook. Then, remove the flushing-box sponge. Important Do not spill waste fluid when replacing the flushing-box sponge. If waste fluid comes into contact with the grid roller, it may damage its surface and affect media feeding.
-
Page 16: Disposal Of Waste Fluids
Please dispose according to local rules and regulations. For details, please verify the corresponding safety data sheet MSDS on the Mutoh website. Disposal can be found in section 13 of the SDS. Ready an empty container such as a supply waste fluid bottle, to contain the waste Step 1: fluid. -
Page 17: Replacing The Cutter
Replacing the cutter (1) Replacement frequency Replace the cutter when the following situation occurs: When the media is not cut smoothly When the cut surface is feathered, etc. (2) Replacing steps If the printer is powered ON, make sure that printing or other operations are not in Step 1: progress. - Page 18 Step 5: Press the tab of the cutter gently, turn the cutter holder in the direction as illustrated below. Do not press the tab of the cutter strongly or suddenly let it go. There is a spring in the cutter holder and it may pop out. Do not push the cutter all the way in.
- Page 19 The print head returns to its original position. “CR Mainte.: Start” is displayed. Press the [Menu] key. Step 11: Cutter replacement is complete. Copyright Mutoh Belgium. All rights reserved. Unauthorised copying or distribution prohibited. Written approval required from Mutoh Belgium. AP-76943_Rev 1.0 Page 19/19...
Need help?
Do you have a question about the ValueJet 1638 and is the answer not in the manual?
Questions and answers