Advertisement
Quick Links
Technical Support and E-Warranty Certificate www.vevor.com/support
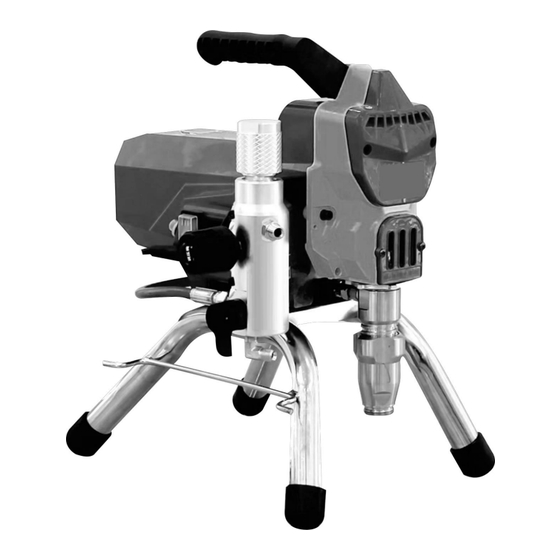
High Pressure Airless Sprayer
USER MANUAL
We continue to be committed to provide you tools with competitive price.
"Save Half", "Half Price" or any other similar expressions used by us only represents an
estimate of savings you might benefit from buying certain tools with us compared to the major
top brands and does not necessarily mean to cover all categories of tools offered by us. You
are kindly reminded to verify carefully when you are placing an order with us if you are
actually saving half in comparison with the top major brands.
Advertisement

Related Manuals for VEVOR 395


Summary of Contents for VEVOR 395
- Page 1 Technical Support and E-Warranty Certificate www.vevor.com/support High Pressure Airless Sprayer USER MANUAL We continue to be committed to provide you tools with competitive price. "Save Half", "Half Price" or any other similar expressions used by us only represents an estimate of savings you might benefit from buying certain tools with us compared to the major top brands and does not necessarily mean to cover all categories of tools offered by us.
- Page 2 This is the original instruction, please read all manual instructions carefully before operating. VEVOR reserves a clear interpretation of our user manual. The appearance of the product shall be subject to the product you received. Please forgive us that we won't inform you again if there are any technology or software updates on our product.
- Page 3 WARNING The following is the setting of this equipment, use, grounding, maintenance and repair of general warnings related.In addition,in the present manual Other suitable places there are even more explicit warnings. Signs appear throughout this manual refer to these general warnings. When the manual These symbols appear somewhere, go back to the following pages a description of the specific hazard.
- Page 4 electric shock. Before servicing equipment,turnoff the power and disconnect the power cord. ·Use only grounded electrical outlets. ·Use only three-core extension cords. Ensure ground sprayer and extension cords prongs are intact. ·Do not expose to rain.To be stored indoors. SKIN INJECTION HAZARD From the gun,hose leaks,or ruptured components emitted by the high-pressure fluid can pierce the skin.Injuries look like "just A cut mouth,"it is a serious injury that can result in amputation.Get immediate...
- Page 5 Do not use 1,1,1-trichloroethane, methylene chloride in pressurized aluminum equipment,and other hydrogenated hydrocarbon solvents or contain Fluid these solvents. Doing so can cause serious chemical reaction and equipment rupture, and result in serious personal injury or death And property damage. Fluid or smoke poisoning hazard “If the inhalation of toxic fumes, ingestion of toxic fluid or splashed in the eyes or on the skin can cause serious injury or death.
- Page 6 6)Do not use when the machine is not working properly. 7)Do not disassemble and repair this machine. 8)Do not use an unsuitable AC Outlet. 9)Do not touch the heating plate when the machine is heating 10)Do not use in a humid environment or contact with water Do not infiltrate liquid in the machine to prevent fire or electric shock caused by short circuit.
-
Page 7: Fcc Information
FCC INFORMATION CA UT I O N: Changes or modifications not expressly approved by the party responsible for compliance could void the user's authority to operate the equipment! This device complies with Part 15 of the FCC Rules. Operation is subject to the following two conditions: 1) This product may cause harmful interference. - Page 8 CSPECIFICATIONSIFICATIONS Item Description Rated Voltage 120VAC 60Hz(For US ) 120VAC 60Hz(For US ) 230VAC 50Hz(For 230VAC 50Hz(For Rated Voltage Europe) Europe ) Rated Power 2200W 2000W Maximum Working 3000 PSI 3000 PSI Pressure (MWP) Maximum Delivery 2.0 LPM 2.0 LFM Work Environment 5°C-40°C/40°F-105°F 5°C-40°C/40°F-105°F...
- Page 9 3.Tighten 4.Remove tip guard 5.Check inlet strainer for 6.To the throat packing nuts with obstructions and dirt throat seal liquid to prevent premature seal wear.have to do every time you spray. 8.Plug the power cord into a properly 7.Turn off the power grounded electrical outlet.
- Page 10 9.The filler valve downward 10.The siphon tube set into the inner fluid filled with rotation. grounded metal pail.Pull to the wire with the bucket connected to a true earth ground.The oil is stored in sprayer washed away.Rinse water-based paint,oil paint and storage oil rinse with mineral spirits.
- Page 11 3. Use a wrench to tighten the nozzle seat assembly and the extension rod or spray gun. CLEAR BLOCKAGE a)the release of the trigger, put safety. b) the spinning nozzle. c) Open the safety pin. d.) Trigger gun to clear the clog. Never point gun at your hand or a rag! - 10 -...
- Page 12 a ) lock safety pin. b) is rotated to the original position.c.) to open the safety pin, and then continue spraying. CLEARING 1.Turn off the power and unplug the power cord sprayer. - 11 -...
- Page 13 2.The pressure to lowest setting Trigger spray seizure trigger to relieve pressure. 3.Drain hose into the bucket. The filler valve downward rotation. 4.Remove the cover and nozzle - 12 -...
- Page 14 5.The siphon tube set from paint and place in flushing fuid.Water and water-based paint,oil paint with mineral spirits. 6.Plug sprayer power cord. Power.The filler valve rotated to a horizontal position. 7.Hold gun against paint pail.Trigger safety pin. Trigger gun and increase pressure until flushing fluid.
- Page 15 8.Move gun to flushing pal, hold gun against pail, trigger gun to thoroughly flush system. Release trigger and lock trigger safety. 9.The filer valve is rotated downward and then let flushing fluid to circulate 1-2 minutes to clean drain tube. 10.The sucton pipe raised above flushing fluid and run sprayer for 15 to 30 seconds to drain fluid.
- Page 16 11.Close relief valve.Flushing pail gun trigger to discharge fluid hose. 12.Open filler valve 13.If equipped with a filter on the gun and sprayer, then remove them. Clean and inspect. - 15 -...
- Page 17 14.lf it is washed with water, re-wash again with mineral spires to leave a protective coating to prevent freezing or corrosion. 15.With a soak in water or mineral spirts rags Wipe sprayer, hose and gun. Trouble Shooting problem The reason Solve l.
- Page 18 protection operation 6.Please reset the protector 7. The motor has a problem after troubleshooting 7. Take the device to the agencymaintenance 1.Unable to reflux 1.Try to look again at reflux. 2. The paint bucket is empty or 2.Load the paint bucket or thesuction tube Not completely suction tube is fully immersed in immersed in the paint...
- Page 19 G.Absolutely can not stand the pressure 1.nozzle or filter is clogged spray or Normal 1.Clean the nozzles or cartridge 2. The cleaning nozzle in force shot 2.Place the nozzle in spray reverse position instantaneous position 3.Clean dirty dirt 3.clogged suction port pressure reduction Small enough traffic 1.Set the spray pressure is too...
- Page 20 Technical Support and E-Warranty Certificate www.vevor.com/support...
Need help?
Do you have a question about the 395 and is the answer not in the manual?
Questions and answers