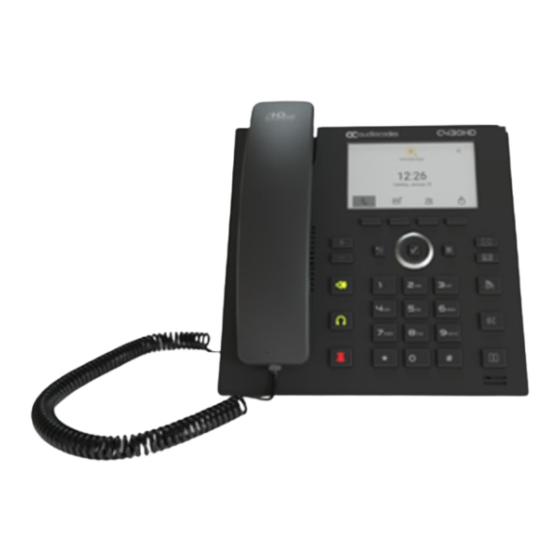
AudioCodes C430HD Quick Manual
Ip phone for microsoft teams
Hide thumbs
Also See for C430HD:
- User's and administrator's manual (41 pages) ,
- User's and administrator's manual (132 pages)
Advertisement
AudioCodes C430HD IP Phone for Microsoft® Teams™
1. Before Installing
Congratulations on purchasing your AudioCodes C430HD for Microsoft Teams IP Phone!
Before installing your phone, make sure the following items are included in the shipped box:
C430HD IP Phone
AC power adapter (optional)
Cat 5e Ethernet cable
Handset
Handset cord
Desktop stand with two screws
2. Physical Description
Navigation Control
Back Key
Volume Keys
Mute Key
Headset Key
Speakerphone Key
Quick Guide
Alphanumerical
Keypad
P a g e
| 1
Screen
MENU
VOICEMAIL
CONTACTS
Teams
TRANSFER
HOLD
Microphone
Advertisement
Table of Contents

Summary of Contents for AudioCodes C430HD
- Page 1 AudioCodes C430HD IP Phone for Microsoft® Teams™ Quick Guide 1. Before Installing Congratulations on purchasing your AudioCodes C430HD for Microsoft Teams IP Phone! Before installing your phone, make sure the following items are included in the shipped box: C430HD IP Phone ...
-
Page 2: Cabling The Phone
3. Cabling the Phone Warning: Prior to connecting power, refer to the Compliancy and Regulatory Information document at https://www.audiocodes.com/library/technical-documents. To cable the phone: Connect the short, straight end of the phone cord to the handset, and the longer straight end of the cord, to the handset jack on the phone. - Page 3 4. Mounting Phone on Desktop Your phone is shipped with a desk stand that you can use to place your phone on a desk. To desk mount phone: Align the two clips of the desk stand (supplied) with the corresponding slots on the phone base. Gently push the stand down until it snaps securely into place.
- Page 4 5. Mounting Phone on Wall Use AudioCodes wall-mounting bracket kit (separate orderable item) to mount the phone on a wall. It allows you to mount the phone anywhere on a wall or to hang it on your Ethernet wall plate.
- Page 5 Mount anywhere on a wall Mark the locations of the screw holes on the wall. Drill a hole in the wall for each location. Insert wall anchors (not supplied) into the holes and insert screws (not supplied) into them. Leave a gap of (5 mm) between screw head and wall for hanging the mounting bracket. Hang the bracket (attached to phone) on the screw heads and tighten the screws if necessary.
- Page 6 6. Signing in To sign in with your username and password: After connecting the phone to the network, it starts up and the following is displayed: Open your web browser and navigate to https://microsoft.com/devicelogin Enter the code provided by the phone and click Next. In the ‘Pick an account’...
- Page 7 Enter your password (the same as the password for your pc) and then click Sign in. Navigate to and select Got it; the ‘home’ screen is displayed; you’ve successfully signed in to the phone. To sign out: Navigate to and select , navigate to and select Settings and then the Sign out option.
-
Page 8: Changing Your Presence Status
(Available in the figure below). Navigate to and select the status you want. 8. Basic Phone Operations For basic phone operations, refer to Microsoft documentation, and AudioCodes’ C430HD User’s and Administrator's Manual. Notice Information Information contained in this document is believed to be accurate and reliable at the time of printing. However, due to ongoing product improvements and revisions, AudioCodes cannot guarantee accuracy of printed material after the Date Published nor can it accept responsibility for errors or omissions.


Need help?
Do you have a question about the C430HD and is the answer not in the manual?
Questions and answers