Advertisement
Quick Links
Advertisement

Related Manuals for Dynasty Fireplaces Cascade DY-BTX


Summary of Contents for Dynasty Fireplaces Cascade DY-BTX
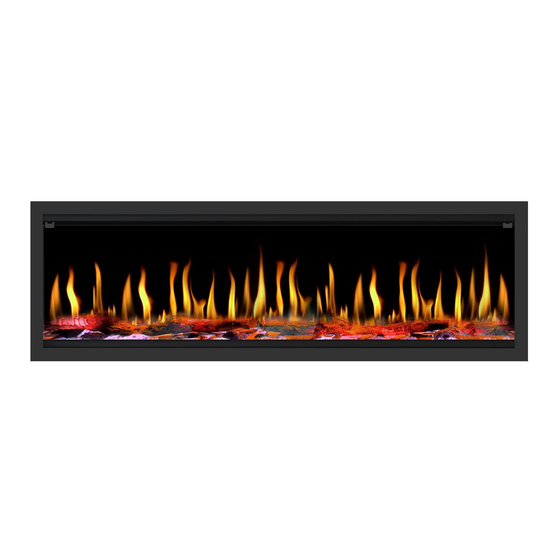
- Page 1 DYNASTY FIREPLACES Installation Guide for Dynasty Fireplaces Cascade Series (DY-BTX)
- Page 2 NEVER plug this heater into an outlet that is old, cracked, or has any loose wires or connections. Plugging this heater into a faulty outlet could result in electric arcing within the outlet that could cause the outlet to overheat or catch fire ©2022 Dynasty Fireplaces...
- Page 3 Tempo Series Installation Guide STEP 1 1. Create framing and opening according to the dimensions of your fireplace Framing Dimensions Model DY-FVX52 DY-FVX63 DY-FVX76 DY-FVX100 19⅛ in. 19⅛ in. 19⅛ in. 19⅛ in. 49 in. 59 ¾ in. 73 ¼ in. 97 ⅜...
- Page 4 Tempo Series Installation Guide STEP 2 2. Finishing material can be applied around the opening prior to installation. Ensure electrical power is accessible behind framing. NOTE: Ensure screws can be installed into the finishing material on the left and right of the opening...
- Page 5 Tempo Series Installation Guide STEP 3 3. Remove the 2 screws securing the wiring plate on the top right corner of the fireplace...
- Page 6 Tempo Series Installation Guide STEP 4 4. Connect the power cord to the unit. Secure the power cord by reinstalling the cover plate supplied on the cord.
- Page 7 Tempo Series Installation Guide STEP 5 5. Remove the trim, and power on the fireplace. Set the fireplace into the framing, then secure with four ST5*40 screws.
- Page 8 Tempo Series Installation Guide STEP 6 6. Remove the thumb screw on both sides of the glass panel, and remove the glass panel carefully.
- Page 9 Tempo Series Installation Guide STEP 7 7. Decorate the fireplace either with the crystals or the logs. Follow the guidelines provided on the fuel bed, indicating on how to position the logs for the best view.
- Page 10 Tempo Series Installation Guide STEP 8 8. Install the glass panel and the thumb screw back.
- Page 11 Tempo Series Installation Guide STEP 9 9. Install the trim back, ensure the top clips on the trim has latched onto the fireplace.
- Page 12 SUPPORT For more product information, maintenance guide, and contact information, visit: support.dynastyfireplaces.com Contact us: support@dynastyfireplaces.com ©2022 Dynasty Fireplaces...
- Page 13 THANK WWW.DYNASTYFIREPLACES.COM...
Need help?
Do you have a question about the Cascade DY-BTX and is the answer not in the manual?
Questions and answers