Advertisement
Quick Links
Quality Space Heaters
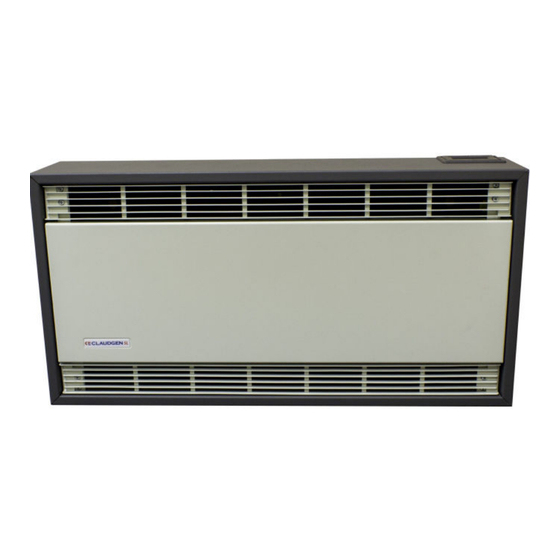
Installation & Control Guide for 3kW Low Level Fan Heater
with Electronic Controls and Open Window Detection
Models
HE6137E
All electrical appliances produced by the Company are guaranteed for one year
against faulty materials or workmanship. This applies only if the appliance has been
used for purposes in accordance with the instructions provided and has not been
connected to an unsuitable electricity supply, or subject to misuse, neglect, damage or
modified or repaired by any person not authorised by us. This guarantee is offered to
you as an extra benefit and does not affect your legal rights.
The correct electricity supply voltage is shown on the rating label attached to the
appliance.
Reasonable care has been taken to ensure that this guide is accurate at the time of
printing.
In the interest of progress the Company reserve the right to vary specifications from time
to time without notice.
58000386 Iss 05
Advertisement

Summary of Contents for Consort HE6137E
- Page 1 Installation & Control Guide for 3kW Low Level Fan Heater with Electronic Controls and Open Window Detection Models HE6137E All electrical appliances produced by the Company are guaranteed for one year against faulty materials or workmanship. This applies only if the appliance has been...
-
Page 2: Safety And Care
Thermally Operated Cut-Out Overview The appliance is fitted with a thermally Please read this guide carefully and retain operated cut-out (TOC). This is a safety for future use and maintenance. device, which switches the heater off if, for This appliance has been designed and any reason, the appliance overheats. - Page 3 Connection to the Main Supply 1. Mounting Electrical installation should be carried out This unit is for wall mounting only. It is de- by a competent installer, preferably signed to be very quiet in operation if mount- registered with NICEIC (National ed correctly.
-
Page 4: Installation
1.1 Mounting Installation Figure 1. - HE6137E dimensions OPTIMUM MOUNTING HEIGHT IS 400mm FROM THE FLOOR. NOTE: - MINIMUM CLEARANCE FROM THE FLOOR IS 200mm. - IF THE HEATER IS MOUNTED AT HIGH LEVEL, THE MINIMUM DISTANCE FROM THE CEILING IS 1000mm. - Page 5 The cycle sequence will always start with BOOST mode followed by MANUAL, SETB and PROG. The HE6137E also has a STANDBY MODE. To enter/exit this mode, press the standby button. In STANDBY MODE, the heating will not be activated.
- Page 6 9. Setting the time and day temperature - allowing for almost The HE6137E will come set with the correct silent operation. time and day. It has an internal battery back up that can remember the settings. It will auto- matically change the clock to adjust to British Full heat output.
- Page 7 13. Setting the automatic program schedule An example of one day program on HE6137E PROGRAM 1 PROGRAM 2 PROGRAM 5 PROGRAM 6 ºC PROGRAM PROGRAM 19ºC 22ºC 22ºC 16ºC 10ºC 4ºC 06:00 08:00 12:00 14:00 16:00 22:00 Step 4: Press the MENU button.
- Page 8 14. Overview of program mode Alternatively, it is possible to copy a program from one day to another. The HE6137E has a 7-day, 5-day + 2-day and a To do this, follow the steps below; 24 hour timer available. This can be chosen in the setup menu.
- Page 9 18. Setup Menu Press and hold MENU and - together for 5 seconds. 7 - Temperature drop The display will enter the setup menu. in open window Use + and - to change a value. detection time Use MENU to scroll between the settings. Use standby button to exit the setup menu.
-
Page 10: Declaration Of Conformity
BS EN 301489.1 & .3 • BS EN 300220.1 & .2 • BS EN 60730.2.9 • BS EN 60335.1 (2012 ) • BS EN 60335.2.30 (2009) • ETSI BS EN 303645 • HE6137E UMBER ESCRIPTION PPLIANCE O’S ESPONSIBLE ERSON AVID ULLIVAN OSITION PERATIONS ANAGER...


Need help?
Do you have a question about the HE6137E and is the answer not in the manual?
Questions and answers