Advertisement
All electrical appliances produced by Consort are guaranteed for one year against
faulty materials or workmanship. This applies only if the appliance has been used for
purposes in accordance with the instructions provided and has not been connected to
an unsuitable electricity supply, subject to misuse, neglect, damage, modification or
repair by any person not authorised by us. This guarantee is offered to you as an extra
benefit and does not affect your legal rights.
The correct electricity supply voltage is shown on the rating label attached to the
appliance.
Reasonable care has been taken to ensure that this guide is accurate at the time of
printing. In the interest of progress Consort reserves the right to vary specifications without
notice.
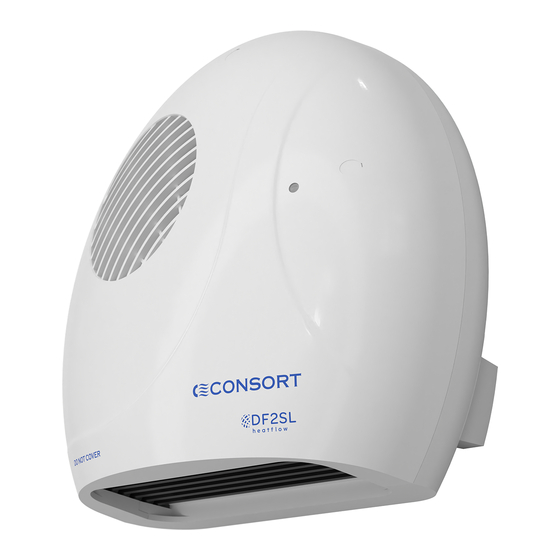
O V E R V I E W
Please read this guide carefully and retain for future reference and maintenance. This
appliance has been designed and manufactured to the highest international standards
but care should be taken in order to achieve the best results and highest safety. This
appliance also meets the requirements of EU Directive 2004/106/EC for EMC and
2009/125/EC Directive.
Advertisement
Table of Contents

Related Manuals for Consort DF2SL heatflow


Summary of Contents for Consort DF2SL heatflow
- Page 1 Reasonable care has been taken to ensure that this guide is accurate at the time of printing. In the interest of progress Consort reserves the right to vary specifications without notice. O V E R V I E W Please read this guide carefully and retain for future reference and maintenance.
- Page 2 D F 2 S L H E A T F L O W : I N S T A L L A T I O N G U I D E Step 1: Remove your heater from the box. Step 2: Attached to the cardboard packing is small screw pack, keep this safe.
- Page 3 D F 2 S L H E A T F L O W : I N S T A L L A T I O N G U I D E Step 6: Remove heater and check the level, adjust if Step 7: Select most appropriate fixing method.
- Page 4 D F 2 S L H E A T F L O W : I N S T A L L A T I O N G U I D E (11) (12) Step 11: Feed the stripped end through the back of the Step 12: Connect the line and neutral conductors to the heater.
- Page 5 D F 2 S L H E A T F L O W : I N S T A L L A T I O N G U I D E (17) (18) Step 17: Tighten the two screws in the keyhole slots. Step 18: It is possible to bend or move the LED indication light Ensuring not to over tighten.
- Page 6 D F 2 S L H E A T F L O W : I N S T A L L A T I O N G U I D E (23) (24) Step 23: Before switching the heater on ensure the lid is Step 24: Check the thermostat is set to maximum showing the on, without the lid the heater will not work properly and 4 dots.
- Page 7 D F 2 S L H E A T F L O W : I N S T A L L A T I O N G U I D E (27) (28) Step 27: The heater will switch red and run. Here you Step 28: The heater is now connected and ready to use.
Need help?
Do you have a question about the DF2SL heatflow and is the answer not in the manual?
Questions and answers