Advertisement
Quick Links
Advertisement

Related Manuals for LINSY HOME LS294V2-B


Summary of Contents for LINSY HOME LS294V2-B
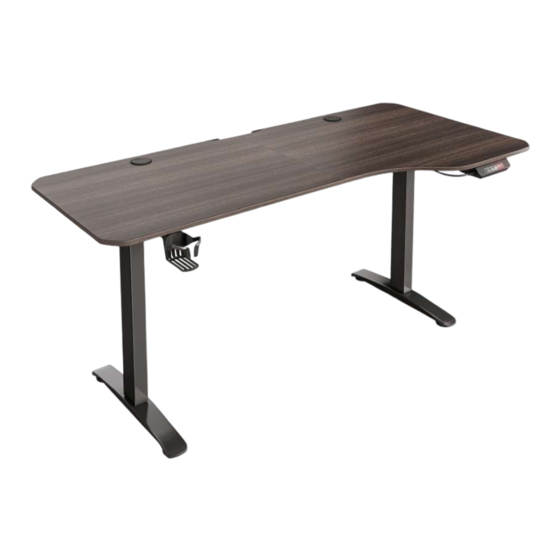
- Page 1 LS294V2-B...
- Page 2 Safety And Care Advice Important – Please read these instructions fully before starting assembly. Please check if all the components and tools listed Please assemble the product as close toits on pages 3 - 4 are received. ible. Please remov rom the plastic bags and Do not place furniture directly in front of separate them into homologous groups.
- Page 3 Assembly Instructions Please use the screws correctly, otherwise the product will be seriously damaged! Step 1 1 pc 1 pc...
- Page 4 Assembly Instructions Please use the screws correctly, otherwise the product will be seriously damaged! Step 2 2 pcs 2 pcs 1 pc 1 pc 1 pc 1 pc...
- Page 5 Assembly Instructions Please use the screws correctly, otherwise the product will be seriously damaged! Step 2 Make sure to tighten these 4 screws. Make sure the Front labels are in the same direction.
- Page 6 Assembly Instructions Please use the screws correctly, otherwise the product will be seriously damaged! Step 3 2 pcs 2 pcs 1 pc M8*16 8 pcs 8 pcs...
- Page 7 Assembly Instructions Please use the screws correctly, otherwise the product will be seriously damaged! Step 4 1 pc 1 pc 1 pc 1 pc 1 pc M8*16 2 pcs M8*25 1 pc...
- Page 8 Assembly Instructions Please use the screws correctly, otherwise the product will be seriously damaged! Step 5 1 pc M8*16 2 pcs...
- Page 9 Assembly Instructions Please use the screws correctly, otherwise the product will be seriously damaged! Step 6 2 pcs 1 pc 1 pc M8*16 4 pcs 4 pcs M4*12 2 pcs...
- Page 10 Assembly Instructions Please use the screws correctly, otherwise the product will be seriously damaged! Step 7 1 pc M8*25 8 pcs 4 pcs 2 pcs...
- Page 11 Assembly Instructions Please use the screws correctly, otherwise the product will be seriously damaged! Step 8 1 pc M8*16 4 pcs 2 pcs Make sure to tighten. Please make sure the table legs are vertical to the connecting rod. And then tighten all the screws.
- Page 12 Assembly Instructions Please use the screws correctly, otherwise the product will be seriously damaged! Step 9 2 pcs 1 pc 1 pc M4*14 1 pc 4 pcs...
- Page 13 Assembly Instructions Please use the screws correctly, otherwise the product will be seriously damaged! Step 10 1 pc M4*14 20 pcs S7*20...
- Page 14 Assembly Instructions Please use the screws correctly, otherwise the product will be seriously damaged! Step 11 1 pc 1 pc 1 pc...
- Page 15 Assembly Instructions Please use the screws correctly, otherwise the product will be seriously damaged! Step 12 1 pc 1 pc 1 pc M4*14 1 pc 4 pcs 3 pcs Power Cable Clip Motor...
- Page 16 Assembly Instructions Please use the screws correctly, otherwise the product will be seriously damaged! Step 13 1 pc 1 pc 1 pc 1 pc M4*14 1 pc 10 pcs The next page shows two installation of the screws, which depends on your personal habits and preferences.
- Page 17 Assembly Instructions Please use the screws correctly, otherwise the product will be seriously damaged! Step 13 S7*10 S7*4 S7*10 S7*4...
- Page 18 Assembly Instructions Please use the screws correctly, otherwise the product will be seriously damaged! Step 14 M4*14 4 pcs 4 pcs 1 pc 1 pc S7*4...
- Page 19 Assembly Instructions Please use the screws correctly, otherwise the product will be seriously damaged! Step 15 2 pcs 1 pc...
- Page 20 Assembly Instructions Please use the screws correctly, otherwise the product will be seriously damaged! Step 16 1 pc...
- Page 21 Instructions Manual Press the RST button until it is complete, the installation progress done. Notes: 1. Operating vo ltage: AC100~240V, frequency 50/60HZ 2. Operating temperature: -10~40°C. 4. Before use, please check the surrounding environment and ensure there are no obstructions above or below the table.
- Page 22 Instructions Manual 1. Restart the device: and then release the button, the desktop will automatically drop to the lowest height, then it will rise 2cm and stop, at this time the initial setting is successful. 2. Lifting operation: to the memory height of the standing position and then stops automatically. when it rises to the highest point.
- Page 23 Instructions Manual 4. Sedentary reminder: A. press the "M" button, and the screen will display "30/ "45/ "60" in turn, representing 30 minutes/ 45 minutes/ 60 minutes. You can choose one of the minutes ""30/"45/"60" according to your own needs. After choosing, you don't need to press any other keys, and then the setting is successful.
Need help?
Do you have a question about the LS294V2-B and is the answer not in the manual?
Questions and answers