Advertisement
Quick Links
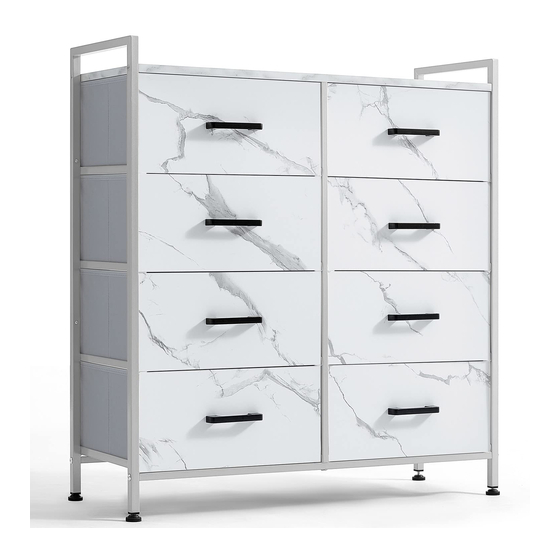
Dresser with 8 Drawers
Assemb ly Instructions - Please keep for future reference
Important-Please read these instructions before assembly
If you need help or have damaged or missing parts, email:
linsyhome@outlook.com
LS200E7-A
Di mensions
Width -
31.5 in ch
Depth -
11.42 inc h
Height -
34.17 in ch
Tools req uired b y
the consum er
1
2
1
Advertisement

Related Manuals for LINSY HOME LS200E7-A


Summary of Contents for LINSY HOME LS200E7-A
- Page 1 Dresser with 8 Drawers Assemb ly Instructions - Please keep for future reference LS200E7-A Di mensions Width - 31.5 in ch Depth - 11.42 inc h Height - 34.17 in ch Tools req uired b y the consum er Important-Please read these instructions before assembly If you need help or have damaged or missing parts, email: linsyhome@outlook.com...
-
Page 2: General Information
Safety and Care Advice Important – Please read these instructions fully before starting assembly Check that if you have all the Do not stand or put weight on the Assemble on a soft level surface product, this could cause damage. to avoid damaging the unit or your components and tools listed on the front co ver and pages 3 - 4. - Page 3 Components If you need help or have damaged or missing parts, email: linsyhome@outlook.com Please check you have all the pieces listed below 858*290*36 858*290*36 717*290*53 768*13*13 900*Φ5 768*290*15 370*280*170 365*275*2.75...
- Page 4 Components If you need help or ha ve damaged or missing parts, email: linsyhome@outlook.com Please check you have all the p ieces listed b elo w M6x25x 4 pcs M6x30 x 6 pcs M6x12 x 2 pcs M4x42x 4 pcs M4x10 x 16pcs M6 x4 pcs 4 pcs...
- Page 5 Assembly Instructions Step 2 A x 4 pcs A x 4 pcs A x 4 pcs A x 2 pcs J x 1 pc Backside Step 3 x 2 pcs x 4 pcs J x 1 pc Backside...
- Page 6 Assembly Instructions Step 4 x 4 pcs E x 4 pcs K x 1 pc H x 4 pcs Backside J x 1 pc Step 5 F x 8 pcs G x 16 pcs J x 1 pc...
- Page 7 Assembly Instructions Step 6 Step 7 I x 2 pcs J x 1 pc...
Need help?
Do you have a question about the LS200E7-A and is the answer not in the manual?
Questions and answers