Advertisement
Quick Links
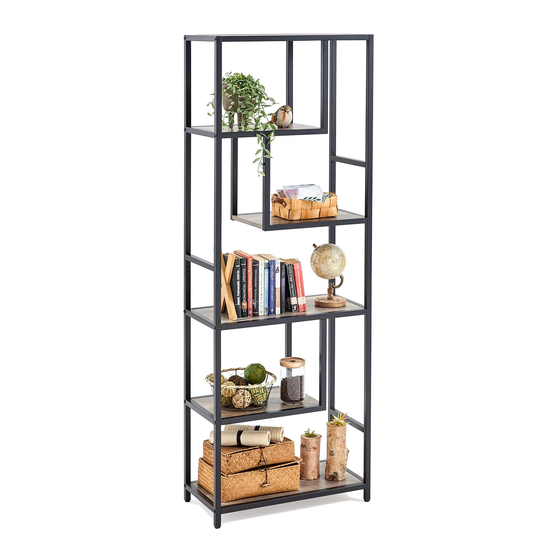
Storage Shelf
Assembly Instructions - Please keep for future reference
Important – Please read these instructions before assembly
If you need help or have damaged or missing parts, email:
linsyhome@outlook.com
LS209P1-B
Dimensions
Width -
23.62inch
Depth -
11.81inch
Height -
66.93inch
1
Advertisement

Related Manuals for LINSY HOME LS209P1-B


Summary of Contents for LINSY HOME LS209P1-B
- Page 1 Storage Shelf Assembly Instructions - Please keep for future reference LS209P1-B Dimensions Width - 23.62inch Depth - 11.81inch Height - 66.93inch Important – Please read these instructions before assembly If you need help or have damaged or missing parts, email:...
-
Page 2: General Information
Safety and Care Advice Important – Please read these instructions fully before starting assembly Assemble on a soft level surface Check that if you have all the Do not stand or put weight on the to avoid damaging the unit or your components and tools listed on the product, which could cause damage. - Page 3 Components If you need help or have damaged or missing parts, email: linsyhome@outlook.com Please check you have all the pieces listed below Part List Reference Description Speci cations(mm) Quantity Material Left Top Frame 560*350*20 Steel Reference Description Speci cations(mm) Quantity Material Right Top Frame 560*350*20...
- Page 4 Components If you need help or have damaged or missing parts, email: linsyhome@outlook.com Please check you have all the pieces listed below M6x12 x 34 pcs M6x30 x 18 pcs M6 x 4 pcs Spare Parts S4 x 1 pc 2 pcs Spare Parts x 1 pc Assembly Instructions...
- Page 5 Assembly Instructions Step 2 Don’t screw tightly before all the screws A x 2 pcs are put into the corresponding holes B x 2 pcs D x 1 pc Step 3 Don’t screw tightly before all the screws A x 12 pcs are put into the corresponding holes ⑬...
- Page 6 Assembly Instructions Step 4 Don’t screw tightly before all the screws B x 10 pcs are put into the corresponding holes D x 1 pc ⑪ ⑪ ⑥ ⑤ Step 5 A x 12 pcs C x 4 pcs ⑫ D x 1 pc ⑬...
- Page 7 Assembly Instructions Step 6 A x 8 pcs Don’t screw tightly before all the screws are put into the corresponding holes D x 1 pc...
- Page 8 Assembly Instructions Step 7 D x 1 pc All screws should be tightly screwed...
- Page 9 Assembly Instructions Step 8 E x 2 pcs...
Need help?
Do you have a question about the LS209P1-B and is the answer not in the manual?
Questions and answers