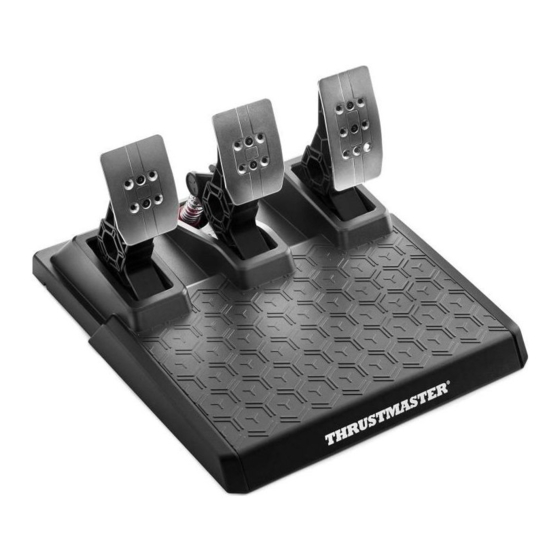
Table of Contents
Advertisement
Quick Links
T3PM Refresh kit
Assembly instructions
Take care to follow the instructions carefully and retain all small parts (screws, springs, etc.) when
disassembly.
Once the product has been opened, take the opportunity to remove any accumulated dust and dirt with
a soft cloth or compressed air (at low pressure).
T3PM Refresh Kit
Page 1
4060362
Advertisement
Table of Contents

Summary of Contents for Thrustmaster T3PM
- Page 1 T3PM Refresh kit Assembly instructions Take care to follow the instructions carefully and retain all small parts (screws, springs, etc.) when disassembly. Once the product has been opened, take the opportunity to remove any accumulated dust and dirt with a soft cloth or compressed air (at low pressure).
-
Page 2: Table Of Contents
Summary Tools ..........................................3 Content ........................................3 Disassembly ....................................... 4 Pedals heads ......................................4 Covers .......................................... 5 RJ12 cable ........................................6 Springs ......................................... 7 Reassembly ........................................ 8 Covers .......................................... 8 Pedals heads ......................................9 T3PM Refresh Kit Page 2 4060362... -
Page 3: Tools
Hexagonal key H2 Tweezers (Optional) Content Clutch spring (higher hardness) 75mm x 20mm Accelerator spring (Lower hardness) 75mm x 20mm Brake springs Low hardness = White Hard = Black 75mm x 20m Rj12 cable T3PM Refresh Kit Page 3 4060362... -
Page 4: Disassembly
Disassembly a. Pedals heads Step Action Illustration Unscrew the 6 screws from the pedal heads. Tools: H2.5 Remove the pedal heads. T3PM Refresh Kit Page 4 4060362... -
Page 5: Covers
Covers Step Action Illustration Step(s) to be carried out beforehand: • Pedals heads Unscrew the 20 screws from the underside of the T3PM pedal set. Tools: S2 PH1 Disassemble the 2 covers. T3PM Refresh Kit Page 5 4060362... -
Page 6: Rj12 Cable
Illustration Step(s) to be carried out beforehand: • Covers Using the tweezers, disconnect the RJ12 cable connectors from each pedal’s PCB. Outils: TWEEZERS (Optional) Remove the pieces of Scotch tape. Remove the RJ12 cable. T3PM Refresh Kit Page 6 4060362... -
Page 7: Springs
Replace the new RJ12 cable and connect it to each of the PCBs as shown opposite. d. Springs Step Action Illustration Step(s) to be carried out beforehand: • Capot Remove the springs. (Pay attention to the order) T3PM Refresh Kit Page 7 4060362... -
Page 8: Reassembly
Refit the new springs. (Pay attention to the order) Reassembly a. Covers Step Action Illustration Reassemble the two covers. Tighten the 20 screws at the rear of the T3PM. S2 PH1 T3PM Refresh Kit Page 8 4060362... -
Page 9: Pedals Heads
Pedals heads Step Action Illustration Replace the pedal head components Tighten the 6 screws on the pedal heads. Tools: H2.5 T3PM Refresh Kit Page 9 4060362...


Need help?
Do you have a question about the T3PM and is the answer not in the manual?
Questions and answers