Advertisement
Technical Support and E-Warranty Certificate www.vevor.com/support
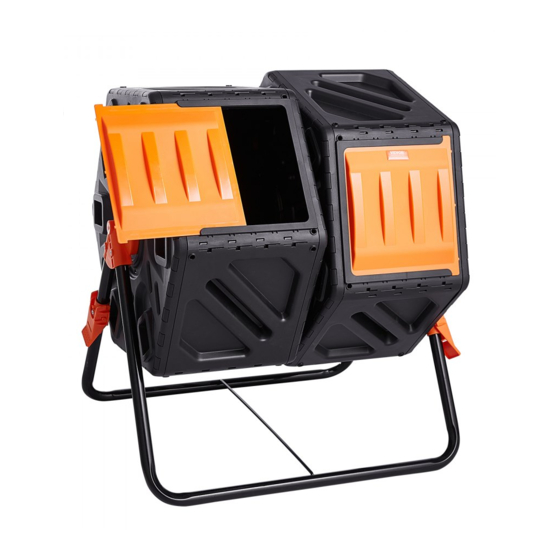
TUMBLING COMPOSTER
MODEL:XDB-436B2
We continue to be committed to provide you tools with competitive price.
"Save Half", "Half Price" or any other similar expressions used by us only represents an
estimate of savings you might benefit from buying certain tools with us compared to the major
top brands and does not necessarily mean to cover all categories of tools offered by us. You
are kindly reminded to verify carefully when you are placing an order with us if you are
actually saving half in comparison with the top major brands.
Advertisement
Table of Contents

Related Manuals for VEVOR XDB-436B2


Summary of Contents for VEVOR XDB-436B2
- Page 1 Technical Support and E-Warranty Certificate www.vevor.com/support TUMBLING COMPOSTER MODEL:XDB-436B2 We continue to be committed to provide you tools with competitive price. "Save Half", "Half Price" or any other similar expressions used by us only represents an estimate of savings you might benefit from buying certain tools with us compared to the major top brands and does not necessarily mean to cover all categories of tools offered by us.
- Page 2 This is the original instruction, please read all manual instructions carefully before operating. VEVOR reserves a clear interpretation of our user manual. The appearance of the product shall be subject to the product you received. Please forgive us that we won't inform you again if...
-
Page 3: Important Safeguards
IMPORTANT SAFEGUARDS WARNING: Read and understand this entire manual before operating or servicing this product. Failure to follow these warnings and instructions can cause personal injury or damage to valuable property. It is best to complete the process of assembling it with an assistant. ... -
Page 4: Specifications
Reduce your carbon footprint – Studies show that approximately one-third of the world's food supply goes to waste. But with VEVOR's rolling compost box, you can do your part to change that. Help the environment, and cook up some compost that your plants will love. -
Page 5: Accessories Package
Accessories package Components Picture Q’ty B&C Part B&C come pre-installed... -
Page 6: Installation
One person may install it with brief help from additional personnel. Use these instructions to ensure the correct installation function. And operation of product VEVOR Corporation reserves the right to modify appearances and specifications without notice. Step 1: Match A and B and slide into the right position. - Page 7 on the edge of the A&B should be aligned before sliding up and down so that they can be fastened properly. B&C Step 3:Install both sides of the panels to form a chamber. Caution: 1. When installing, pay attention to the alignment of the buckle and the slot.
- Page 8 Step 4: Install the side support end cover E and support rod I, and tighten screw H with a screwdriver. Step 5: The installed side support end cover E and support rod I pass through the center of the cavity.The two cavities are separated back to back by L.
- Page 9 Step 9: Insert the support base support J into the hole on the side support E, and tighten the screw H. Step 10: Install reinforcing rod K at the bottom of support frame J. Step 11: Test whether the composter chamber can rotate smoothly.Test whether the compost chamber can rotate smoothly, and whether the lock G can...
- Page 10 How to compost Here, we recommend you how to compost. 1.Collect some of the waste generated in your daily life, such as apple peel, banana peel, vegetable leaves, egg shells, etc. Pour them into the composter. 2.Add garden dead leaves even scraps of paper ,you don’t need to care about the proportion of green organic matter is how much, but...
- Page 11 4.Ready-to-use compost will be yours in just 4-6 weeks.The compost is done when it's dark and crumbly with an earthy smell. Caution: Check that the compost is slightly damp and add water when needed. Turn the compost 5-10rotations at least 2-3times a week. ...
- Page 12 Technical Support and E-Warranty Certificate www.vevor.com/support...
Need help?
Do you have a question about the XDB-436B2 and is the answer not in the manual?
Questions and answers