Advertisement
Quick Links
Technical Support and E-Warranty Certificate www.vevor.com/support
LAWN SWEEPERS
USER MANUAL
We continue to be committed to provide you tools with competitive price.
"Save Half", "Half Price" or any other similar expressions used by us only represents an
estimate of savings you might benefit from buying certain tools with us compared to the major
top brands and doses not necessarily mean to cover all categories of tools offered by us. You
are kindly reminded to verify carefully when you are placing an order with us if you are
actually saving half in comparison with the top major brands.
Advertisement

Summary of Contents for VEVOR S19-001A
- Page 1 Technical Support and E-Warranty Certificate www.vevor.com/support LAWN SWEEPERS USER MANUAL We continue to be committed to provide you tools with competitive price. "Save Half", "Half Price" or any other similar expressions used by us only represents an estimate of savings you might benefit from buying certain tools with us compared to the major top brands and doses not necessarily mean to cover all categories of tools offered by us.
- Page 2 CustomerService@vevor.com This is the original instruction, please read all manual instructions carefully before operating. VEVOR reserves a clear interpretation of our user manual. The appearance of the product shall be subject to the product you received. Please forgive us that we won't inform you again if...
-
Page 3: Table Of Contents
Table of contents: Page 1. Description of product.................2-3 2. Assembly...................4-10 3. Technical Data..................11 4. Intended Use..................11 5. Safety instructions................11 6. Symbols....................12 7. Maintenance and Cleaning.............12-13 8. Storagel and Guarantee...............14... -
Page 4: Description Of Product
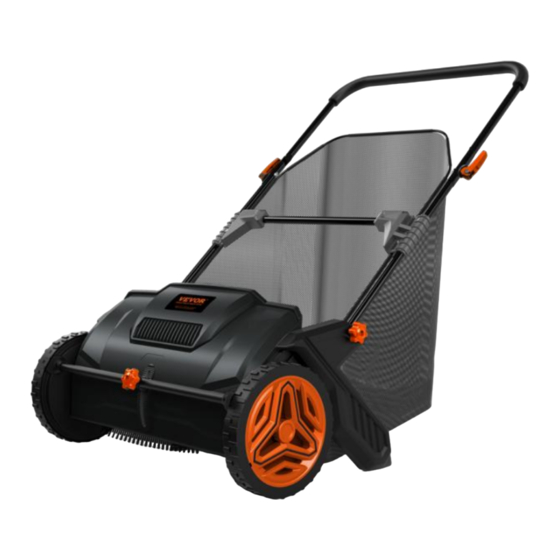
Description of product 1.main housing 2.Lower push rod 3.Pedestal 3L: Left Pedestal 3R: Right Pedestal 4.Upper push rod 5.Fillister head screw M6x40 6.Star handle nuts 7.Fillister head screw M6x50 8.Top frame 9.Down frame 10.Carrying handle holders 11.Collection bag 12.Carrying handle 13.Screw ST4.2x25 14.Screw ST4.2x12 15.Wall Storage Bracket Assembly... -
Page 5: Assembly
Assembly Fitting the handles... - Page 6 Assembly Fitting the handles...
- Page 7 Assembly Adjust the height of the handles...
- Page 8 Assembly Fitting the collecting bag...
- Page 9 Assembly Fitting the collecting bag...
- Page 10 Assembly Fitting the collecting bag...
- Page 11 Assembly Wall Storage Bracket The wall storage bracket can be attached to your shed or garage wall using two screws. For a wooden shed wall, screw directly into the wood, making sure it is strong enough to hold the weight of the machine. For a brick or block wall, please use two screws and wall plugs.
-
Page 12: Technical Data
Technical Data Leaf sweeper Art. No S19-001A Working width 530 mm Volume safety gear 100 L Height adjustment 0-45 mm Net/Gross weight 6 kg/ 8 kg Read and understand the operating instructions before using the appliance. Familiarize yourself with the control elements and how to use the appliance properly. -
Page 13: Symbols
roads, and remain alert to hidden hazards or traffic. When changing/lifting/emptying the sweepings container, make sure that it is standing securely. Always work across the slope with the machine. Max. at an inclination of 30°. Be especially careful when changing direction on a slope, turning the appliance or pulling it towards you. - Page 14 Clearance Do not clean the product with a high-pressure water jet. Do not use chemicals, including gasoline or solvents, for cleaning. Some of them can destroy important plastic parts. Use a damp cloth to clean the plastic parts. Remove dust and dirt from the product after each use. If the brushes are not rotating reliably, the bearing of the brushes may be dirty.
-
Page 15: Storagel And Guarantee
Storage For any longer storage, the product must be thoroughly cleaned and stored so that unauthorized persons can- not access it. · Empty the collection bag. · Use the height adjustment to relieve the brushes. · Store the product where it is dry. Guarantee The warranty period of 12 months applies to commercial use and 24 months applies to private use and commences on the day of purchase of the device. - Page 16 Technical Support and E-Warranty Certificate www.vevor.com/support...


Need help?
Do you have a question about the S19-001A and is the answer not in the manual?
Questions and answers