
Related Manuals for RealRooms Products RH LEVA 3002009


Summary of Contents for RealRooms Products RH LEVA 3002009
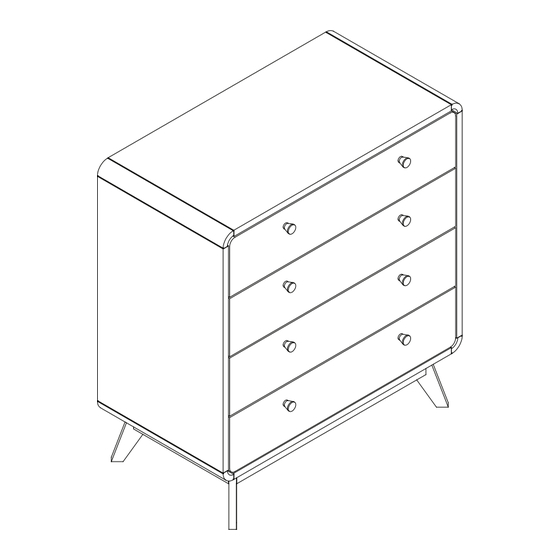
- Page 1 3002009 (Oak/Black),3002209 (Walnut/Walnut) 3002409 (Paloma Grey) RH LEVA 4 DRAWER DRESSER 50.7 lbs / 23 kg PB 2023/10/16 B34300200900-9979...
- Page 4 SIDE PANEL LEFT SIDE PANEL RIGHT TOP PANEL BOTTOM PANEL 1 PC 1 PC 1 PC 1 PC TOP/BOTTOM SUPPORT PANEL SUPPORT FRONT PANEL BACK SUPPORT PANEL LEG PANEL 2 PC 1 PC 1 PC 4 PC DRAWER FRONT TOP DRAWER FRONT CENTER LEG FRAME PANEL LEG FRAME SIDE PANEL...
- Page 5 DRAWER FRONT BOTTOM DRAWER SIDE RIGHT DRAWER SIDE LEFT DRAWER BACK 1 PC 4 PC 4 PC 4 PC BACK PANEL TOP BACK PANEL BOTTOM DRAWER BOTTOM DRAWER SUPPORT 1 PC 1 PC 4 PC 4 PC 3002009 3002209 3002409 3002009 3002209 3002409...
- Page 6 20mm x 5mm 12mm x 15mm 9mm x 15mm 6mm x 30mm MINIFIX WOOD DOWEL 54 PC 91 PC 46 PC 8 PC 3.5mm x 15mm 4mm x 25mm 6mm x 13mm 4.7mm x 38mm SCREW SCREW SCREW SCREW 8 PC 16 PC 16 PC 32 PC...
- Page 7 4mm x 16mm ALLEN KEY M4 TABLE CORNER BRACKET 5 HOLE L-MOUNTING BRACKET SCREW 1 PC 4 PC 1 PC 1 PC 4mm x 52mm WALL PLUG 25MM GLUE SCREW 1 PC 6 PC 1 PC HP# : TU5675611-01 3002009 (Oak/Black) HP# : TU5675877-01 3002209 (Walnut/Walnut) HP# : TU5675622-01...
- Page 8 Insert the dowel (4) on each panel as shown on the left.
- Page 9 Then align the L-mounting bracket (15) then tighten it with screw (16).
- Page 10 Attached drawer side panels N & O to drawer back and then tighten it with screw (6).
- Page 11 Insert drawer bottom T between drawer side N & O then continue with drawer support Q.
- Page 12 Insert cam (3) in each panel and tighten all of it accordingly. Before attach the other panel place a small drop of glue (19) in wood dowel hole.
- Page 13 Positioning the Drawer slide (9) make sure the drawer slide roller is facing on the drawer back as shown on the left then tighten it with screw (5).
- Page 14 Use screw (12) and wooden knob handle (11) then tighten it using a screwdriver.
- Page 15 Insert cam (2) in each panel and tighten all of it accordingly. Before attach the other panel place a small drop of glue (19) in wood dowel hole.
- Page 16 Insert cam (2) in each panel and tighten all of it accordingly. Before attach the other panel place a small drop of glue (19) in wood dowel hole.
- Page 17 Insert cam (2) in each panel and tighten all of it accordingly. Before attach the other panel place a small drop of glue (19) in wood dowel hole.
- Page 18 Insert cam (2) in each panel and tighten all of it accordingly. Before attach the other panel place a small drop of glue (19) in wood dowel hole.
- Page 19 Insert screw (7) on panel E and tighten all of it as shown.
- Page 20 Attached the leg frame panel J & I to bottom panel D. Before attach the other panel place a small drop of glue (19) in wood dowel hole.
- Page 21 Insert cam (2) in each panel and tighten all of it accordingly. B1 J...
- Page 22 Attached the leg H to bottom panel D and tighten with screw (10).
- Page 23 Positioning the table corner bracket (13) at the leg frame and tighten the screw (5) & (7) and make sure position the screw according to the step display.
- Page 24 Attached the back panel top and back panel bottom .
- Page 25 Insert cam (2) in each panel and tighten all of it accordingly. Before attach the other panel place a small drop of glue (19) in wood dowel hole.
- Page 26 Insert cam (2) in each panel and tighten all of it accordingly. Before attach the other panel place a small drop of glue (19) in wood dowel hole.
- Page 27 Insert cam (2) in each panel and tighten all of it accordingly. Before attach the other panel place a small drop of glue (19) in wood dowel hole.
- Page 28 Insert cam (2) in each panel and tighten all of it accordingly. Before attach the other panel place a small drop of glue (19) in wood dowel hole.
- Page 29 Insert cam (2) in each panel and tighten all of it accordingly. Before attach the other panel place a small drop of glue (19) in wood dowel hole.
- Page 30 Attached the drawer slide (9) and tighten it with screw (8) make sure to position the drawer slide as shown.
- Page 31 Insert the drawer one by one and make sure the roller is on each side of the drawer slide. Please make sure the lever is push down before inserting each drawer.
-
Page 32: Helpful Hints
Helpful Hints CAUTION: This unit is intended for use only with the products and/or maximum weights indicated. Use with other products and/or products heavier than the maximum weights indicated may result in instability or cause possible injury. Move your new furniture carefully, with two people lifting and carrying the unit to its new location. - Page 33 3002009 (Roble/Negro),3002209 (Nogal/Nogal) 3002409 (Gris Paloma) CÓMODA 4 CAJONES LEVA DER Realrooms!
- Page 34 HP# : TU5675611-01 3002009 (Oak/Black) HP# : TU5675877-01 3002209 (Walnut/Walnut) HP# : TU5675622-01 3002409 (Paloma Grey) 3002009 3002209 3002409 (Oak/Black) (Paloma Grey) (Walnut/Walnut) Panel lateral izquierdo U5675622-A U5675877-A U5675611-A U5675622-B Panel lateral derecho U5675877-B U5675611-B Panel superior U5675622-C U5675877-C U5675611-C U5675622-D Panel inferior U5675877-D...
- Page 35 Paso 16 Coloque el soporte de la esquina de la mesa (13) en el marco de las patas y apriete los tornillos (5) y (7) y asegúrese de colocar el tornillo Inserte la clavija (4) en cada panel como se muestra a la izquierda. Paso 1 de acuerdo con la pantalla de pasos.
- Page 36 3002009 (Roble/Nègre),3002209 (Nogal/Nogal) 3002409 (Gris Paloma) COMMODE DROIT LEVA 4 TIROIRS Realrooms!
- Page 37 HP# : TU5675611-01 3002009 (Oak/Black) HP# : TU5675877-01 3002209 (Walnut/Walnut) HP# : TU5675622-01 3002409 (Paloma Grey) 3002009 3002209 3002409 (Oak/Black) (Paloma Grey) (Walnut/Walnut) Panneau latéral gauche U5675622-A U5675877-A U5675611-A U5675622-B U5675877-B Panneau latéral droit U5675611-B Panneau du haut U5675622-C U5675877-C U5675611-C U5675622-D Panneau du bas...
- Page 38 Étape 16 Placez le support d'angle de table (13) sur le cadre du pieds et serrez les vis (5) et (7) et assurez-vous de placer la vis Étape 1 Insérez la goupille (4) dans chaque panneau comme indiqué à gauche. selon l'écran des étapes.
Need help?
Do you have a question about the RH LEVA 3002009 and is the answer not in the manual?
Questions and answers